
Modulators Section
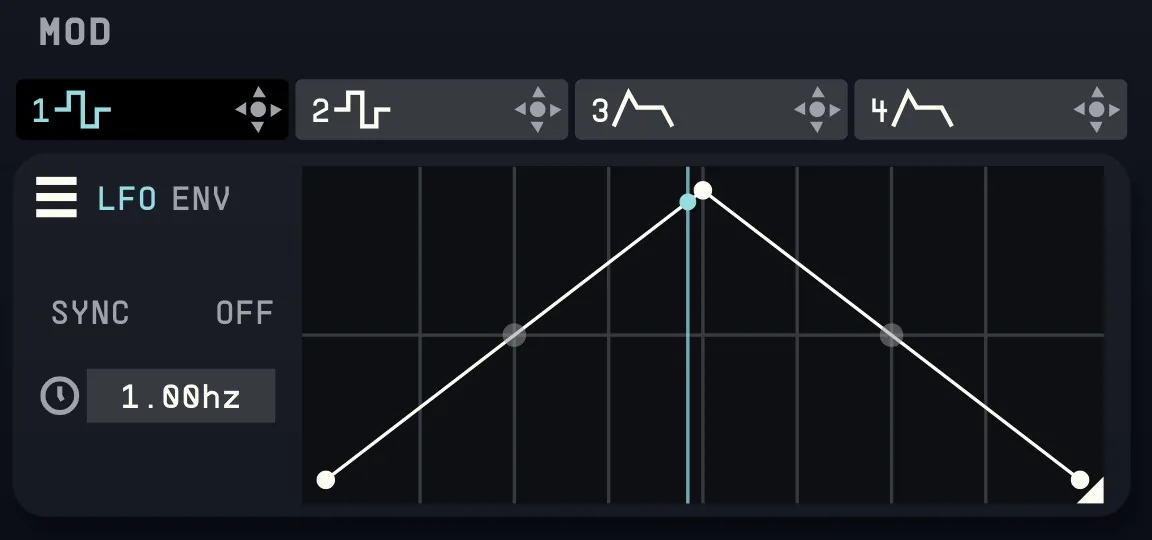
16.1Modulator Selection Pane
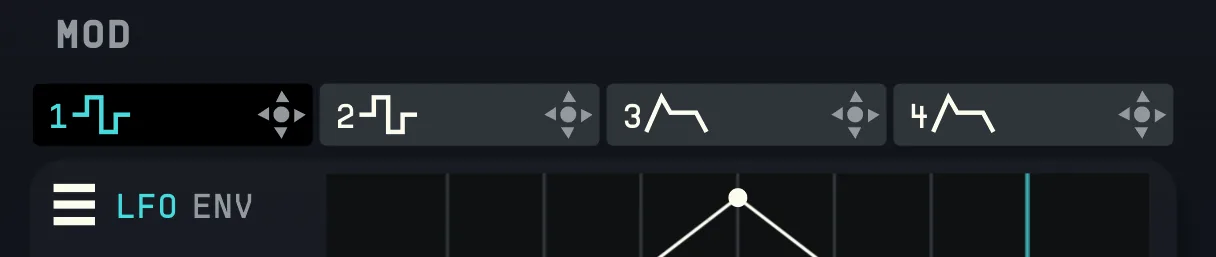
Select a modulator from the list (up to 32 modulators). Each can be clicked and dragged to control different parameters in the plug-in. The icon next to the number will display if the modulator is either a LFO or an Envelope Follower.
New modulators will appear to the right as the ones displayed become active. For example, if you assign Modulator 4, a new Modulator (Modulator 5) will become available.
Click on any modulator to enter its dedicated view.
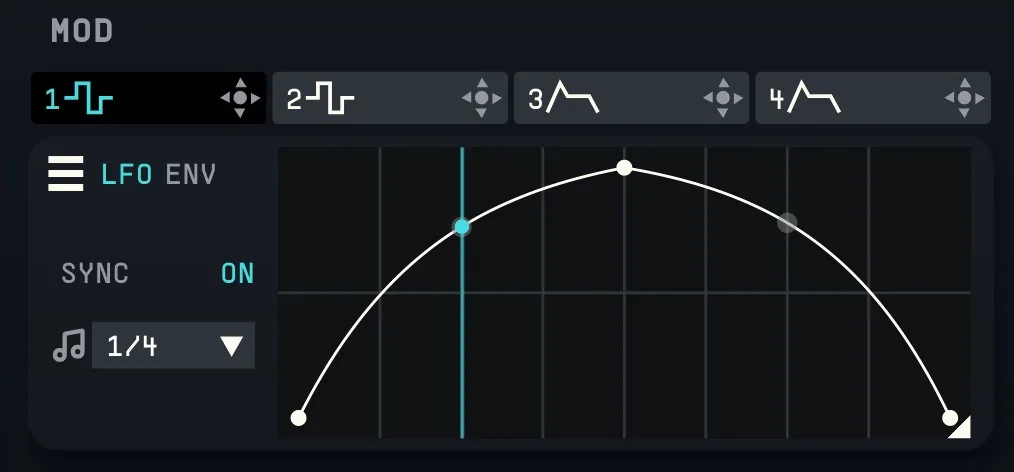
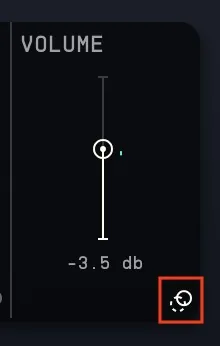
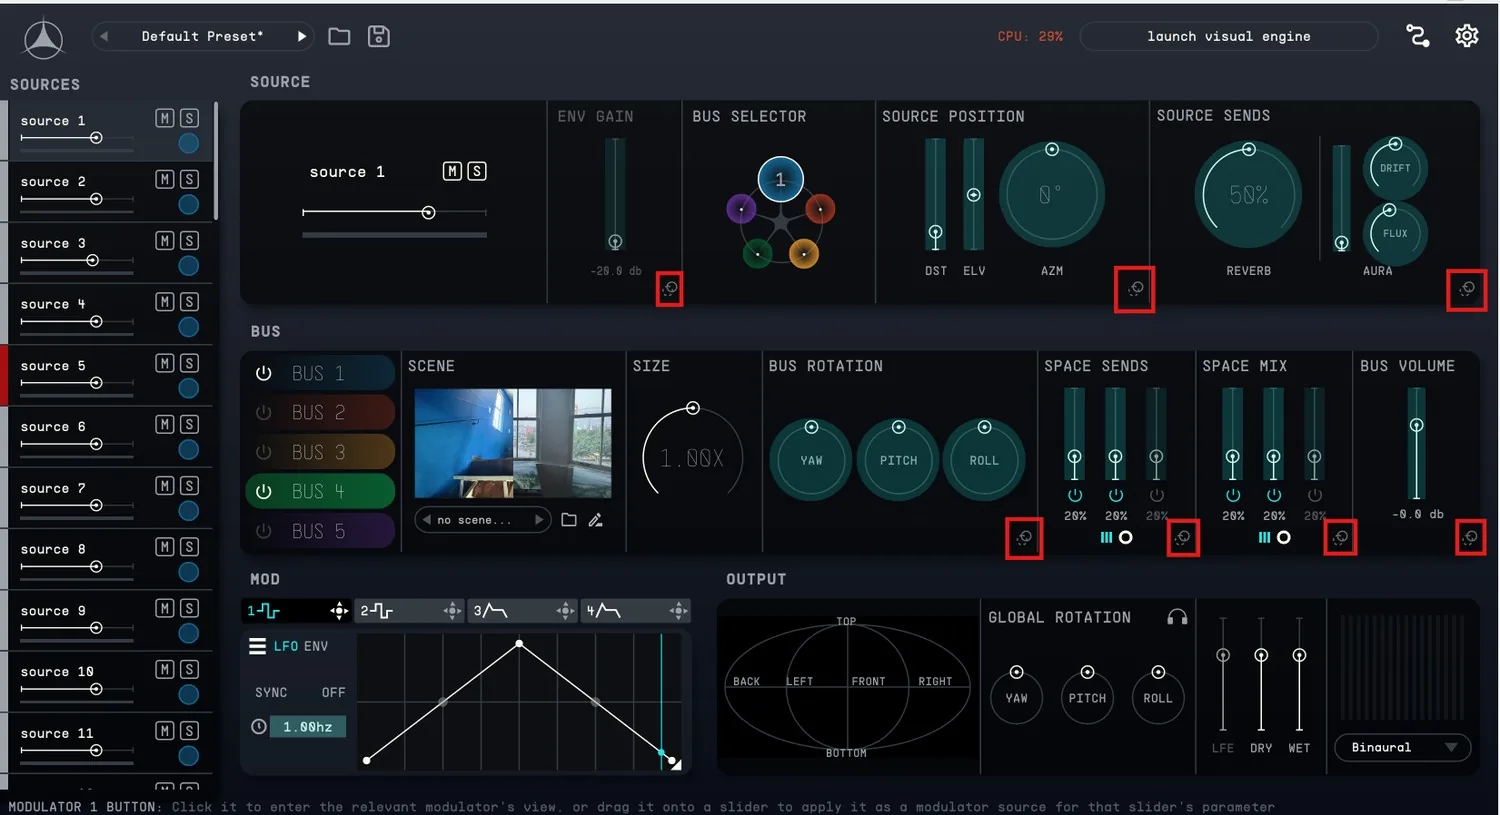
All parameters available for modulation will turn light blue as you click and drag the modulator (see screenshot below). Once assigned, an icon with two tiny circles will appear at the bottom-right corner of the control section where the modulator was applied (see screenshot below, red indicators). Clicking on this icon opens a floating window that displays the modulators assigned to that control. There you can bypass, remove or adjust the depth of each modulator directly.9
16.2Modulator Mode Selector
Each modulator can operate in two modes: "LFO" (Low-Frequency Oscillator) mode or "Envelope Follower" mode. When LFO mode is active, you can choose whether the modulator is synchronized to the DAW's BPM or runs freely using a frequency control. If the modulator is set to Envelope Follower mode you will be able to see the assigned source input and the rise and fall constants. It will be easy to see the modulator mode, as the icon next to each Modulator Number will change to display either a square wave (LFO mode) or an ADSHR wave (Envelope Follower Mode).
To assign or change the envelope follower's assigned source, first click on the desired source in the Source Pane to the left, and then click on the Input Number under the desired modulator.
16.3Modulator Section Settings
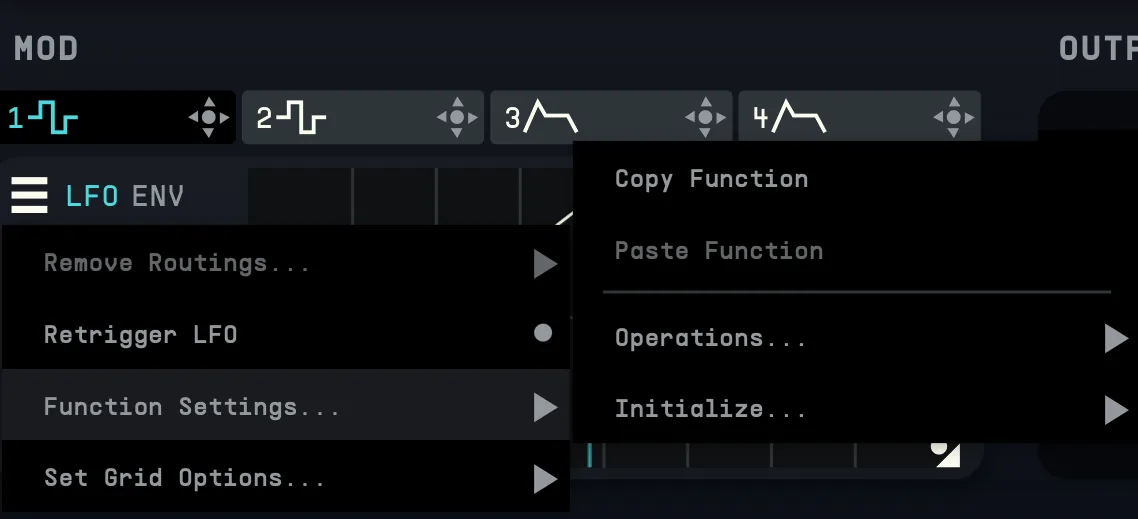
Clicking on the three horizontal lines, you'll have access to detailed Modulator Settings for the selected modulator including:
- Remove routings
- Displays the parameters that are being modulated for the selected Modulator and when clicked removes this connection. You can remove routings individually or remove all.
- Retrigger LFO
- When ON (circle showing in front of the setting), the LFO starting point will be reset to the same starting point according to the DAW's playhead position. When OFF (no circle in front of setting), the LFO will continue to move regardless of playback.
- Copy and Paste
- Function settings to or from another modulator. Only the function itself (graph) will be copied, any other setting, including frequency, sync, etc. will not be copied.
- Operations
- Flip the curve vertically, horizontally, or randomize it.
- Initialize
- Choose waveform type (sine, triangle, generate random steps, or clear the existing curve). You can also expand the function editor to create more detailed custom shapes (see section below).
- Set Grid Options
- Allows setting of the amount of points X and Y to be edited in the table.
16.4Modulator Editor Table
The Modulator Editor Table lets you shape the modulation waveform by editing its control points. You can add or remove points by double-clicking directly on the waveform at the desired position.
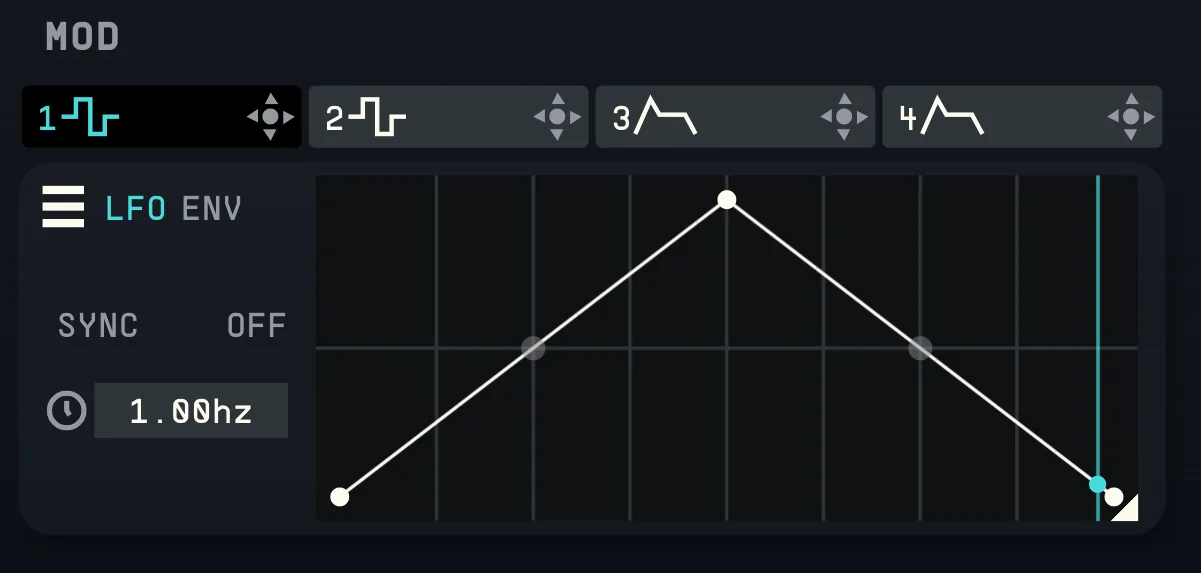
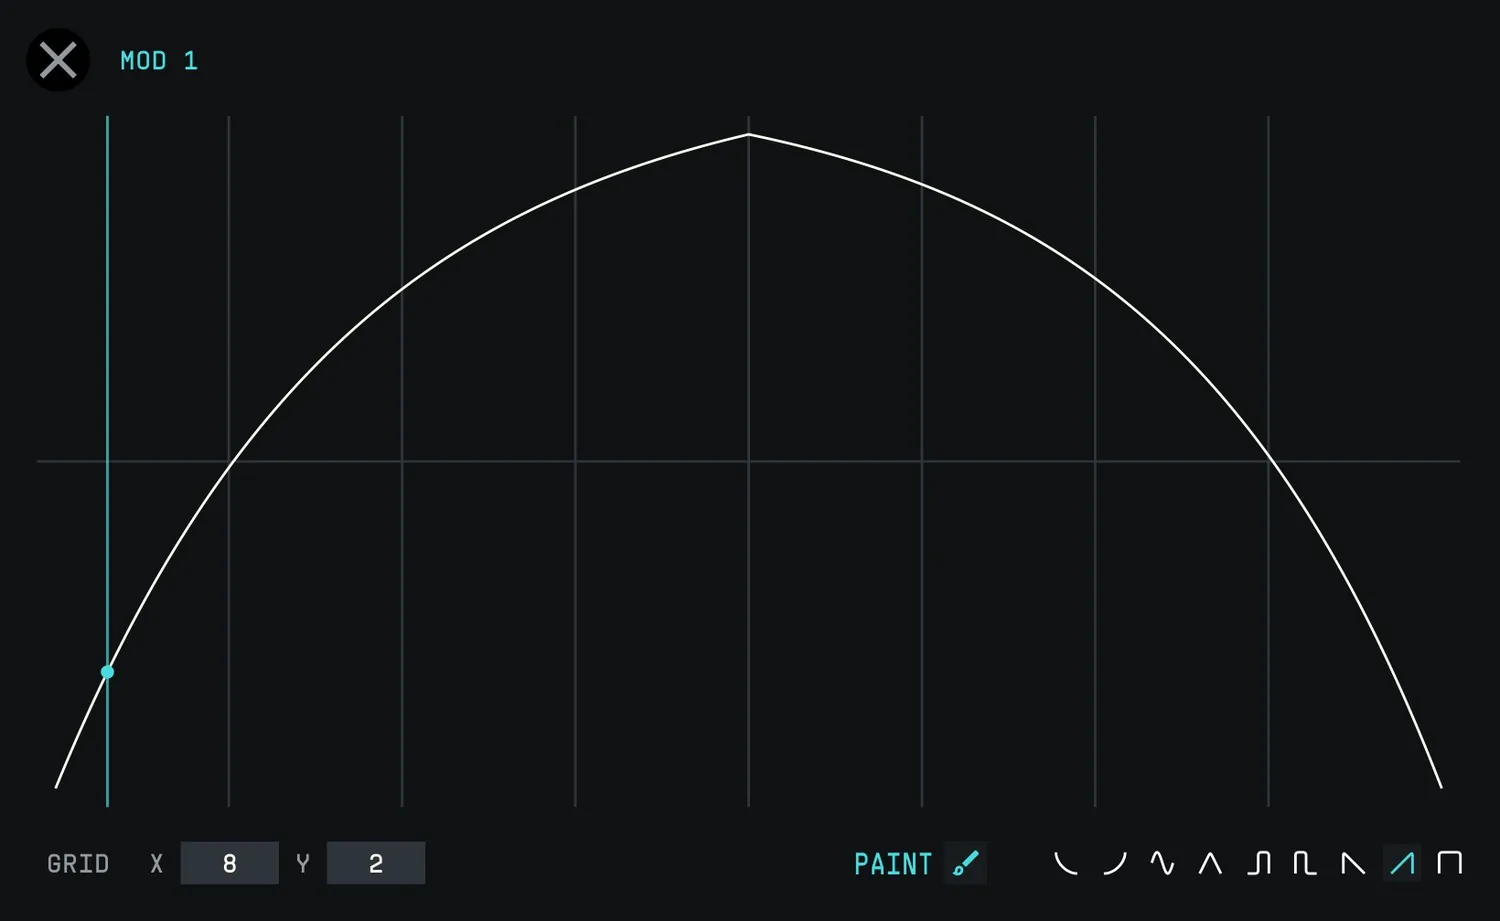
By clicking on the small triangle in the bottom right side of the table, a larger view will open with additional settings. There, you can draw curves, select waveform types, and use the X and Y grid as a visual guide for precise editing.