

Bus Section
15.1Bus Panel
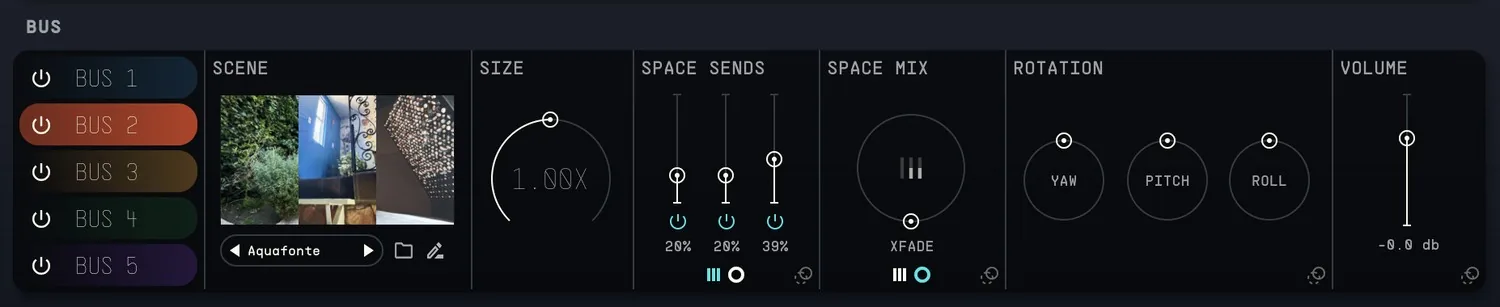
Select a single Bus to be edited, for example, if Bus 1 is selected, all of the controls to the right will affect only Bus 1. Toggle each bus on or off to allow the loading of the Spaces and activate the flow of signal to get reverberated.
15.2Scene Panel
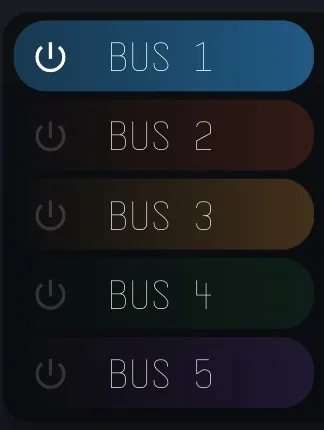
Displays the loaded Scene or Space image, Scene name, Access to the Scene Browser to open factory or user scenes, and Access the full Scene Editor to load up each space (load Spaces in each of the three Space slots per scene), adjust the EQ curves for each, and turn them on/off.
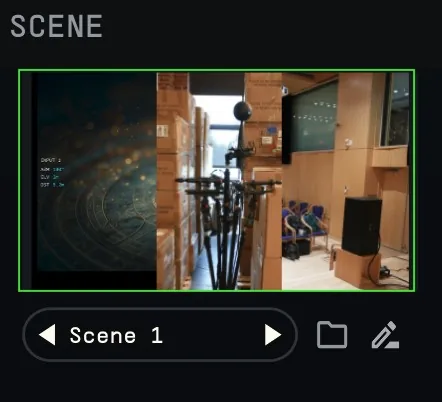
To open the Scene Browser, you can click either on the thumbnail or the folder icon beneath it. As mentioned earlier, Scenes are saved states of up to three Spaces, and the EQ settings for them. You can cycle through available scenes by clicking on the left and right arrows under the thumbnail, and you see the name displayed in that same bar as well. If no scene is loaded, the thumbnail will appear black and the text "no scene loaded" will show in the name bar.
Default Scenes are labeled as ATELIER and classified as Elements (Singles, Multimic, Field) or Hybrid (see Scenes and the Scene Browser section for more information).
15.3Scene Editor
Displays the loaded Scene or Space image, Scene name, Access to the Scene Browser to open factory or user scenes, and Access the full Scene Editor to load up each space (load Spaces in each of the three Space slots per scene), adjust the EQ curves for each one, and turn them on/off.
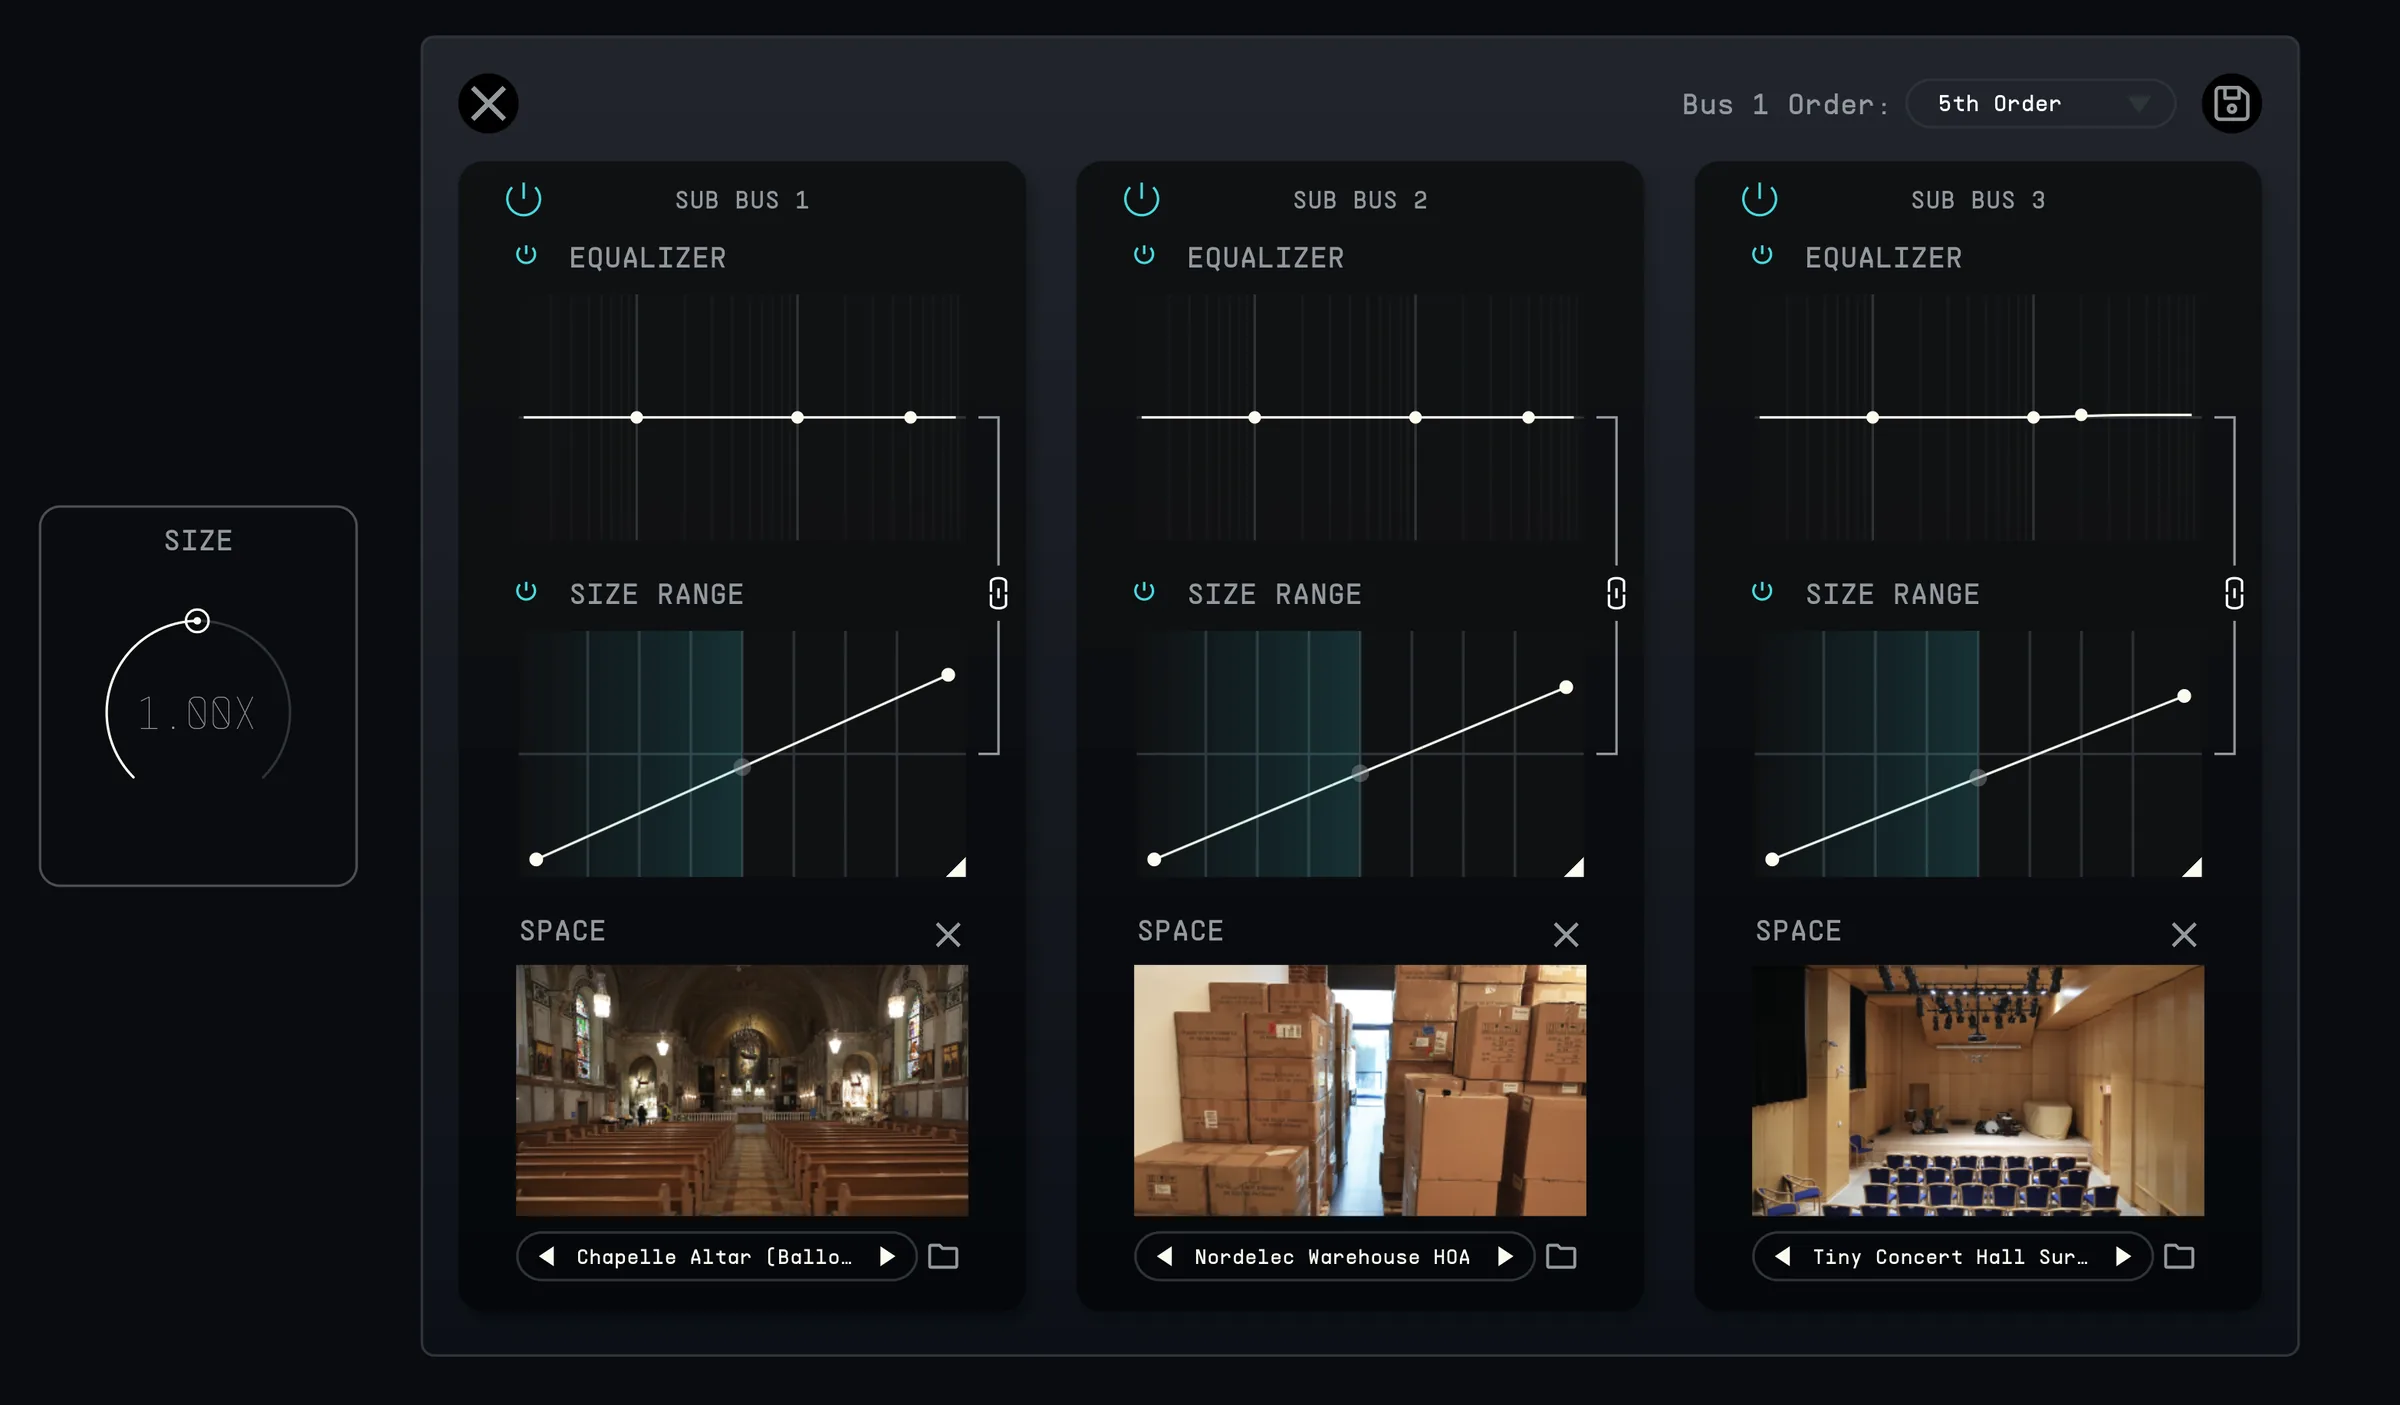
The Scene Editor allows fine-tuning of the three Space slots available for each bus. Each Bus can contain up to three Space slots, each with its own EQ and Size range controls.
You can browse and load Spaces by clicking on any of the Space thumbnails at the bottom, or the folder icon below it.
The EQ provides two shelving filters (high-pass and low-pass) and one bell curve filter. You can drag each of the points horizontally to change the filter's center frequency and vertically to change its gain. To modify the Q of the bell curve filter, you can scroll with your mouse on top of the filter's point. Using the right-click it is possible to copy and paste the EQ settings to another EQ, in the same bus, or in a different one.
As doing any EQ modification (i.e., removing a resonance) will be tied to the reverb size, we included a linking parameter on the right side of each space slot. When linked, the center frequency of the bell curve filter will move according to the changes in the Size parameter and the Size Range curve. If set to an increasing diagonal (as it comes by default), the bell curve's center frequency will follow the movements of the Size. If the Size is increased, the bell curve's center frequency will move down in the same proportion. We have designed it like this to keep your corrective and cosmetic changes following the changes in the IR. If you are using the bell curve filter to tame a resonance at 1 kHz at size 1.00X, when you increase the size to 2.00X, the filter's center frequency will now be at 500 Hz.
You can keep this link and change the shape of the Size Range table, as you can with any other modulator tables, so that the relationship between Size and EQ is less evident, more creative, experimental, or you can entirely unlink them by clicking on the link/chain icon to the right.
At the top right, you can also set the Ambisonics Order (3rd, 4th, or 5th) for that entire bus. Use lower bus orders for lighter processing loads.8 Higher orders provide a more detailed 3D reverberation, while lower orders use less processing load.
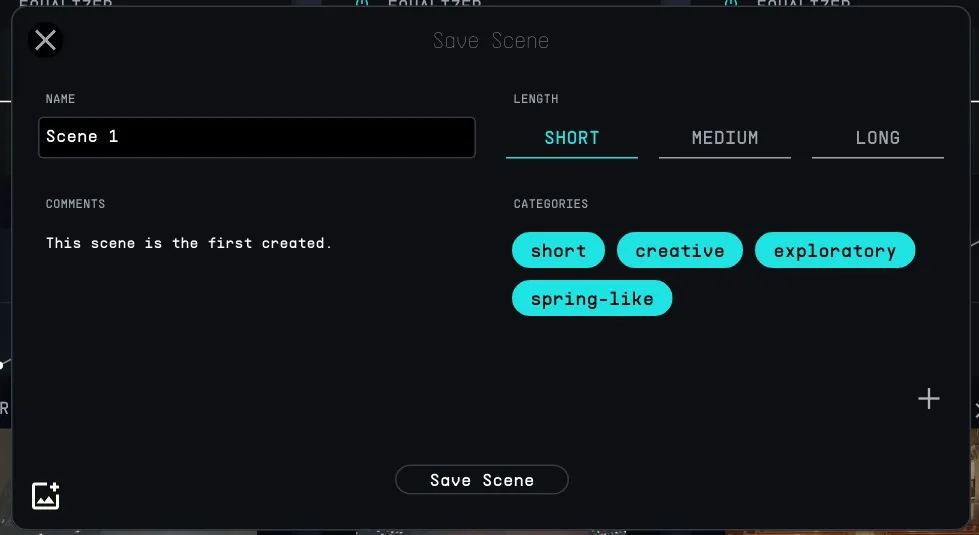
To Save your Scene (3 Space settings including EQ and Size Range graph) Click on the top right Save icon. A name, comments, length, and multiple categories/tags can be added to your saved scene. You can also include a thumbnail by using the "Add image" button on the bottom left of the saving window. If you are overwriting an existing scene, you can type the name of the scene, select it from the list, and once you click Save, the plug-in will ask if you would like to overwrite it.
15.4Size
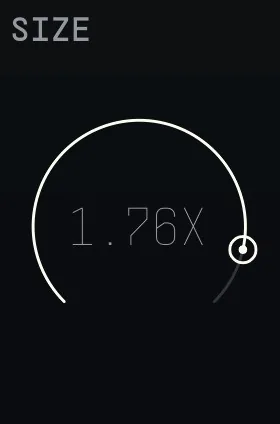
Adjust the length of the reverb according to the factor indicated. If the factor is less than 1.00x, the resulting reverb will have a shorter duration, and vice versa.
15.5Bus Rotation
Rotates the whole reverb bus in three different axes (yaw, pitch, roll).
This control does not rotate the direct signal, so you can independently rotate the Reverb buses.
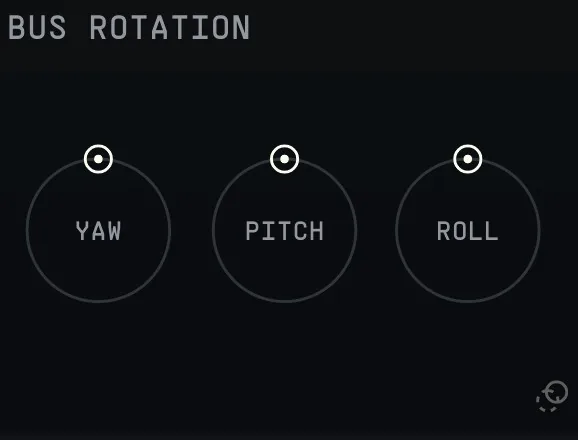
- Yaw controls the horizontal rotation around the vertical axis.
- Pitch controls the vertical rotation around the side-to-side axis.
- Roll controls the rotation around the front-to-back axis.
15.6Space Sends
Adjust the input volume going into the reverb for each of the three available Space slots. Since this is a send value, setting it to zero will result in no audio going through that space at all. Adjust each control to set the Send level for the corresponding Spaces.
15.7Space Mix
Adjusts the output volume at the output of the reverb for each of the three available Space slots. Adjust each control to set the Mix level for the corresponding Space.
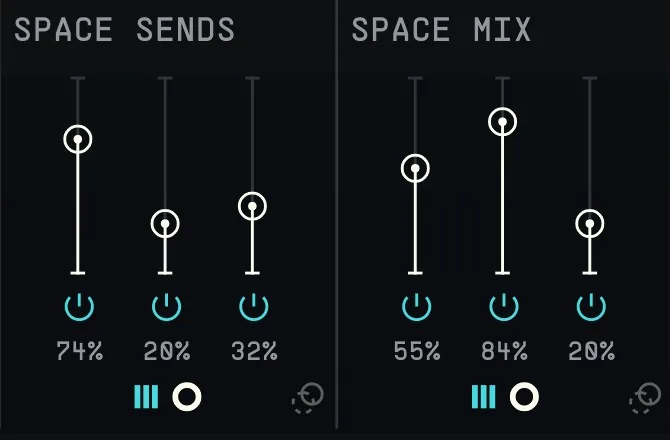
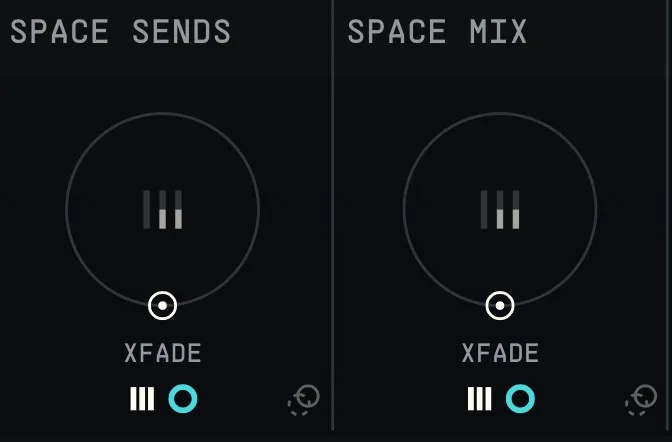
Space Sends and Space Mix controls in both Fader and Crossfade modes