Skip to content

Installation

Installation Guide

For every MNTRA instrument — Rasa, Naada, Onde, Atma, and the rest of the catalog. For FLTRS, Borealis, and Bruitage — standalone effects that load directly in your DAW. No MNDALA required.

Engine + Instruments

MNDALA 2

FX PLUGIN

FLTRS / Borealis / Bruitage

Systems

Mac + Windows

How to install

Pick what you're installing

Two simple flows — four steps each. Pick MNDALA 2 + Instruments if you bought an instrument; pick FX PLUGIN for FLTRS, Borealis, or Bruitage.

Engine + Instruments

Install MNDALA 2 and your instruments

For every MNTRA instrument — Rasa, Naada, Onde, Atma, and the rest of the catalog.

  1. 1

    Create or log in to your MNTRA account, then verify your email so MNDALA 2 can sign you in.

  2. 2

    Download and install MNDALA 2 for your operating system. Leave default locations unless you have a specific setup.

  3. 3

    Open MNDALA 2 in your DAW (VST3, AU, AAX, or Standalone).

  4. 4

    Inside MNDALA 2, log in and install your owned instruments from the Library tab.
Downloads

Downloads by product type

Download the MNDALA 2 engine first. Instruments install from inside MNDALA. FX plugins ship with their own installer, delivered by email after purchase.

FX Plugins (3)

FX PluginCurrent

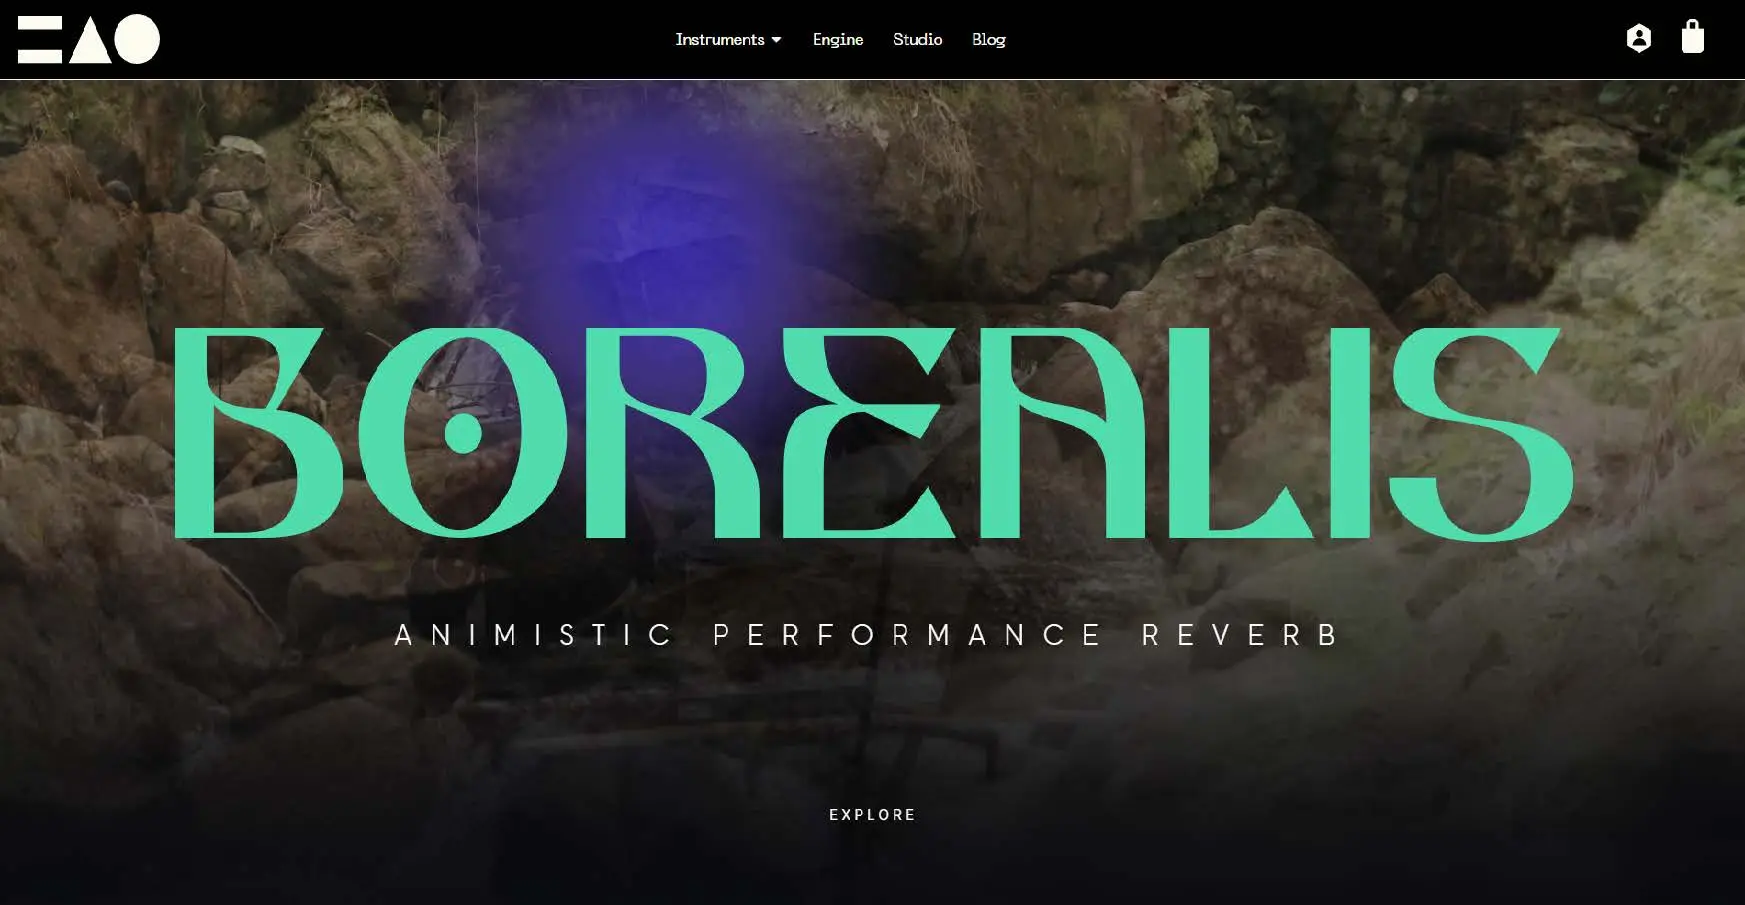
Borealis

Installer link is sent by email after purchase.

FX PluginCurrent

Bruitage

Installer link is sent by email after purchase.

MNDALA 2

Downloading and Installing MNDALA 2

+ Loading Instrument Expansions

  1. 1

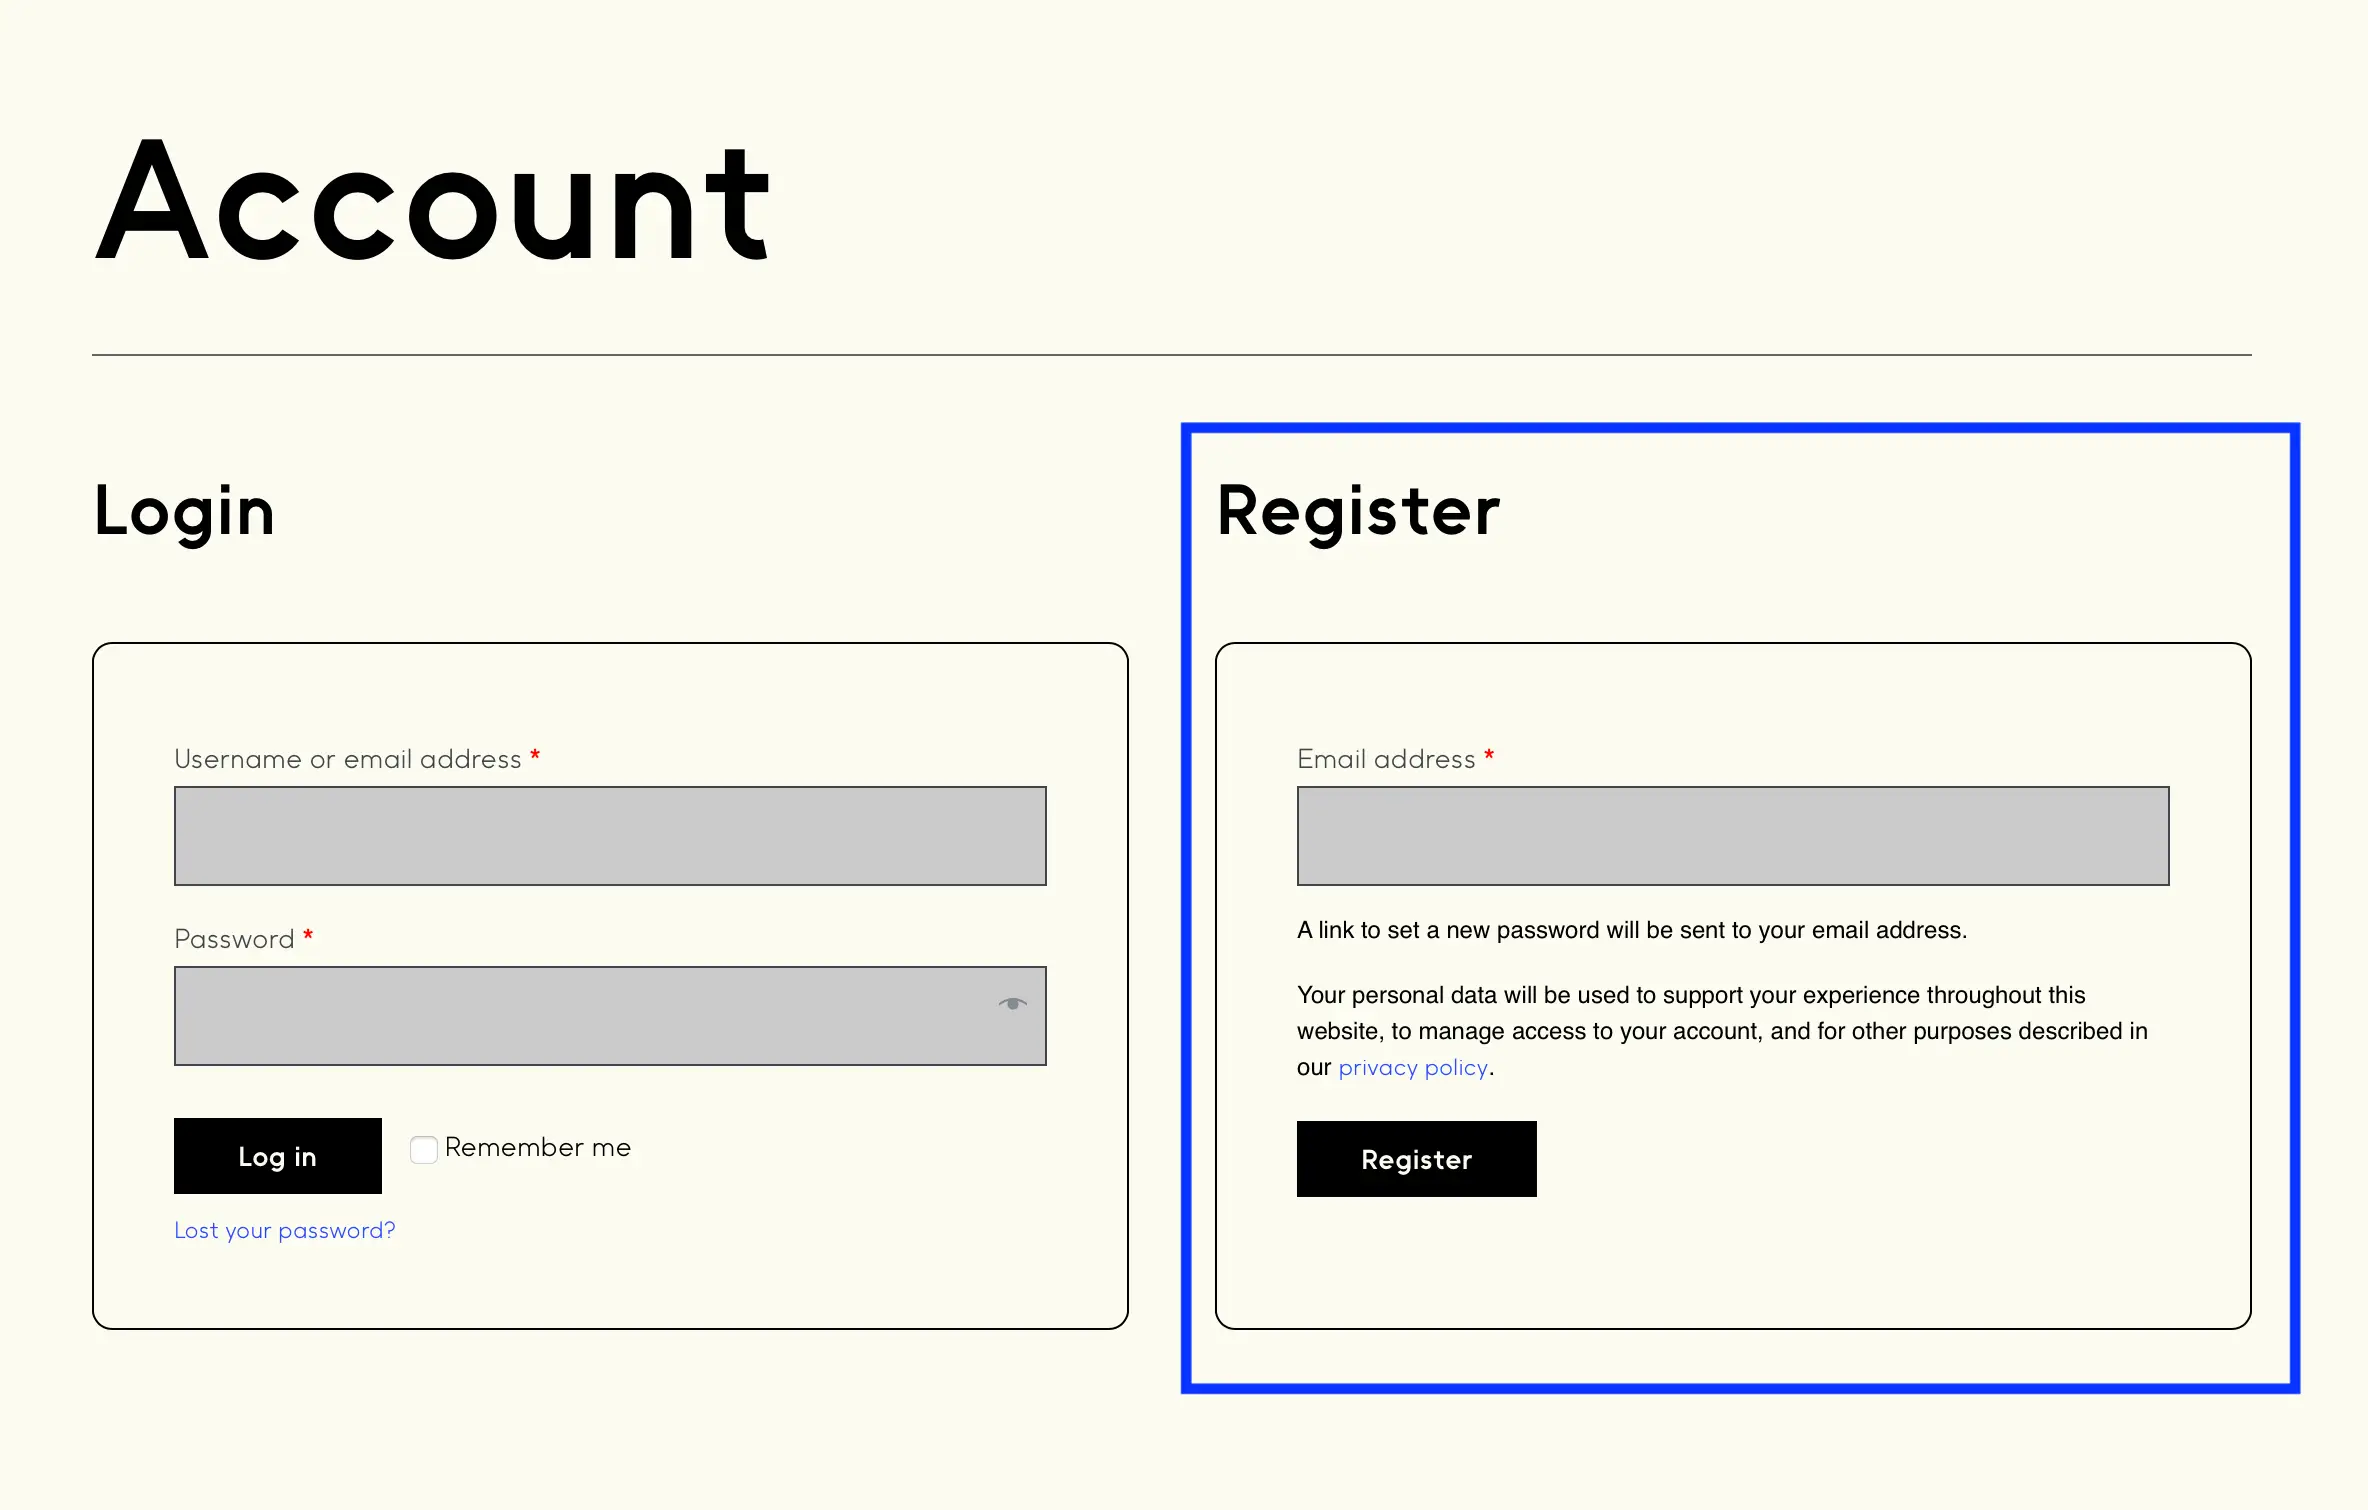
    Create a MNTRA Account

    If you don't already have one, go to Account to create a new account. Make sure to verify your email to activate and be able to log into MNDALA 2.

    MNTRA account creation
  2. 2

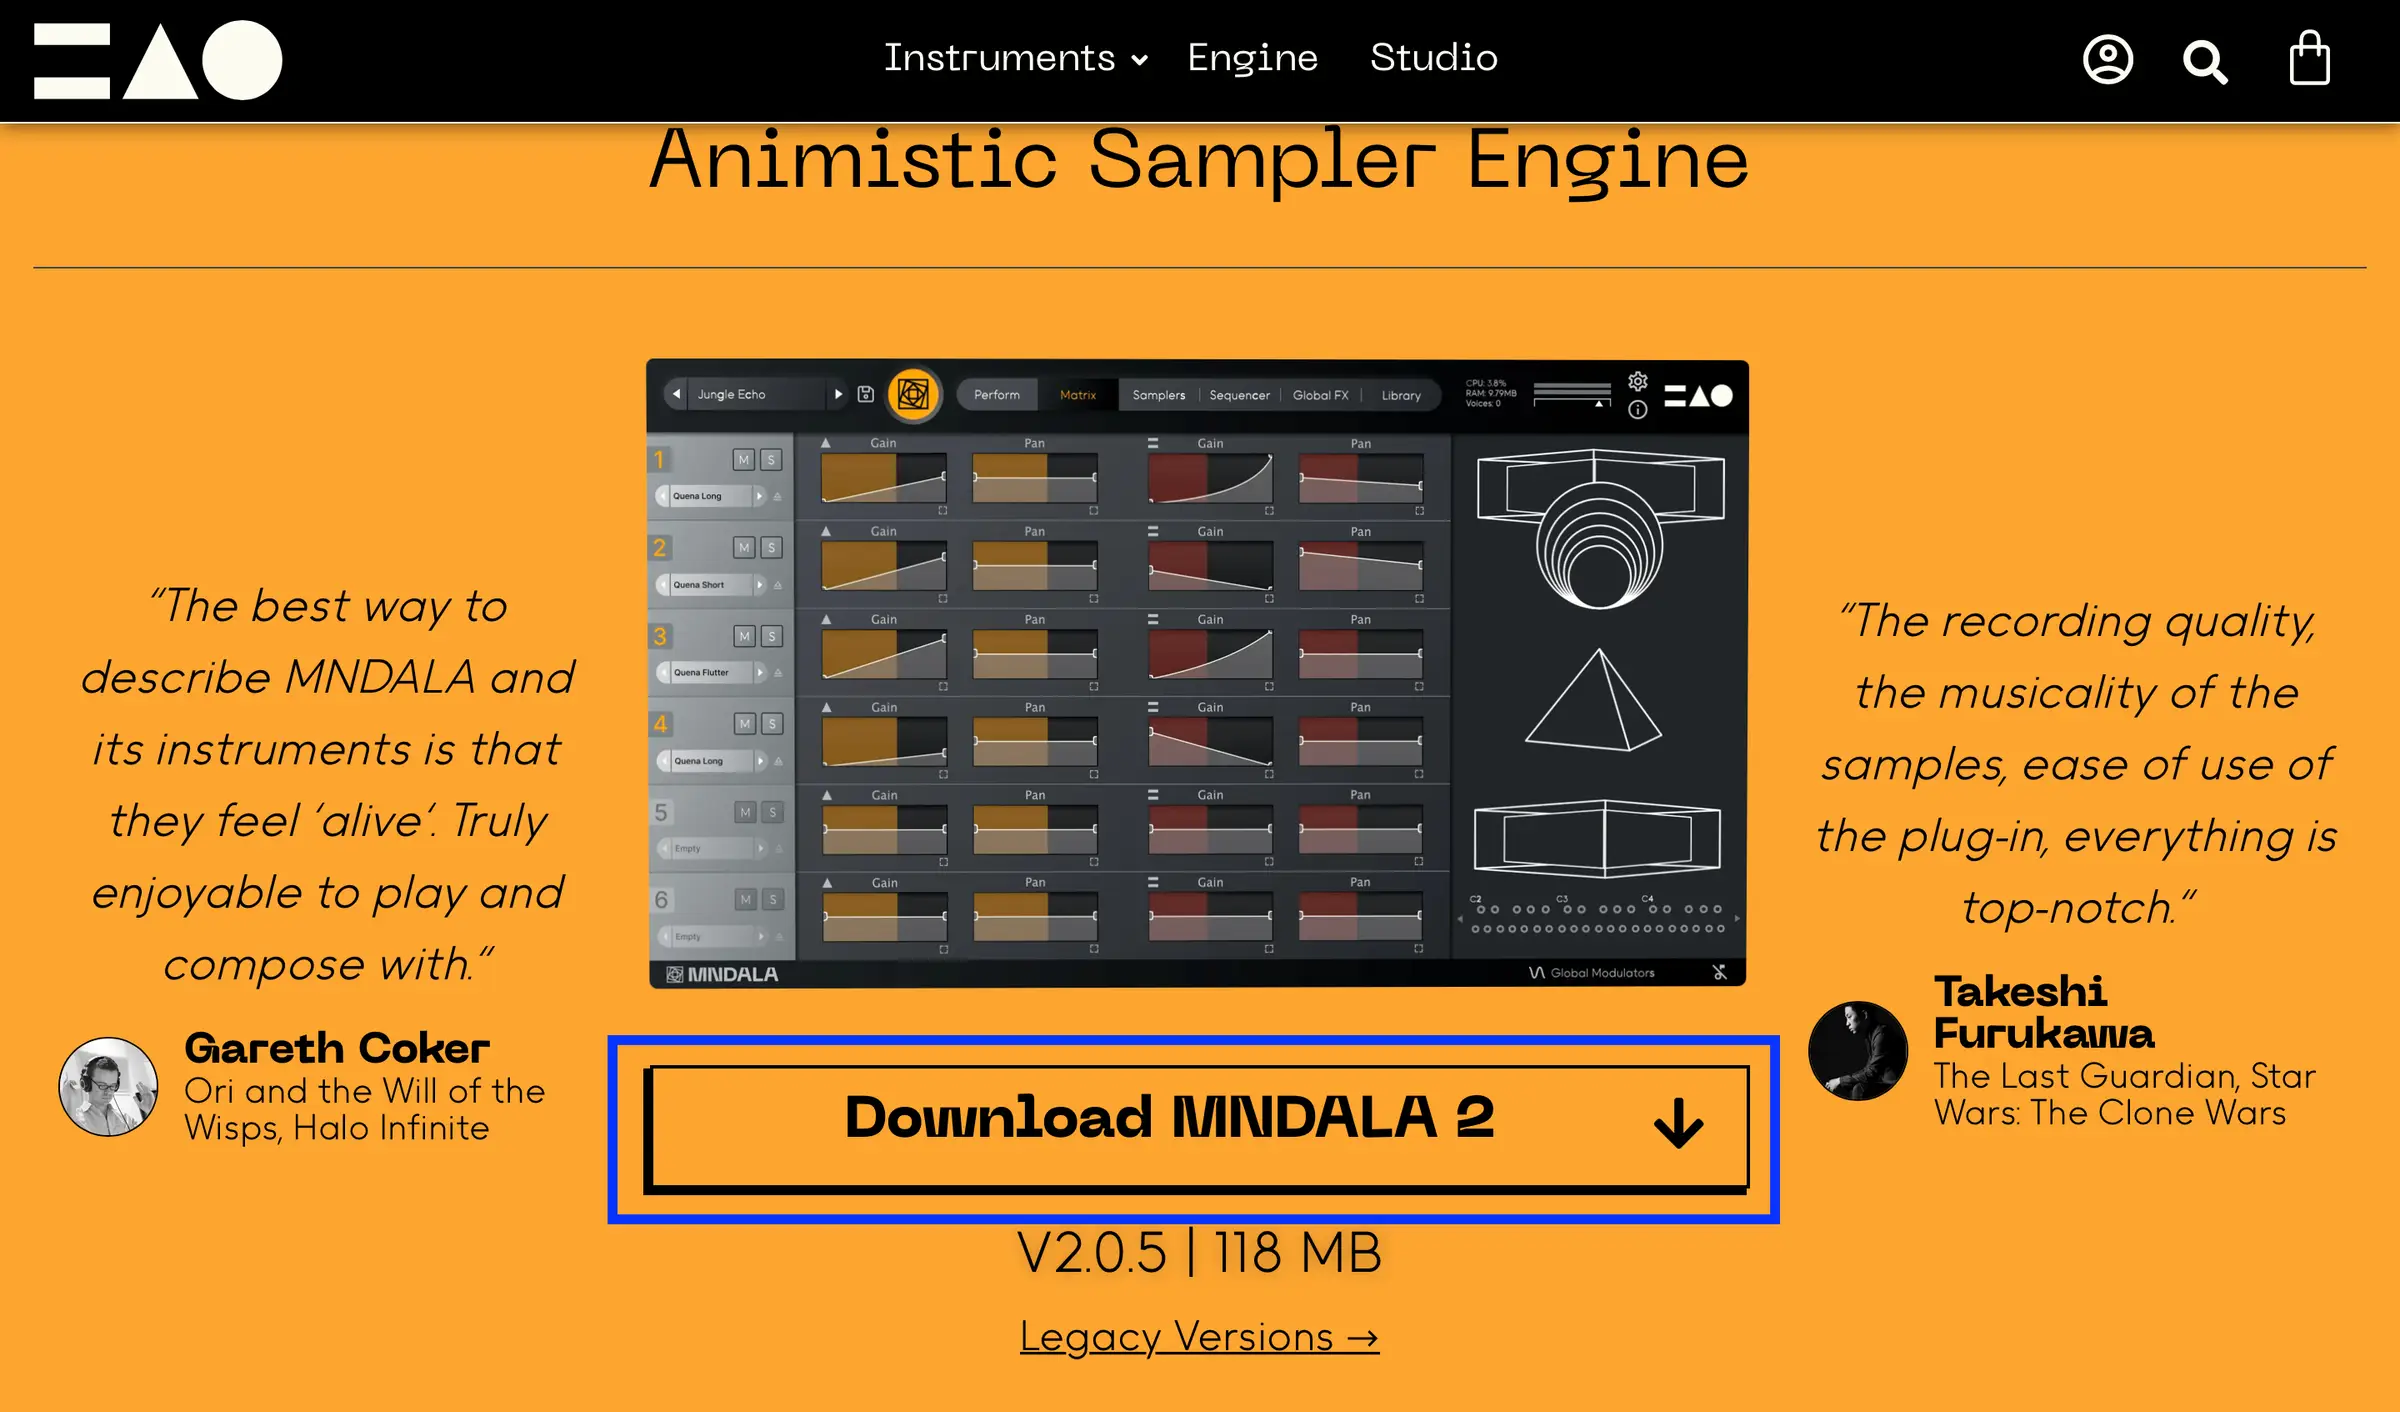
    Download MNDALA 2

    Download the MNDALA 2 VST3/AU plugin for free from our website

    MNDALA 2 download
  3. 3

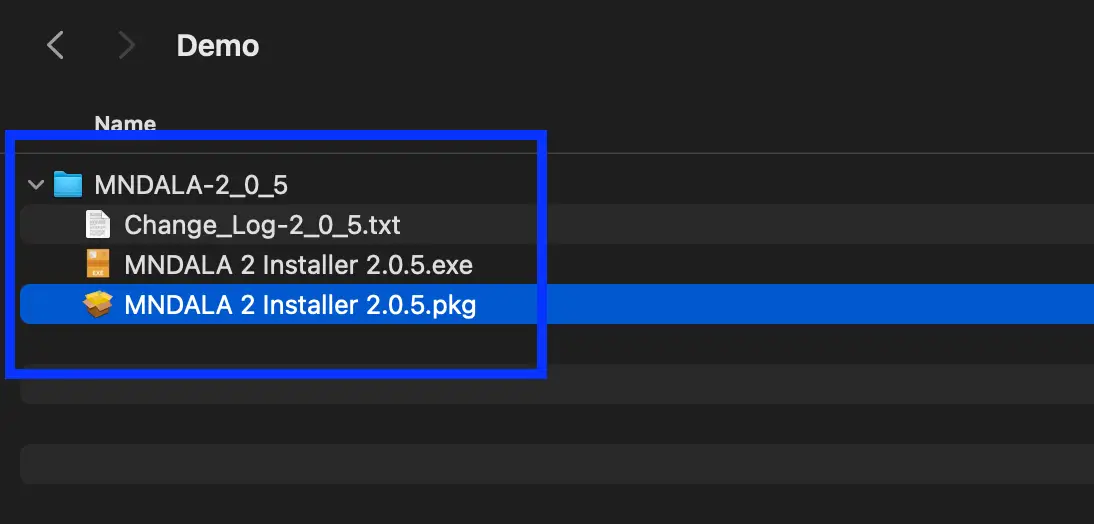
    Run the installer

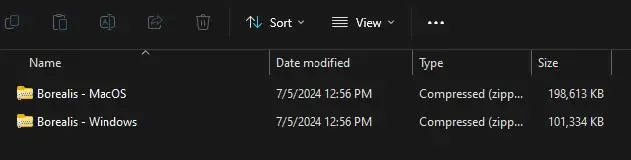
    Run the MNDALA 2 installer for your operating system

    MNDALA 2 installer package
  4. 4

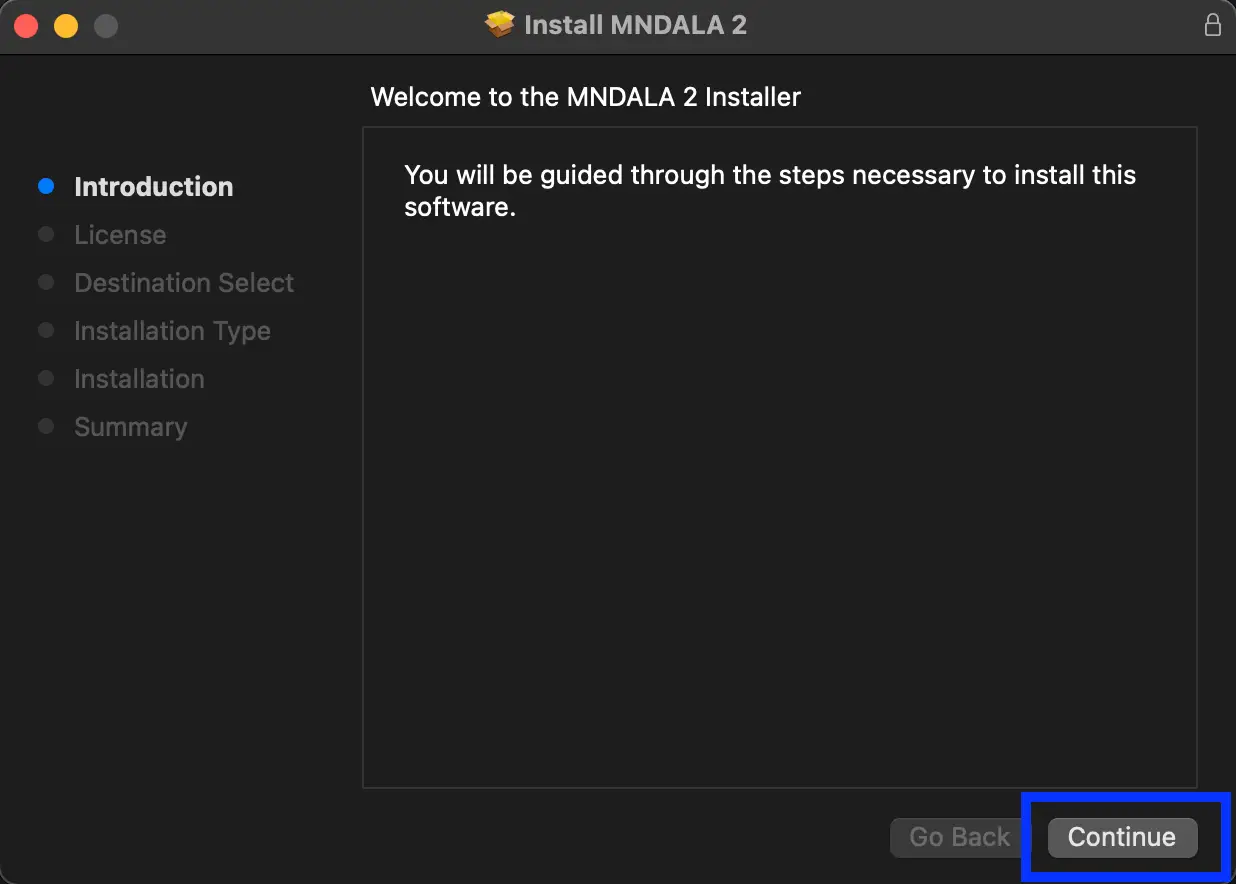
    Proceed through the installer

    Continue through the installer, we recommend leaving everything in its default location.

    MNDALA 2 installer steps
  5. 5

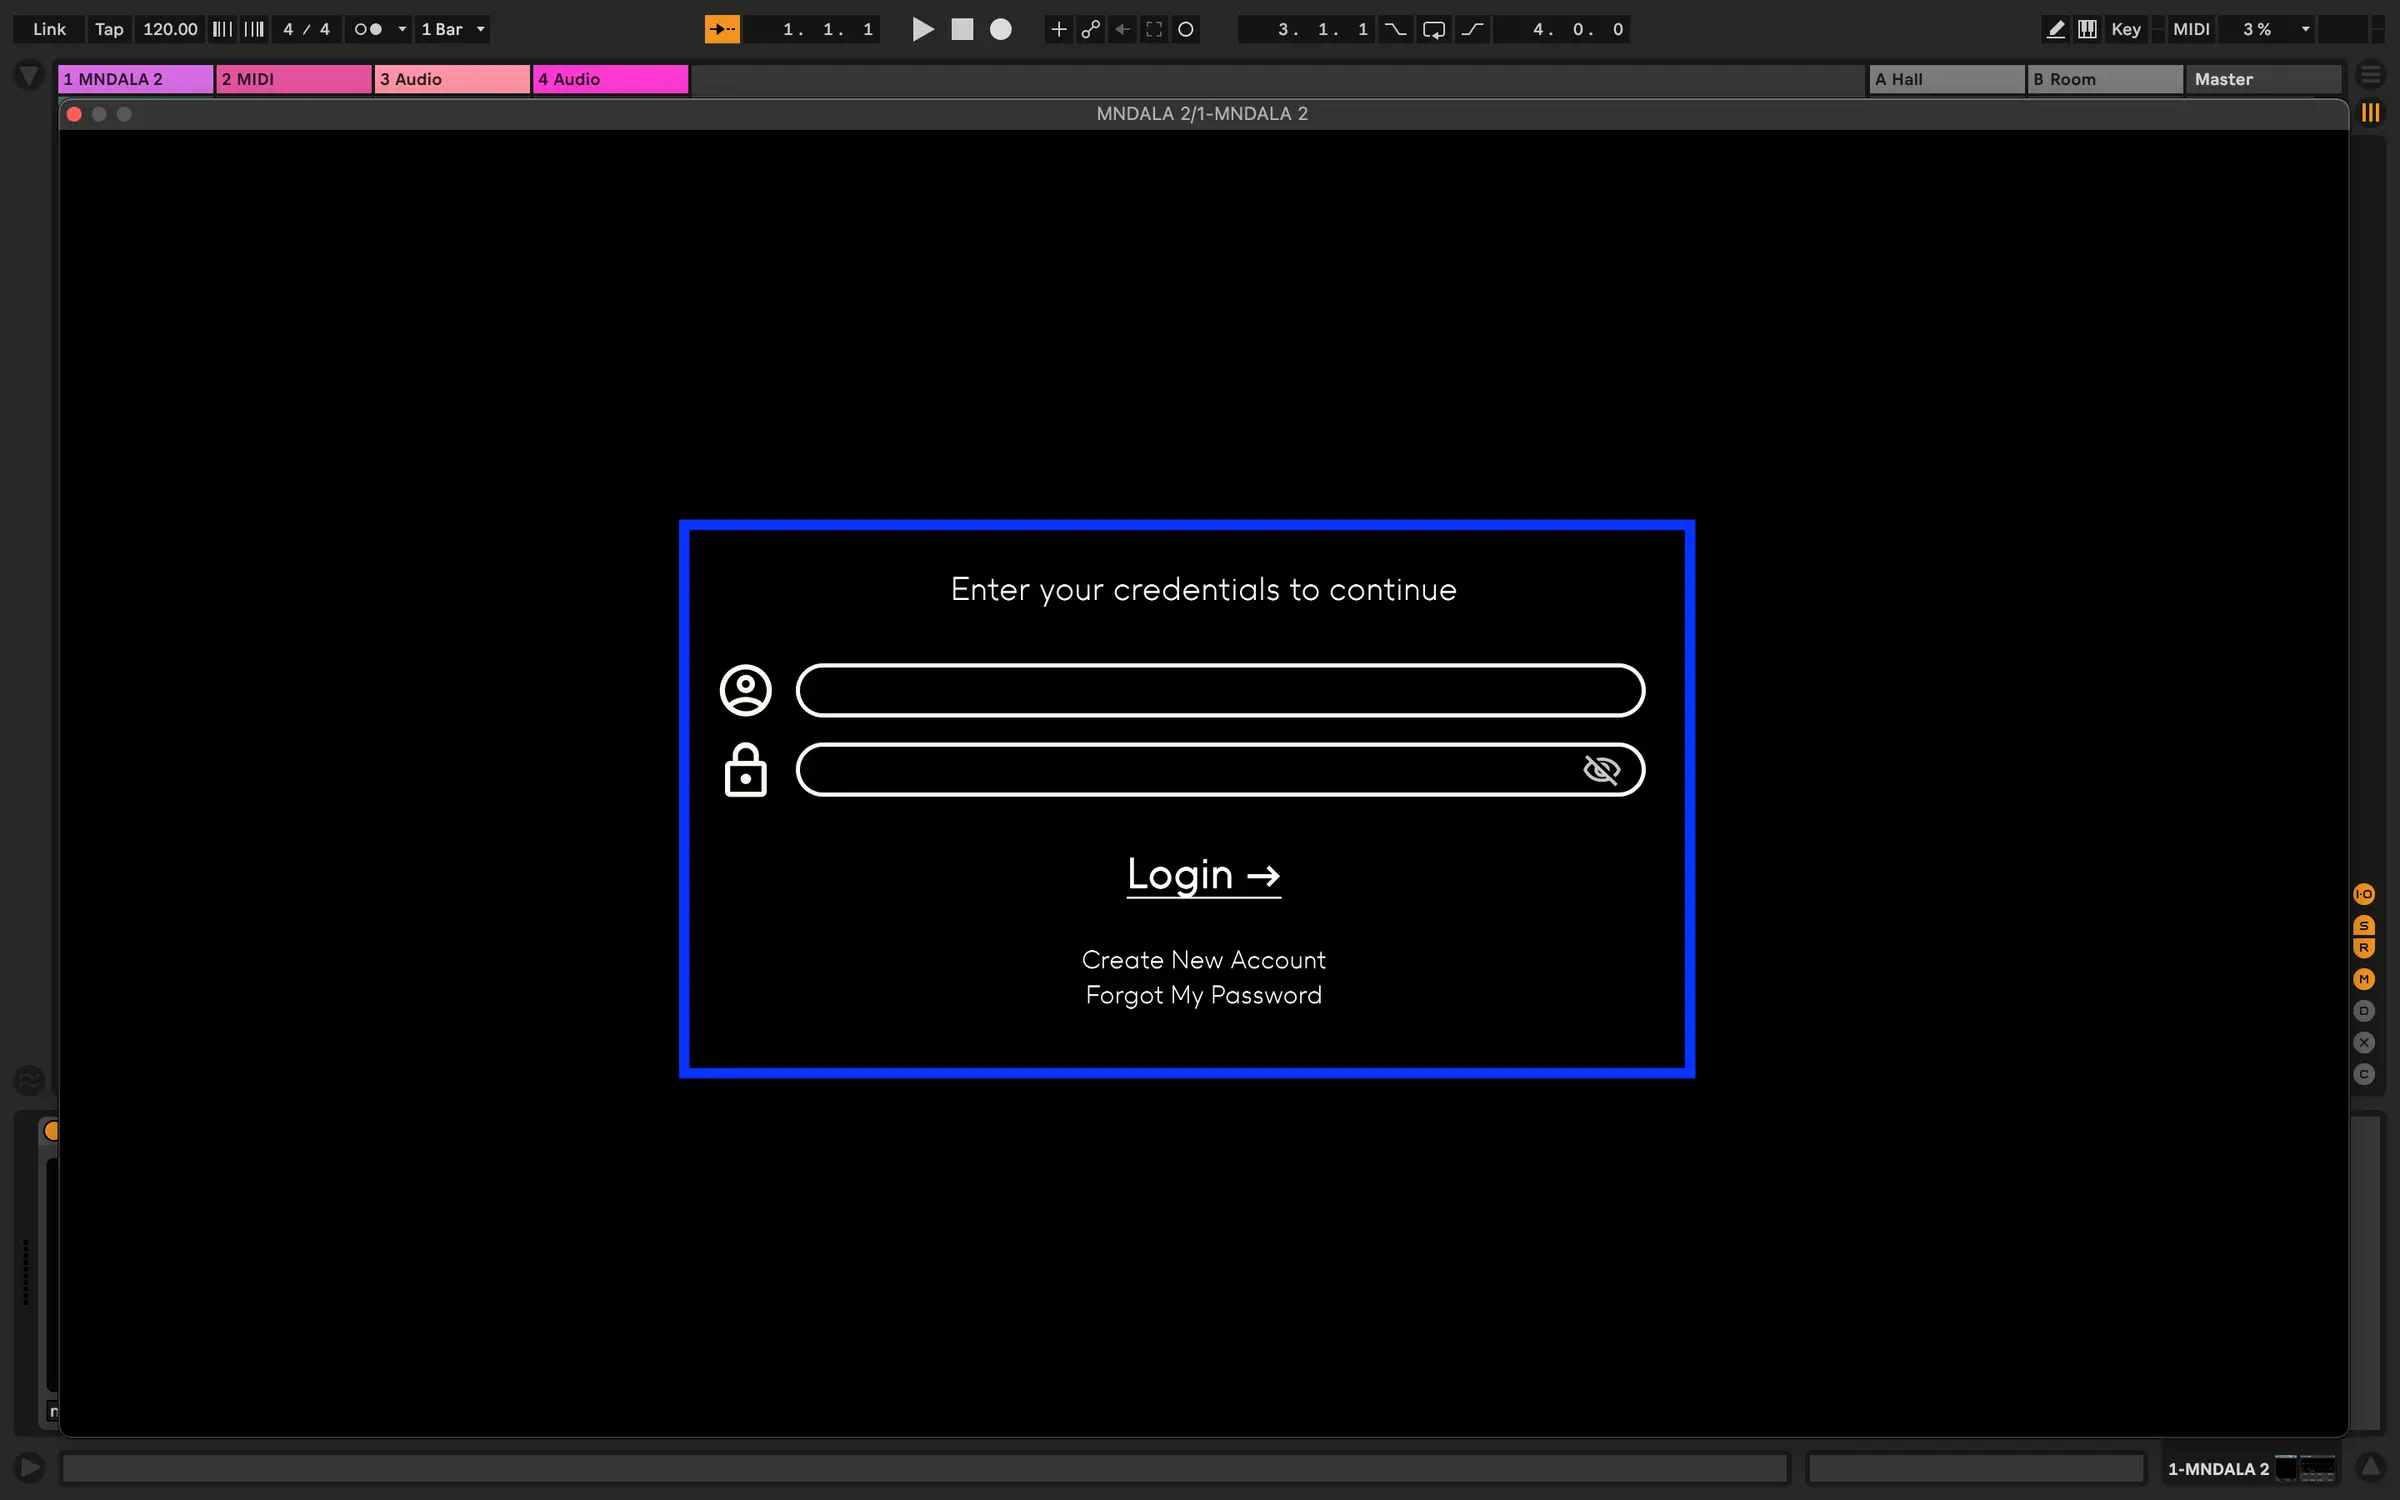
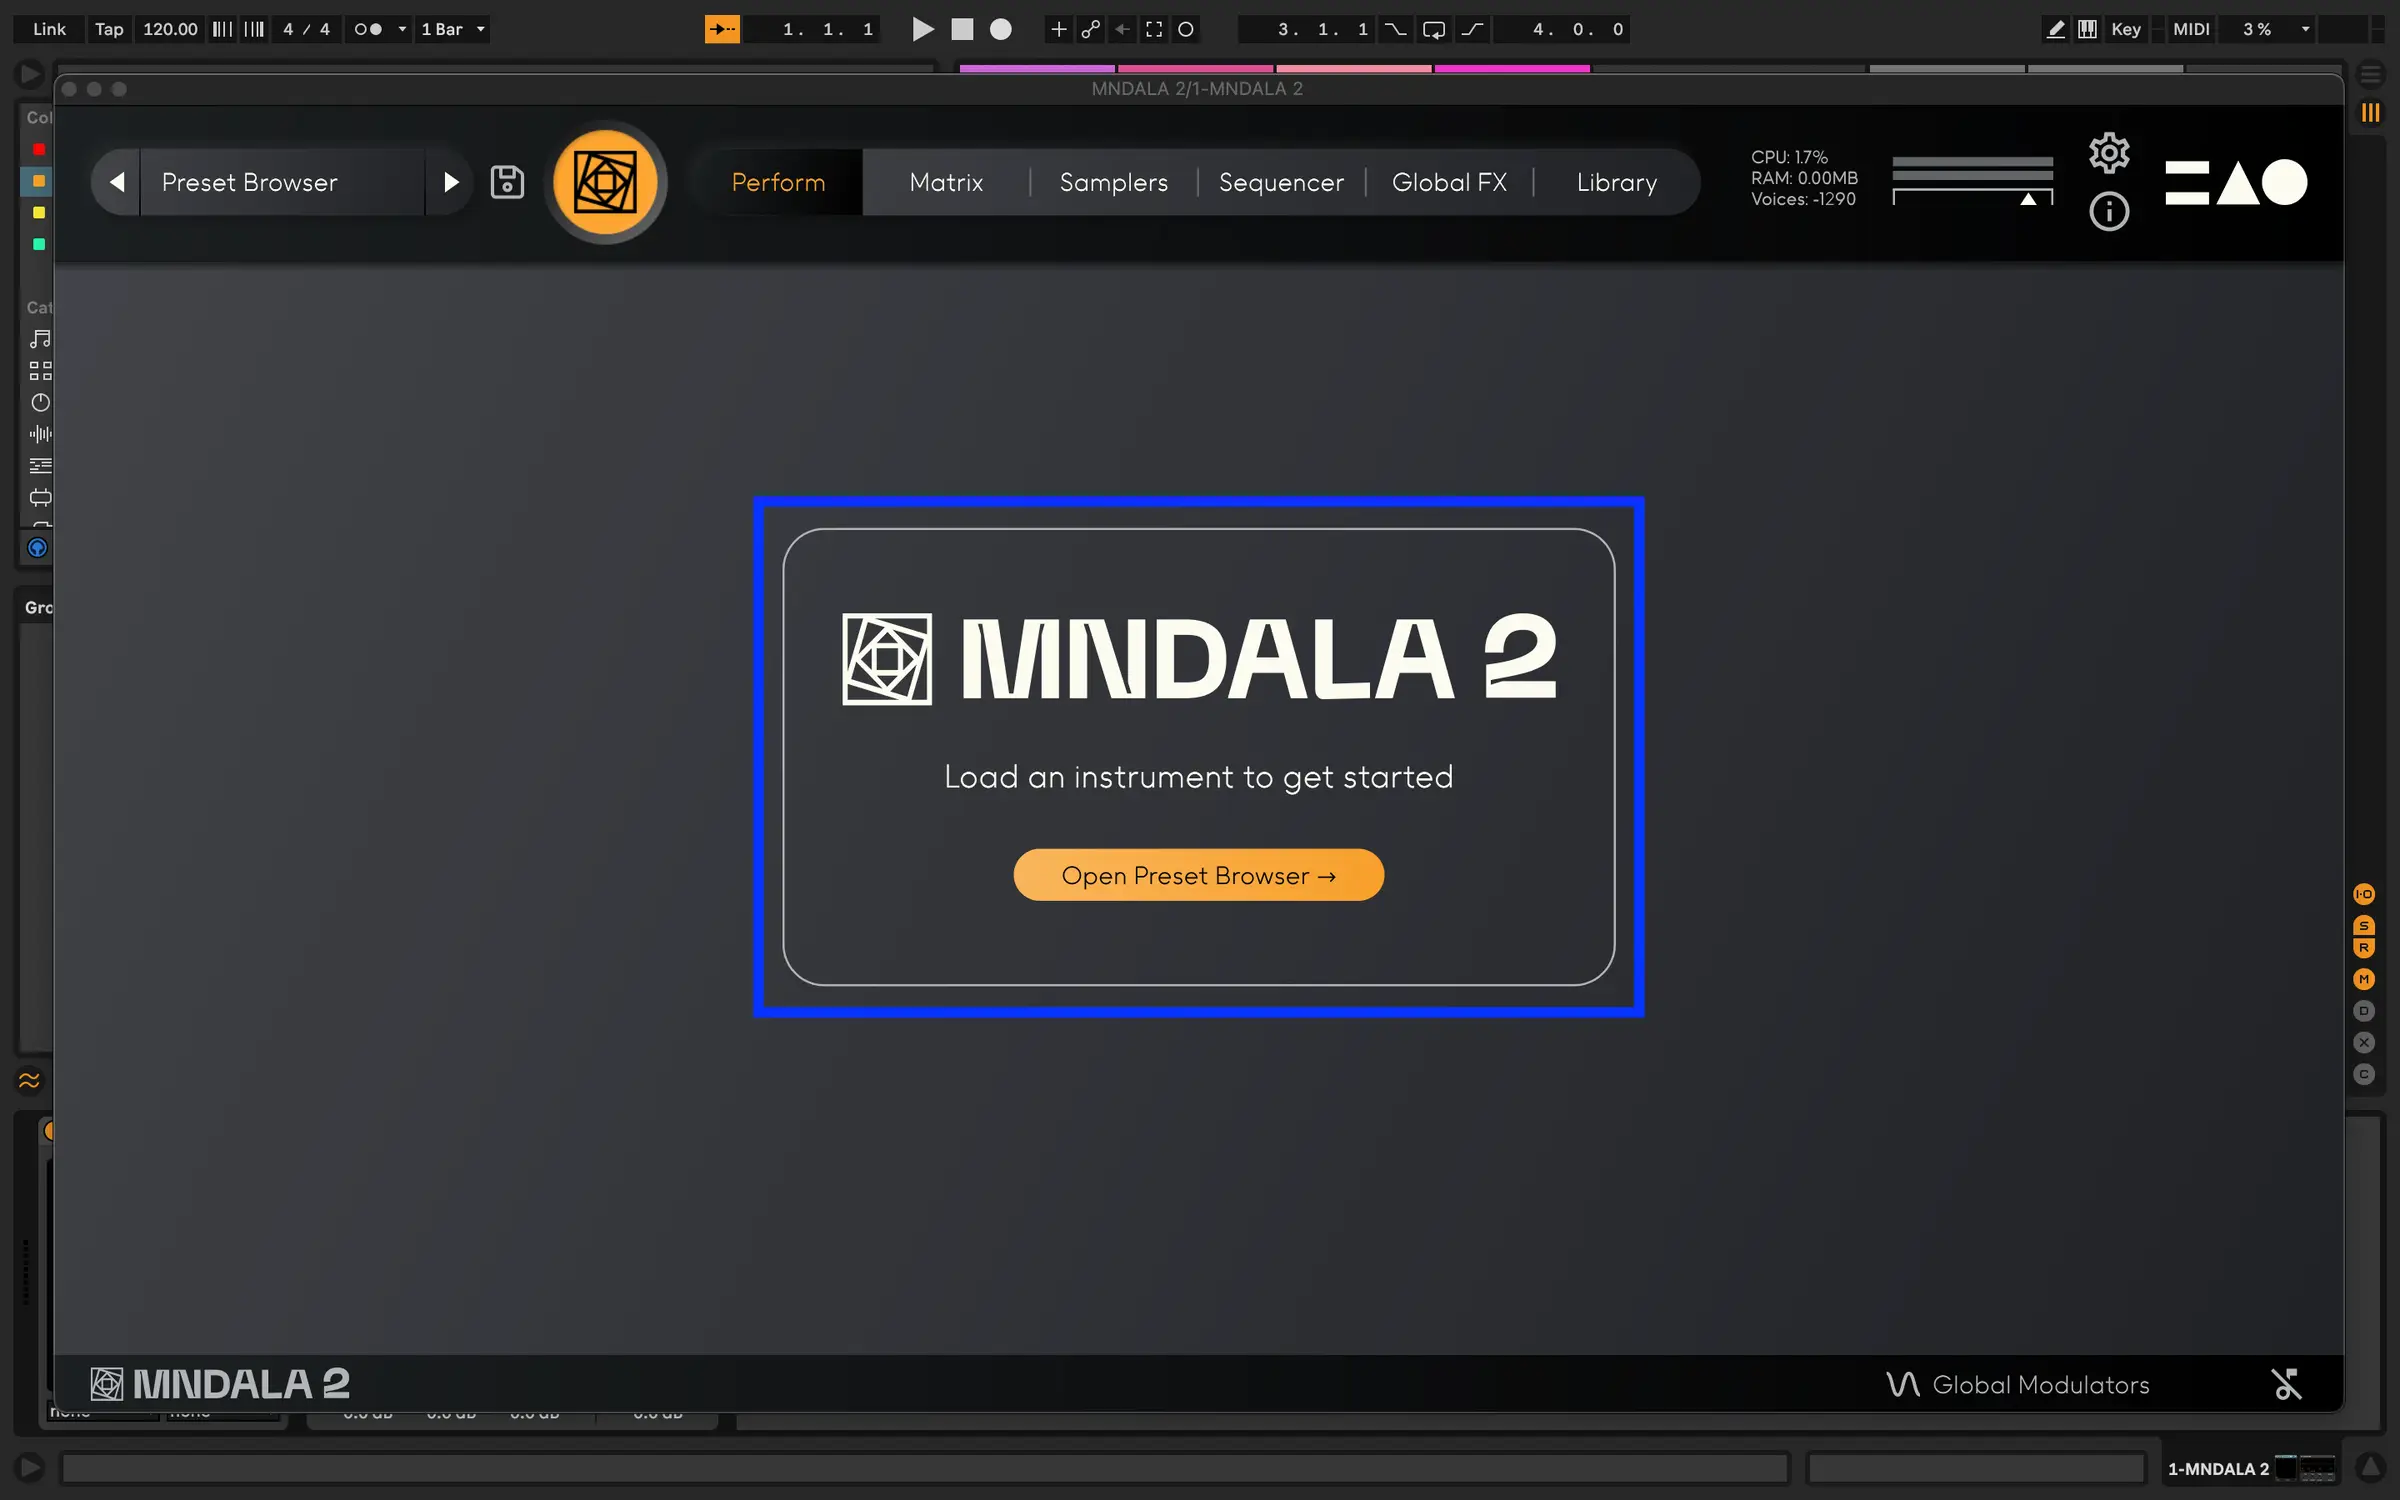
    Open MNDALA 2 in your DAW of choice

    Upon first opening the Plugin you will be prompted to login to your MNTRA Account, or to create a new one.

    MNDALA 2 login in a DAW
  6. 6

    Congratulations MNDALA 2 is now ready to go

    The next step is getting one of our instruments to use with the MNDALA 2 engine. Follow the next set of instructions to get started.

    MNDALA 2 ready in a DAW

Instruments

Instruments

After purchasing an instrument through MNTRA, log in to your MNTRA account inside MNDALA 2 and your instruments will be ready to install from the Library tab.
  1. 1

    Our instruments

    To use MNDALA 2 you will first have to buy one of our instruments (or download one of our free instruments!)

    MNTRA instrument catalog
  2. 2

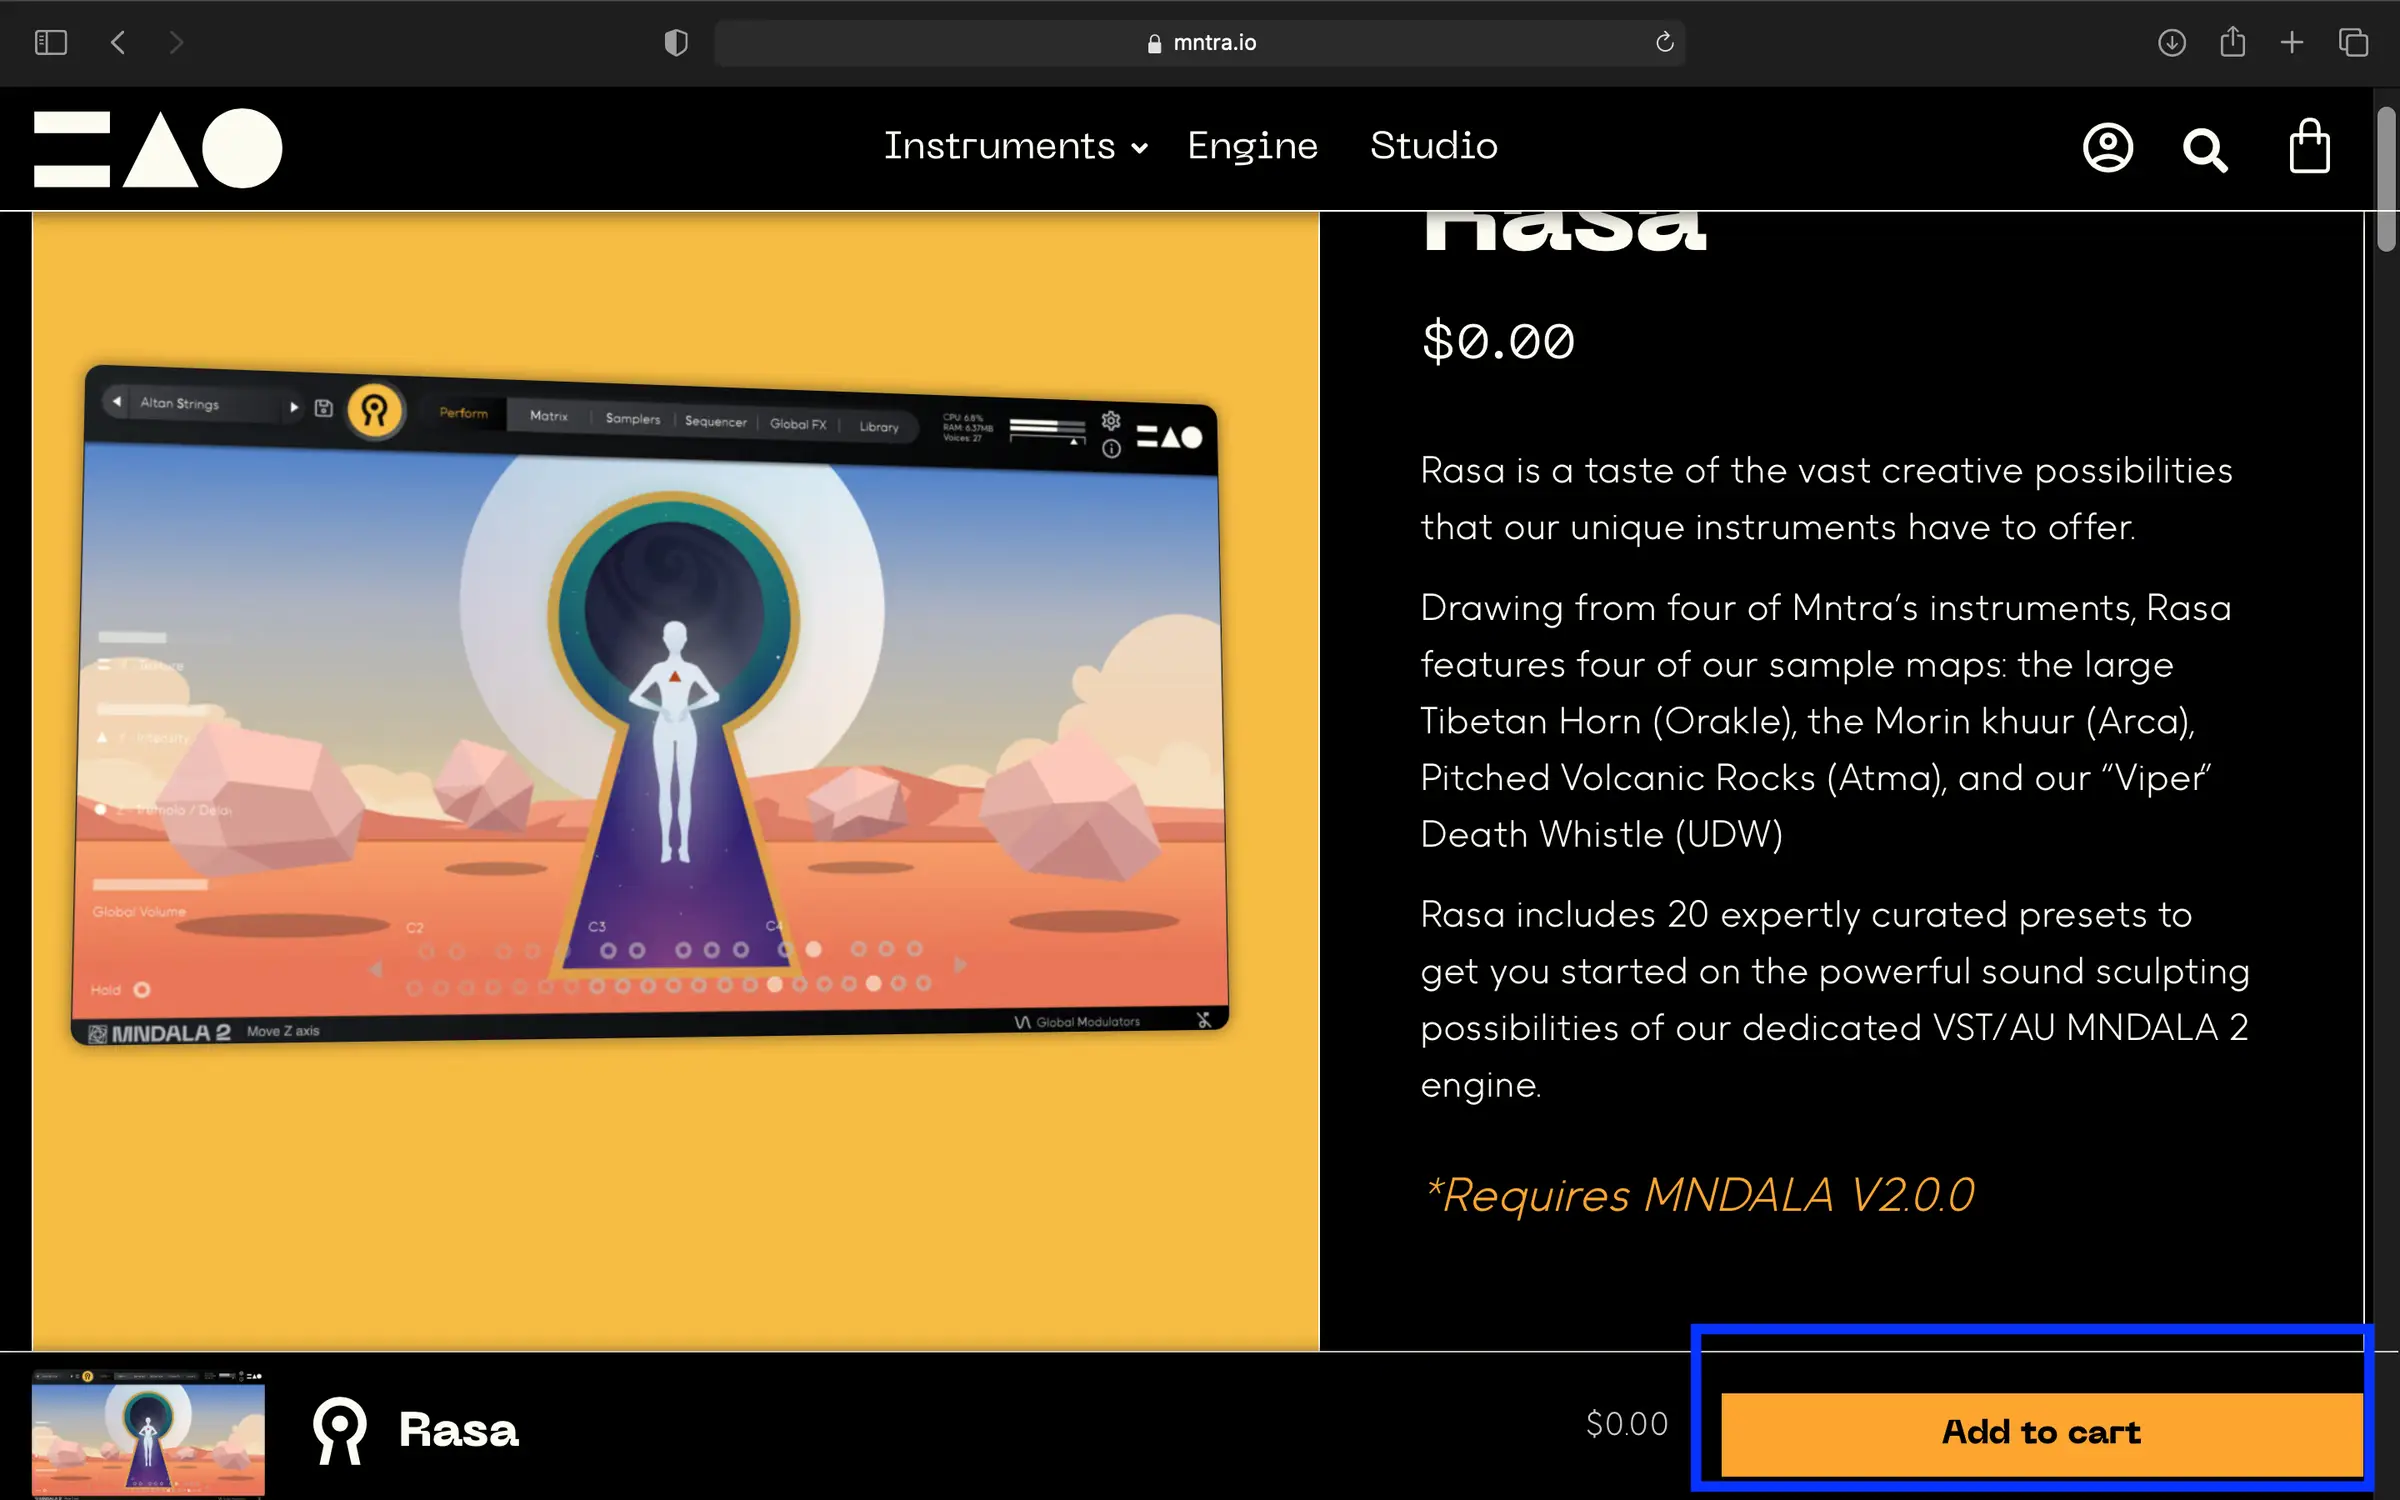
    Acquiring a license

    Instrument licenses can be acquired either through our website, or one of our distributors (ie. Plugin Boutique)

    MNTRA shop license purchase
  3. 3

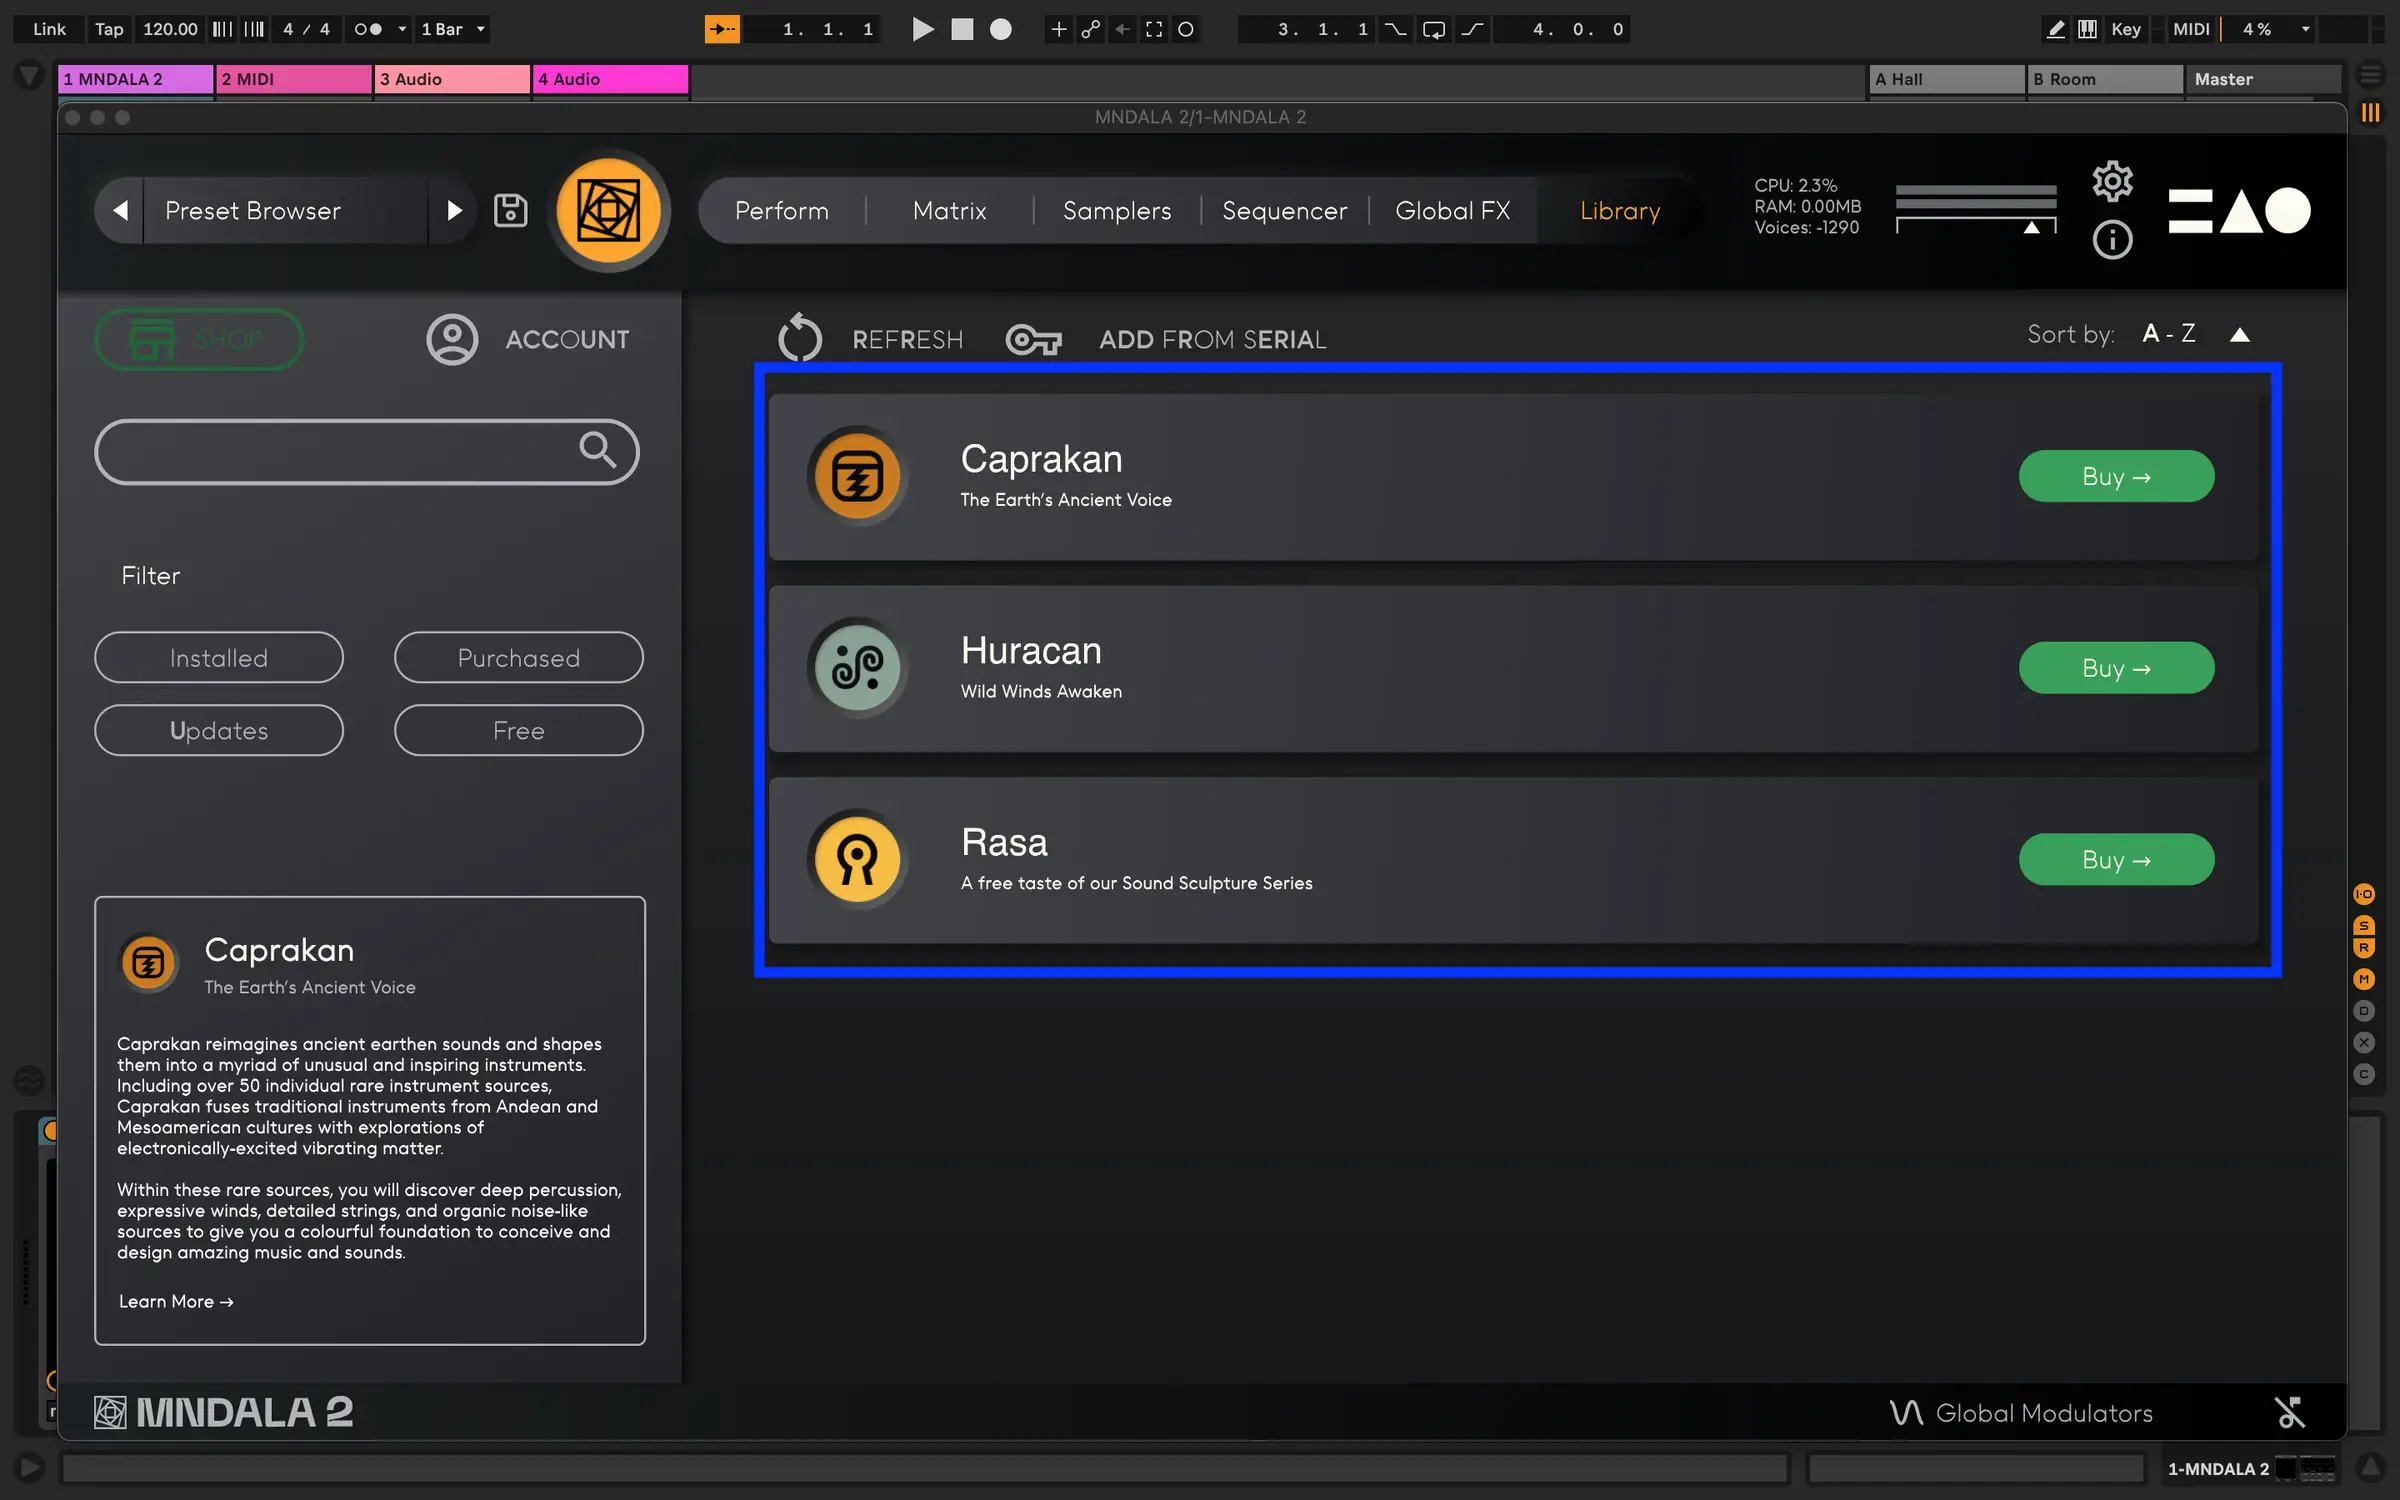
    Instrument Library

    After purchasing a license for one of our instruments, it will be ready to install from the Library tab in MNDALA 2. (You may have to press the Refresh button)

    MNDALA 2 Library tab
  4. 4

    Instruments bought elsewhere

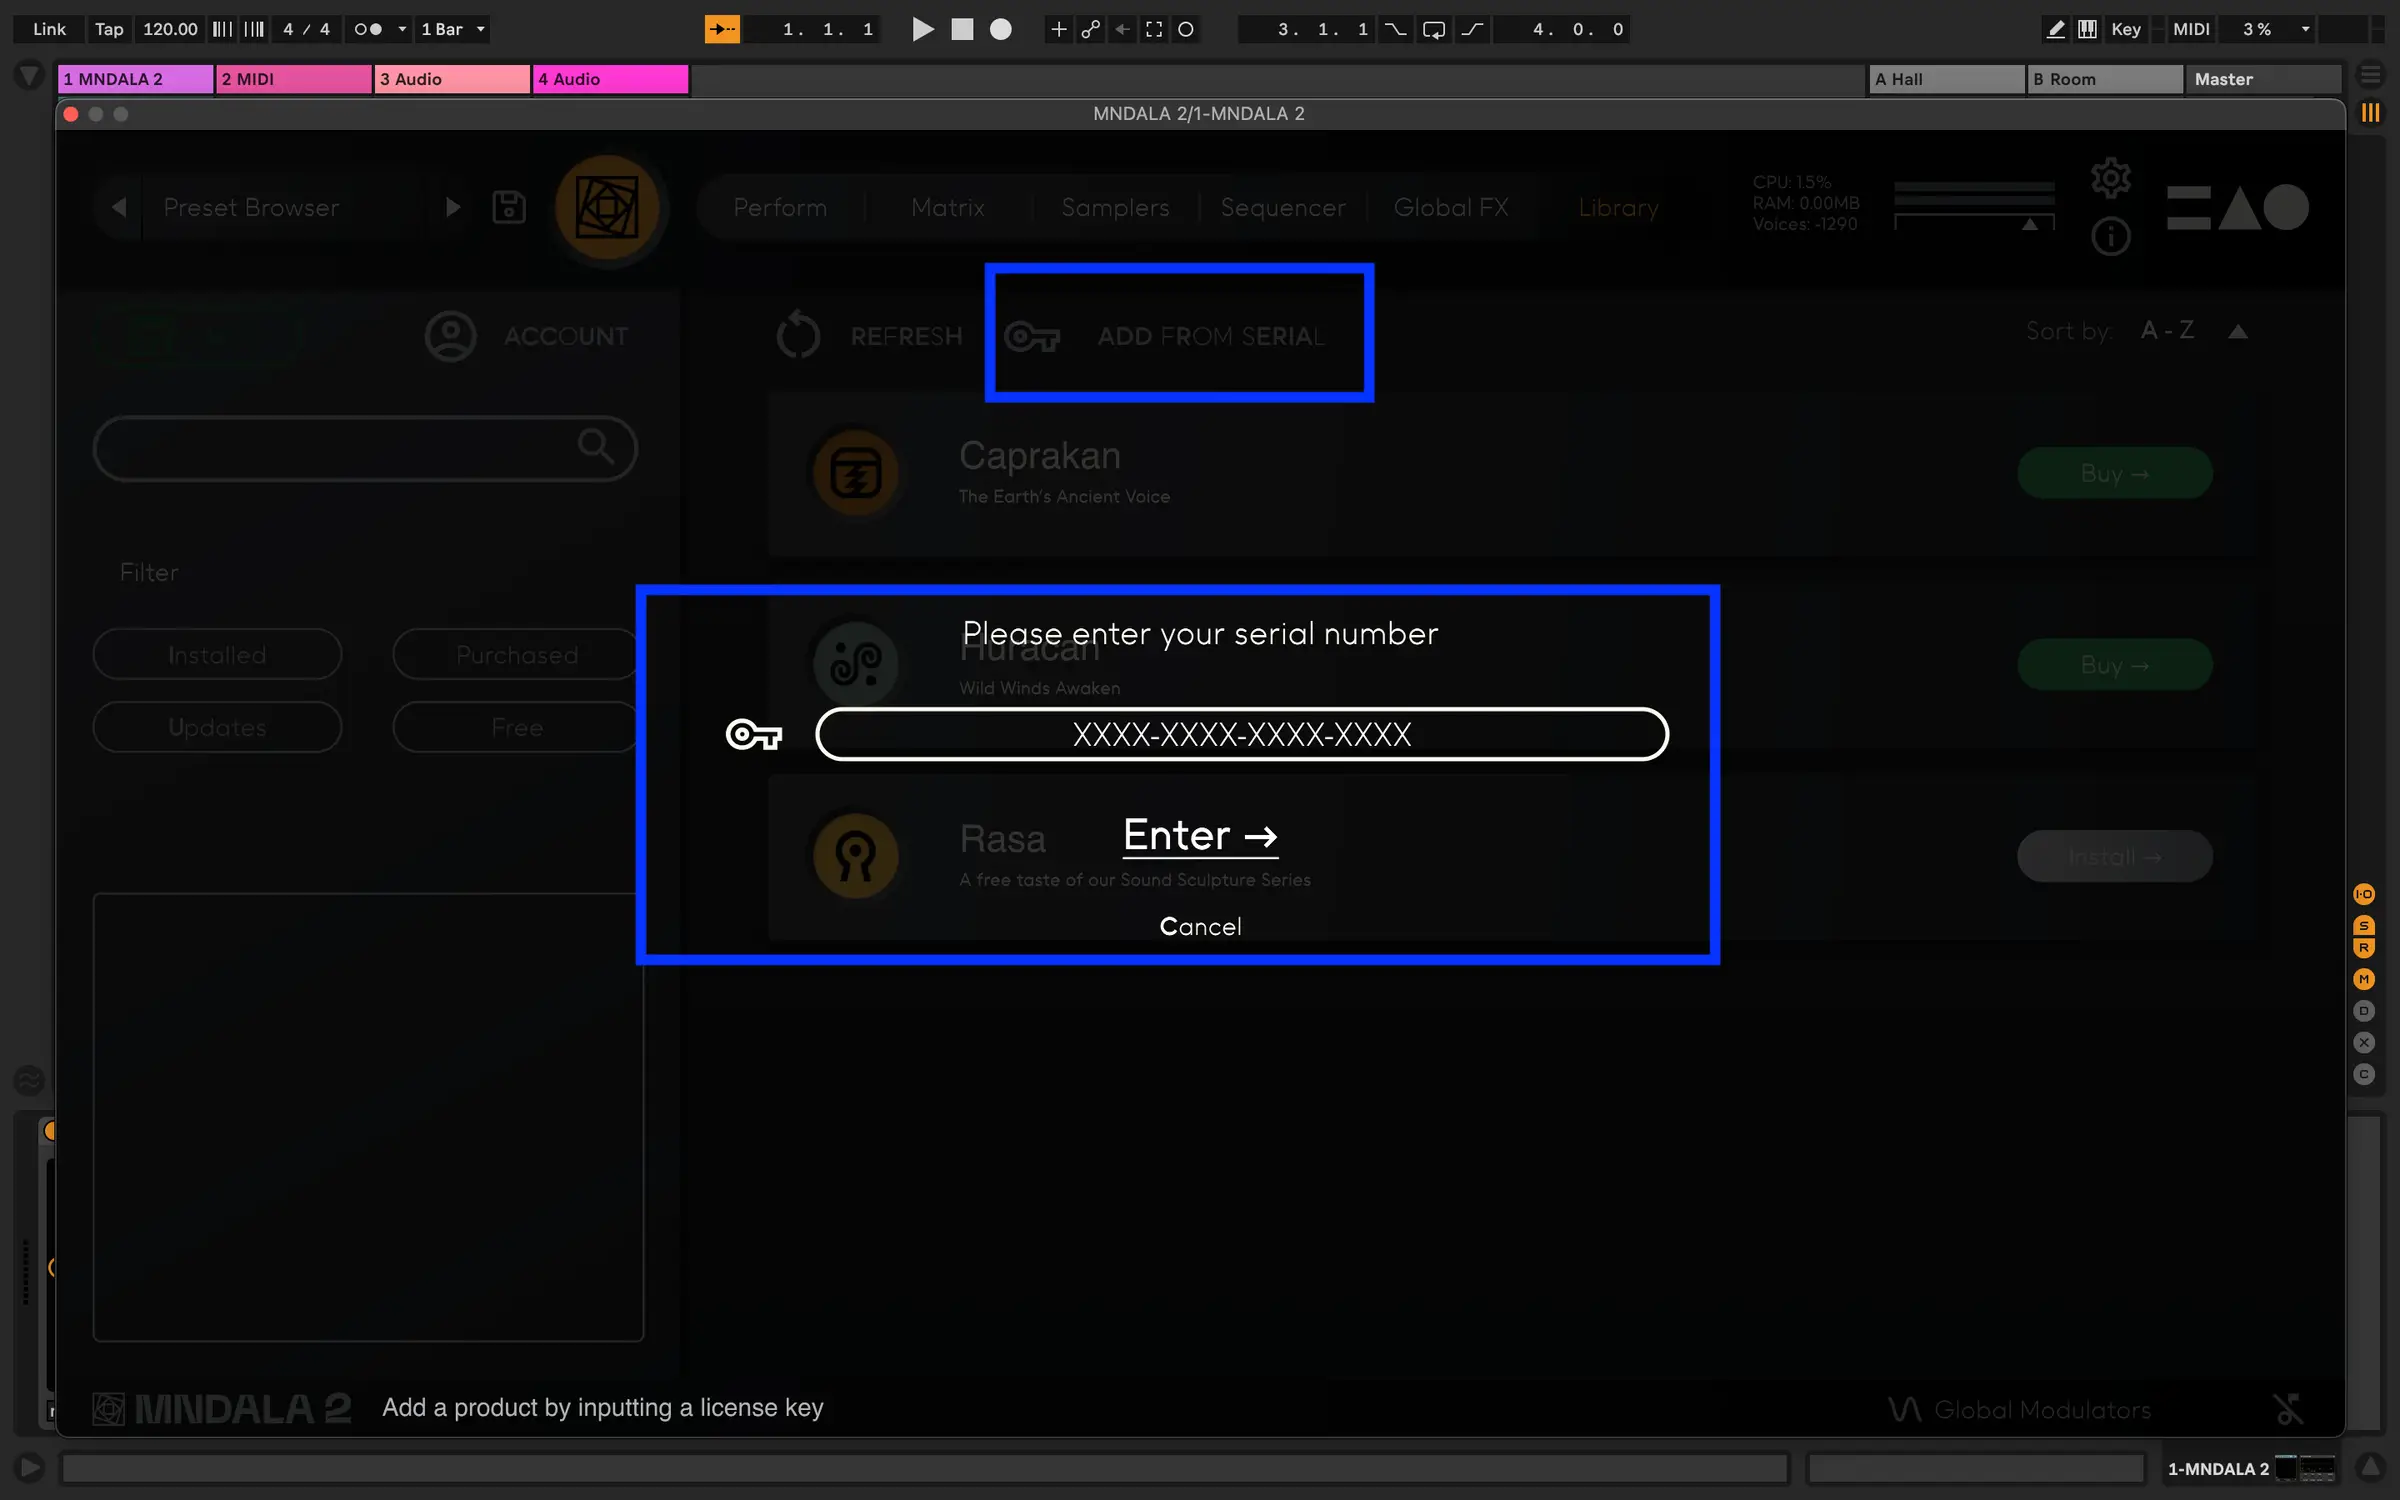
    If you purchased an instrument through one of our distributors, you simply have to press the Add From Serial button on the Library page and enter your license key. This will sync the product with your MNTRA Account.

    Add From Serial in MNDALA 2
  5. 5

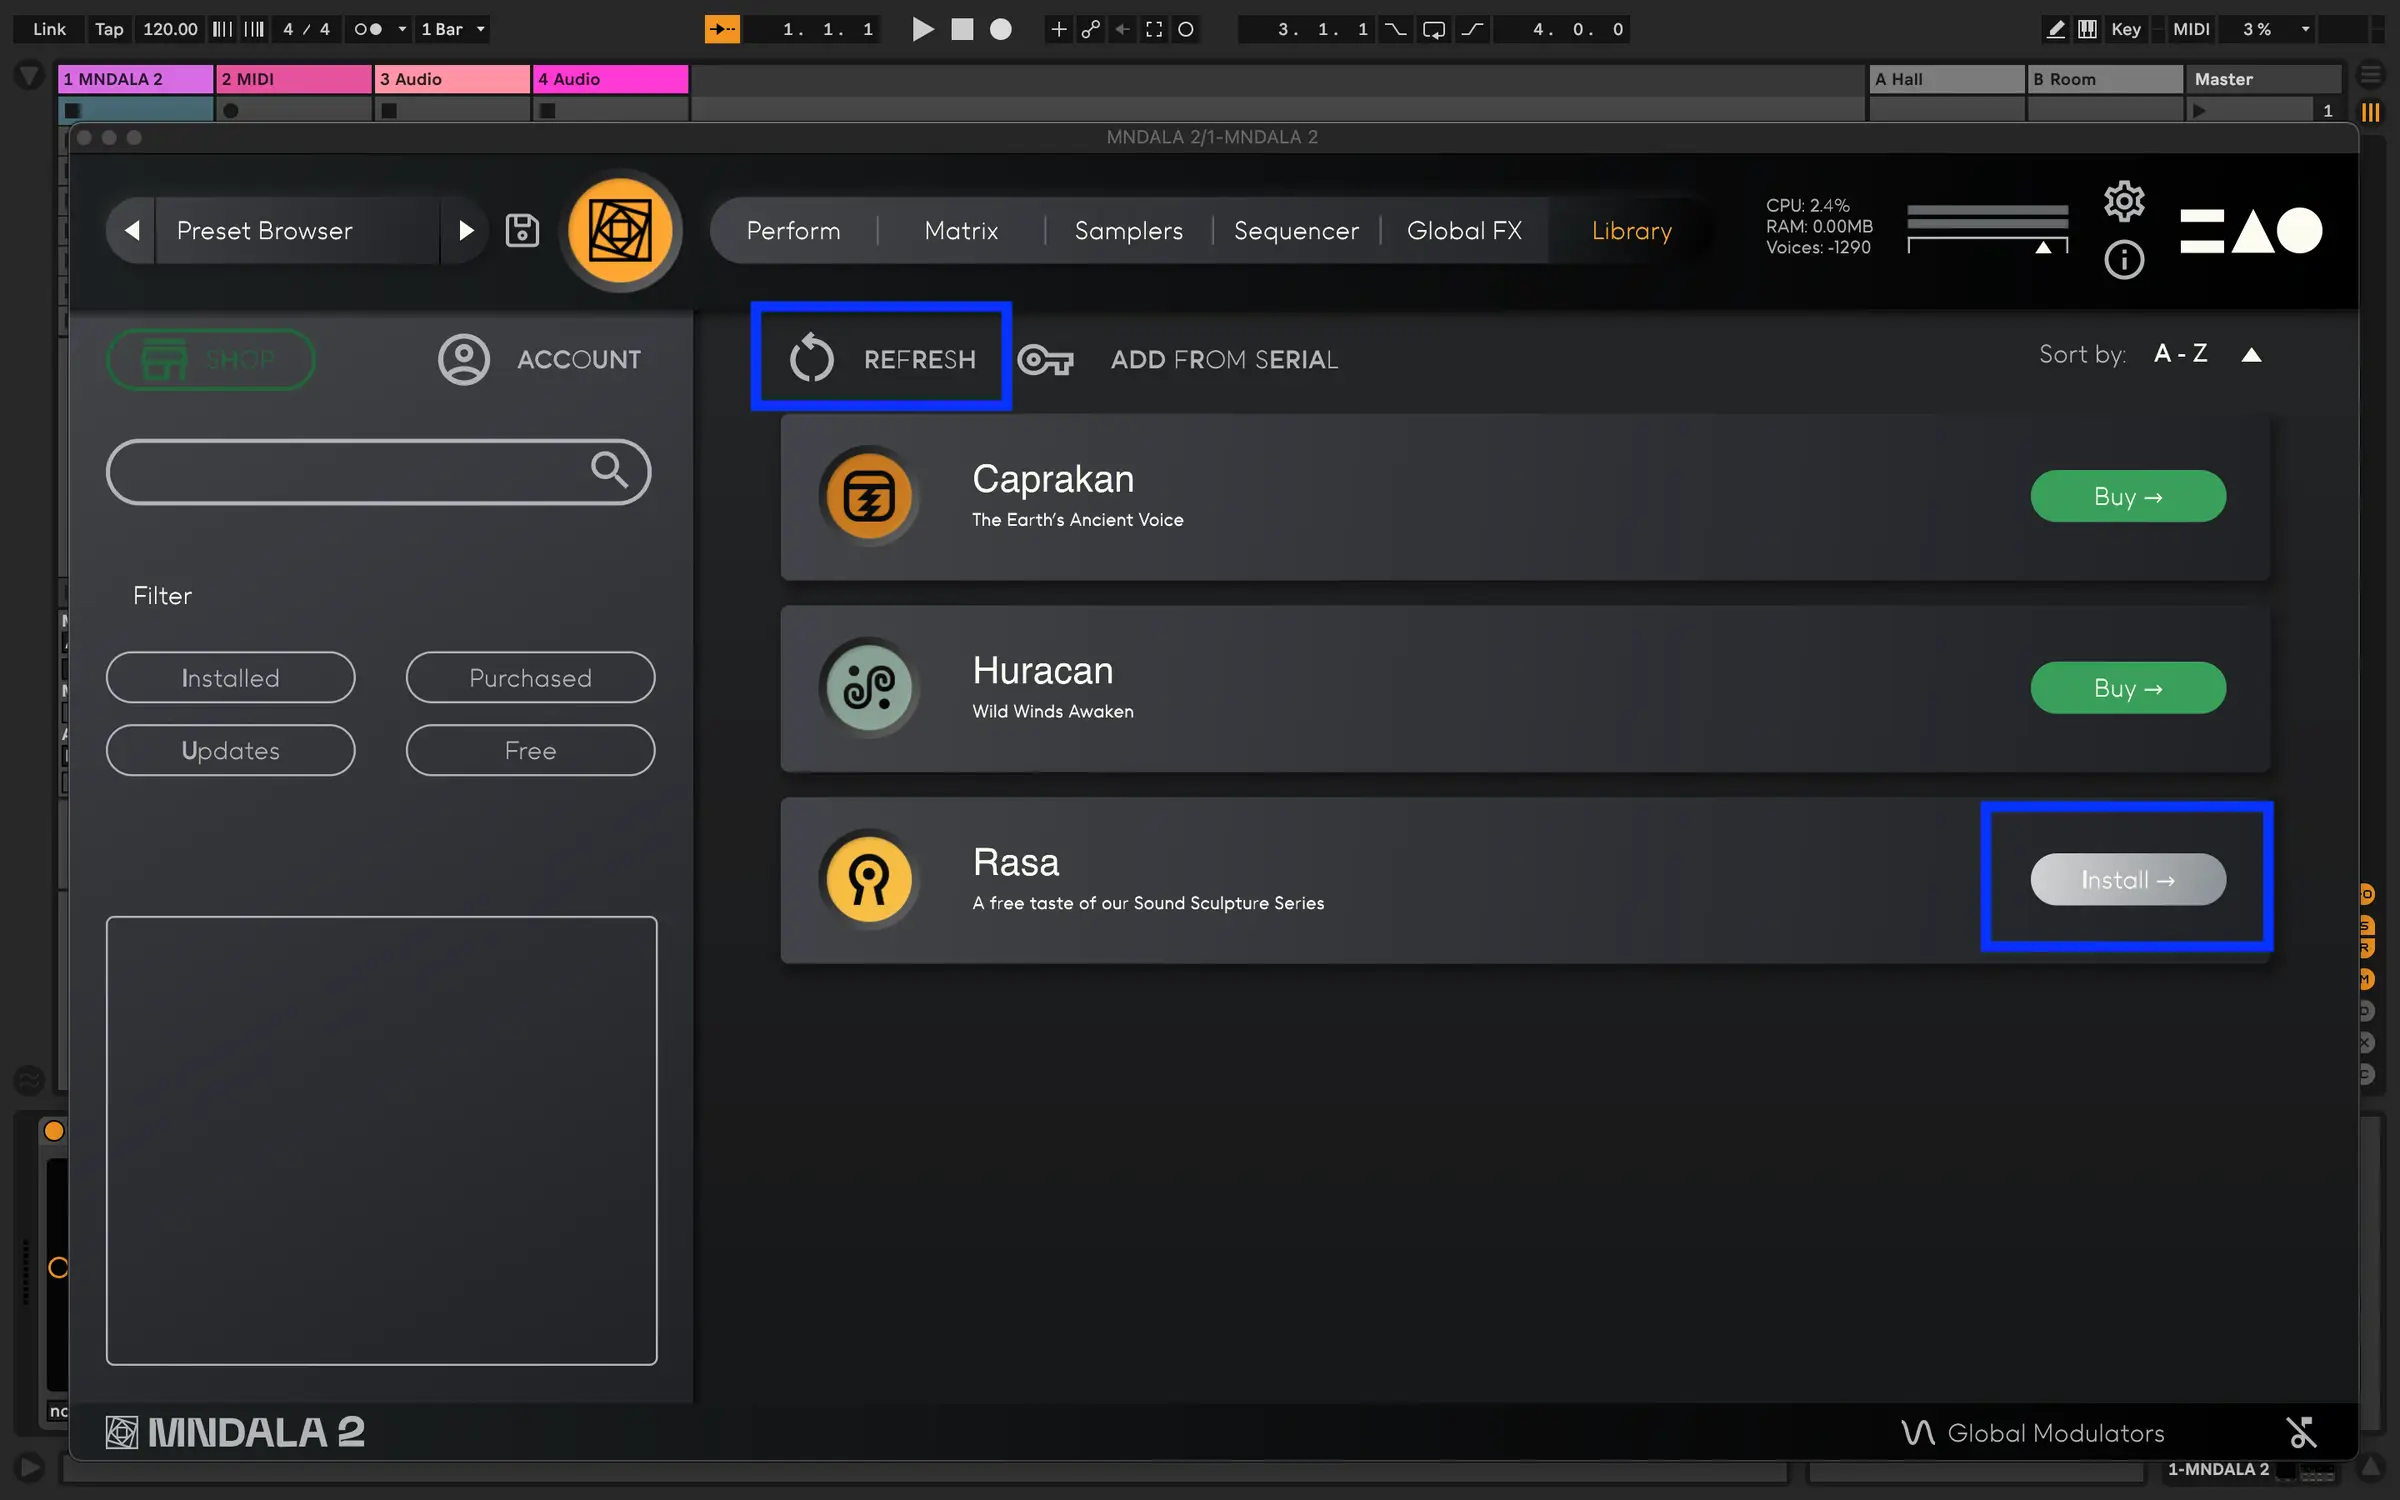
    Installing an instrument

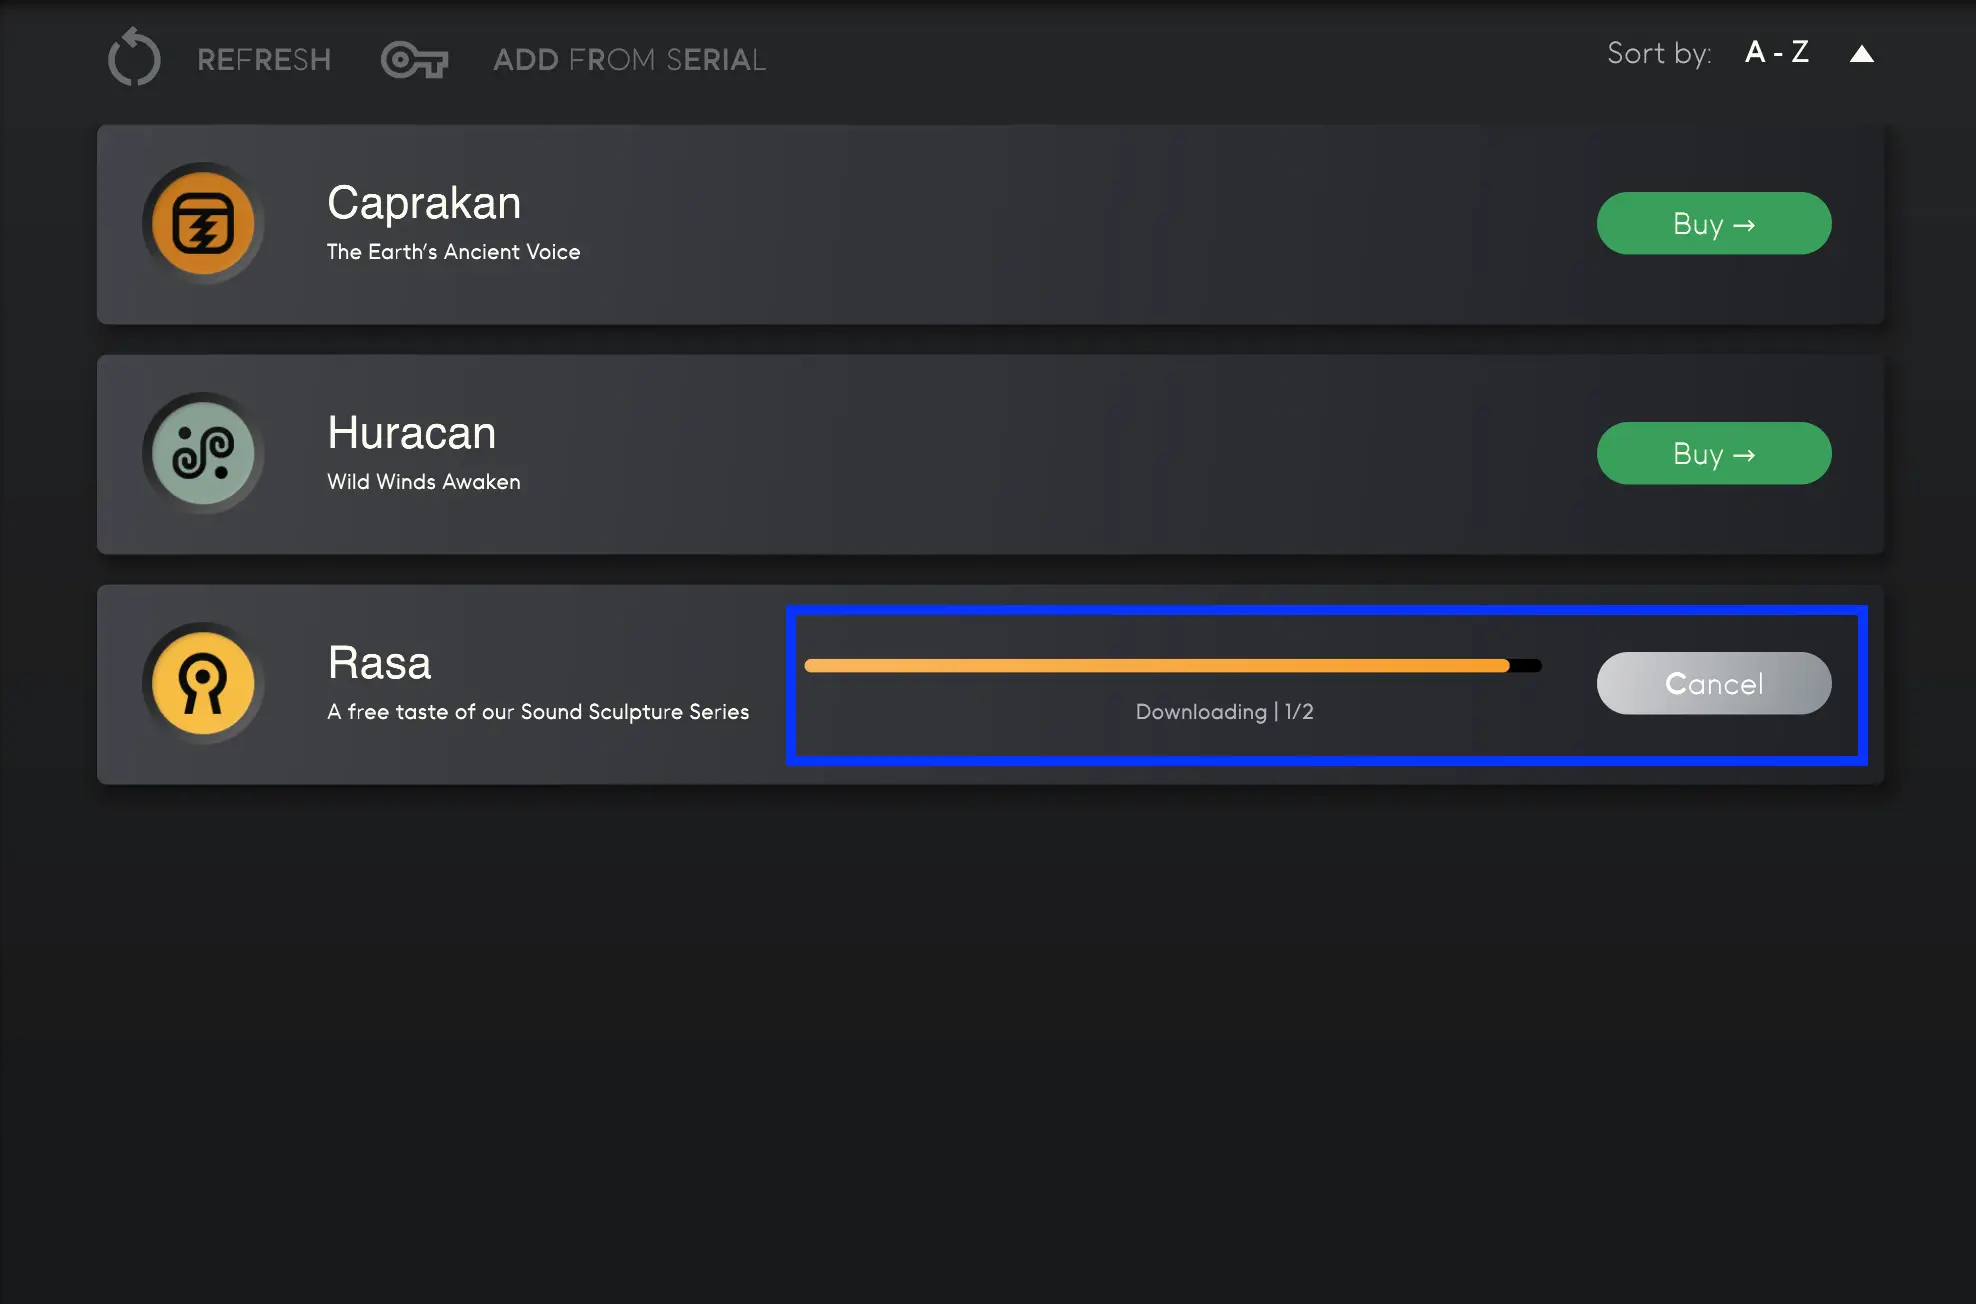
    Once your license has been verified, press the Install button to begin installing your instrument.

    Install button in MNDALA 2
  6. 6

    Installation Options

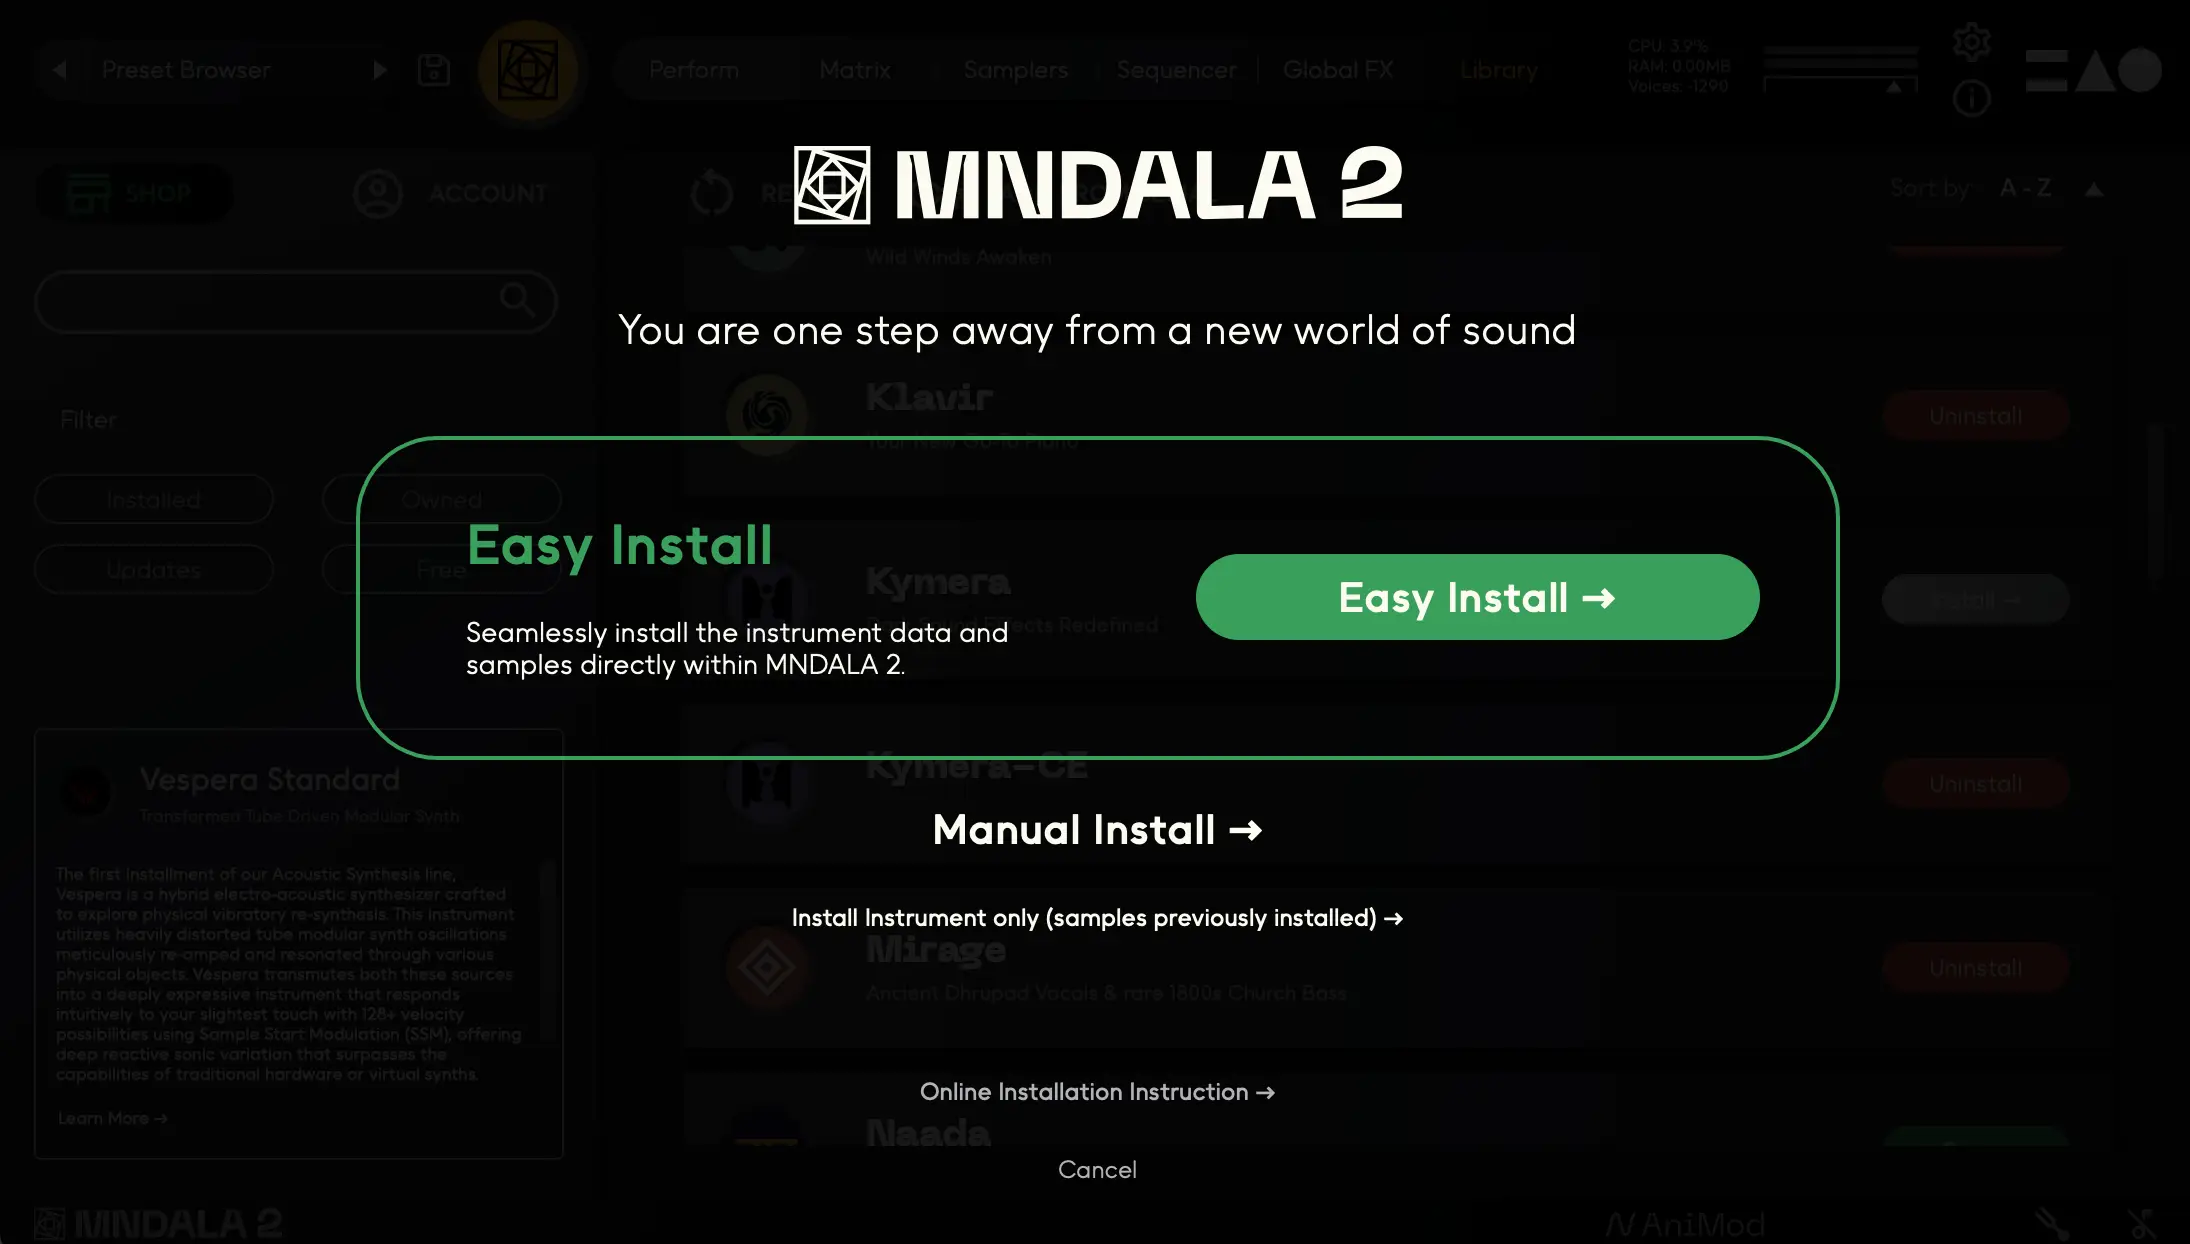
    After pressing install you will see a dialogue where you can choose between 'Easy' and 'Manual' installation. In most cases, Easy install is the fastest and most convenient method, but if you encounter any network issues you can use the Manual install method.

    Easy and Manual install options
  7. 7

    Manual Install

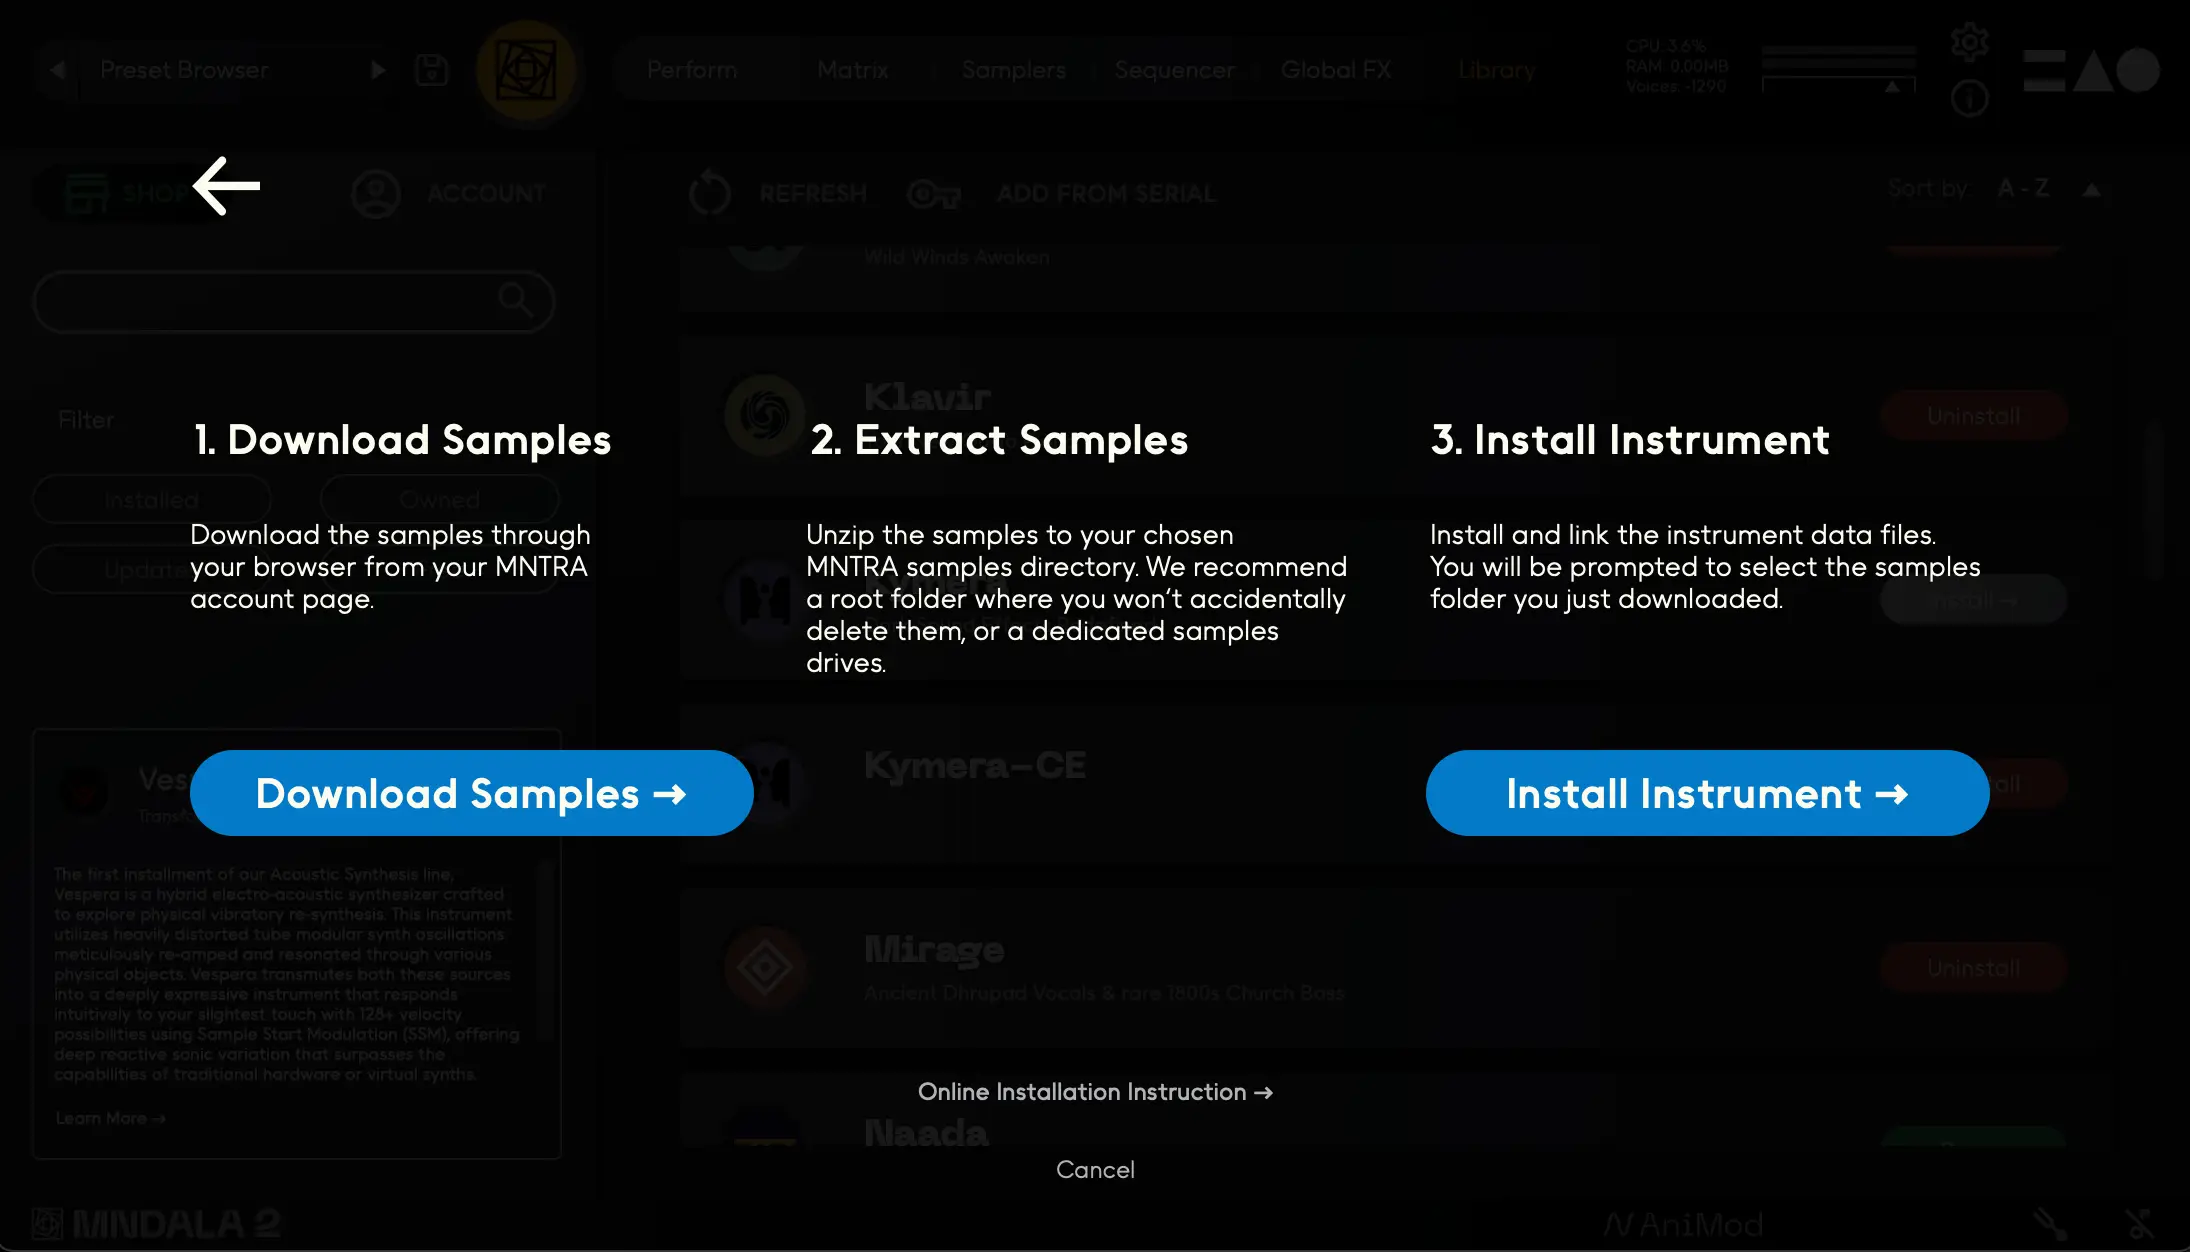
    After pressing the Manual Install button you will be prompted with instructions to download the instrument samples from your MNTRA account page, extract them to a safe location, and install the instrument data files.

    Manual install instructions
  8. 8

    Samples location

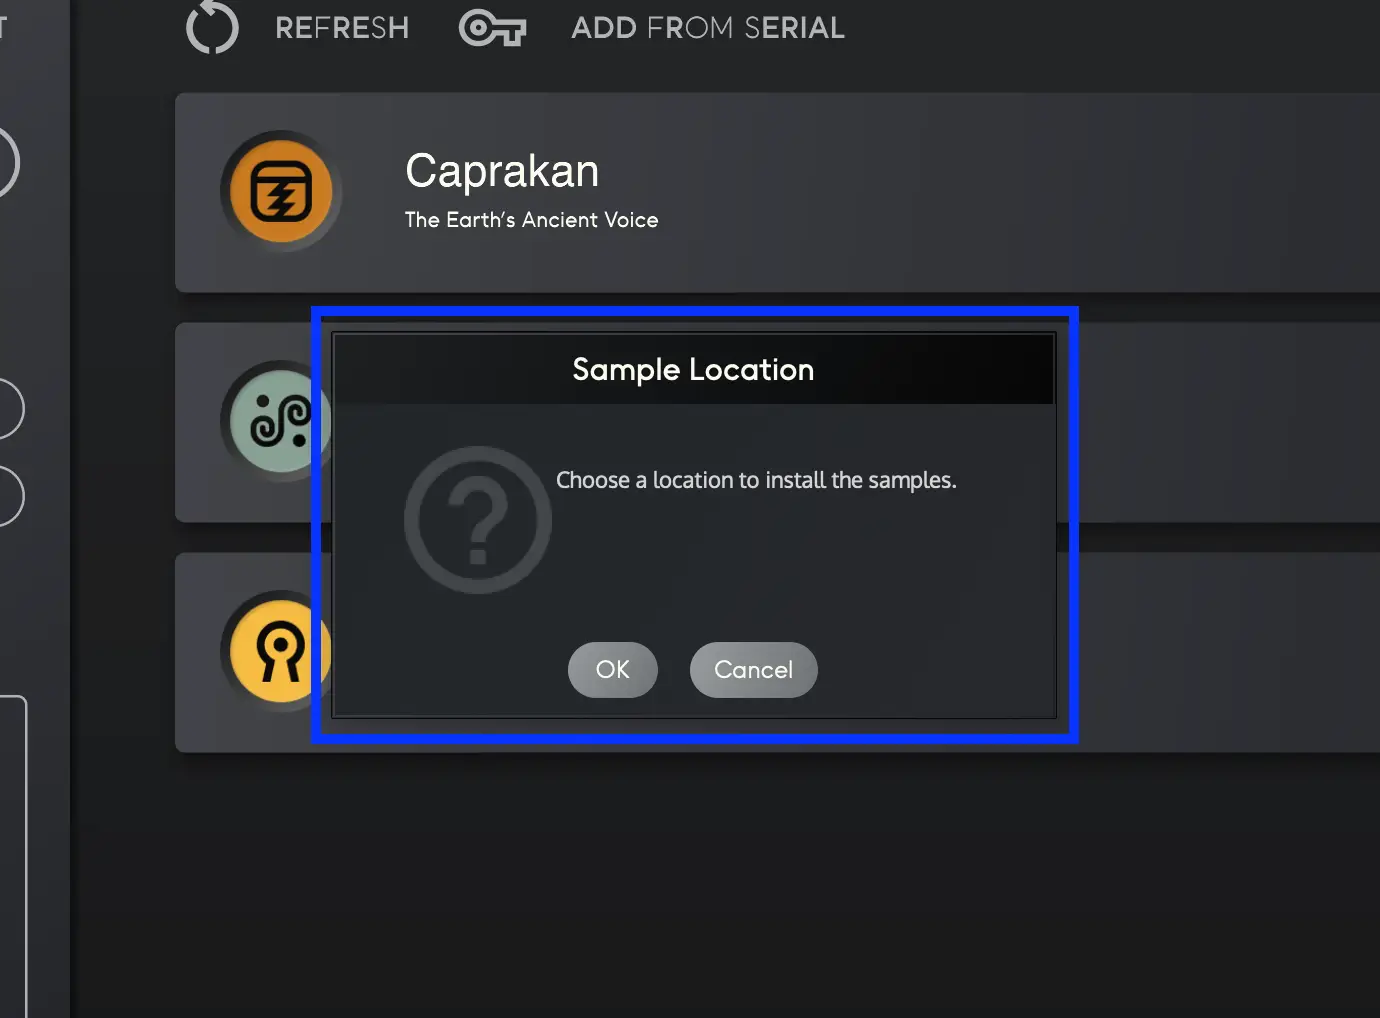
    If you use the Easy Install method, you will be asked to select a location to install the instrument's samples. We recommend a root folder where you won't accidentally delete them, or a dedicated samples hard drive. Make sure not to create a folder with the instruments name, as the installer creates its own!

    Choose a samples location
  9. 9

    Make music!

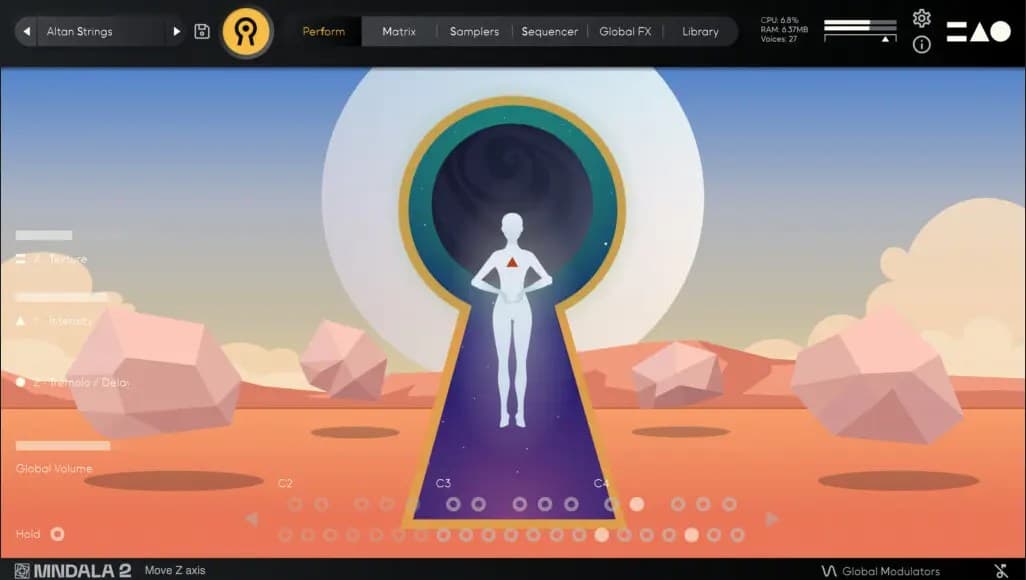
    Once your instrument finishes installing you are ready to explore our deep world of sound. We can't wait to hear what you make!

    Rasa perform view

FX Plugins

Downloading and Installing FX Plugins

After purchasing FLTRS, Borealis, or Bruitage you will receive a download link by email.

  1. 1

    Download link by email

    After purchasing FLTRS, Borealis, or Bruitage you will receive a download link by email.

    FX plugin download email
  2. 2

    Run the installer

    Run the installer for your operating system. We recommend leaving the default settings.

    FX plugin installer
  3. 3

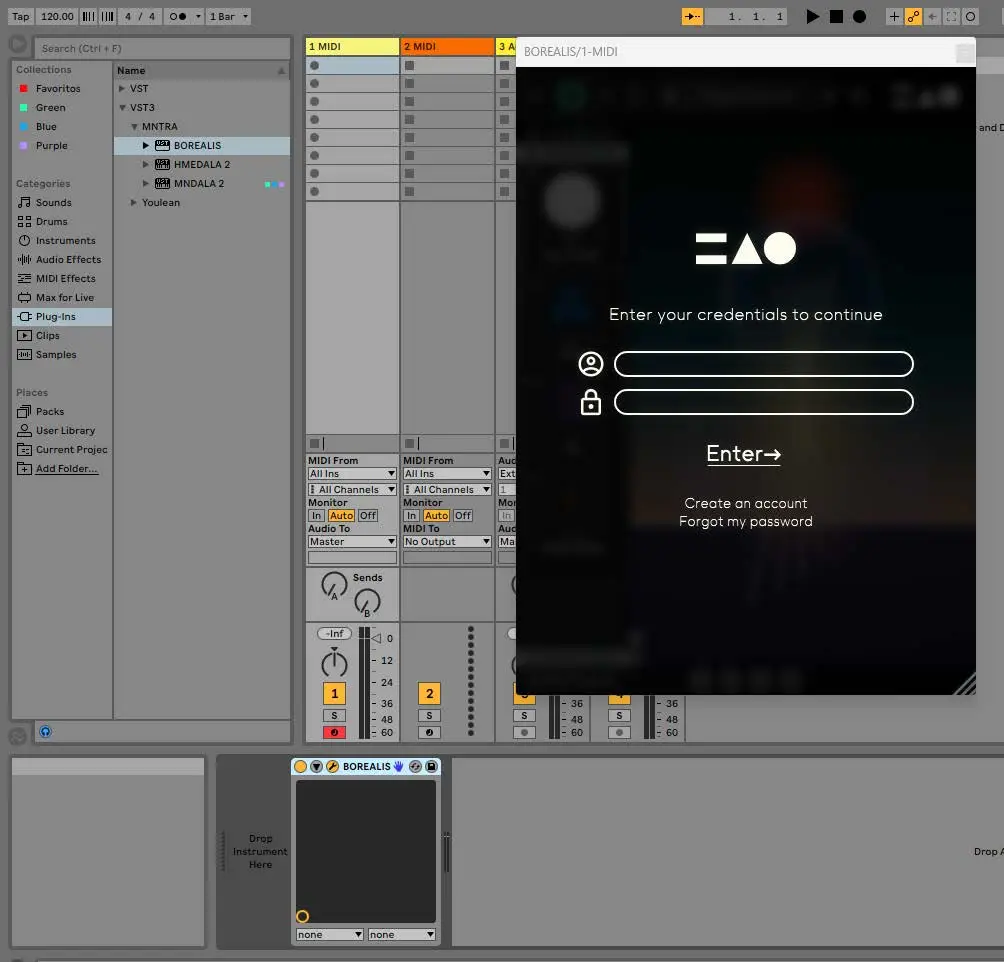
    Log in to verify your license

    Upon first opening the Plugin you will be prompted to login to your MNTRA Account, and your license will be verified.

    Borealis login in a DAW
  4. 4

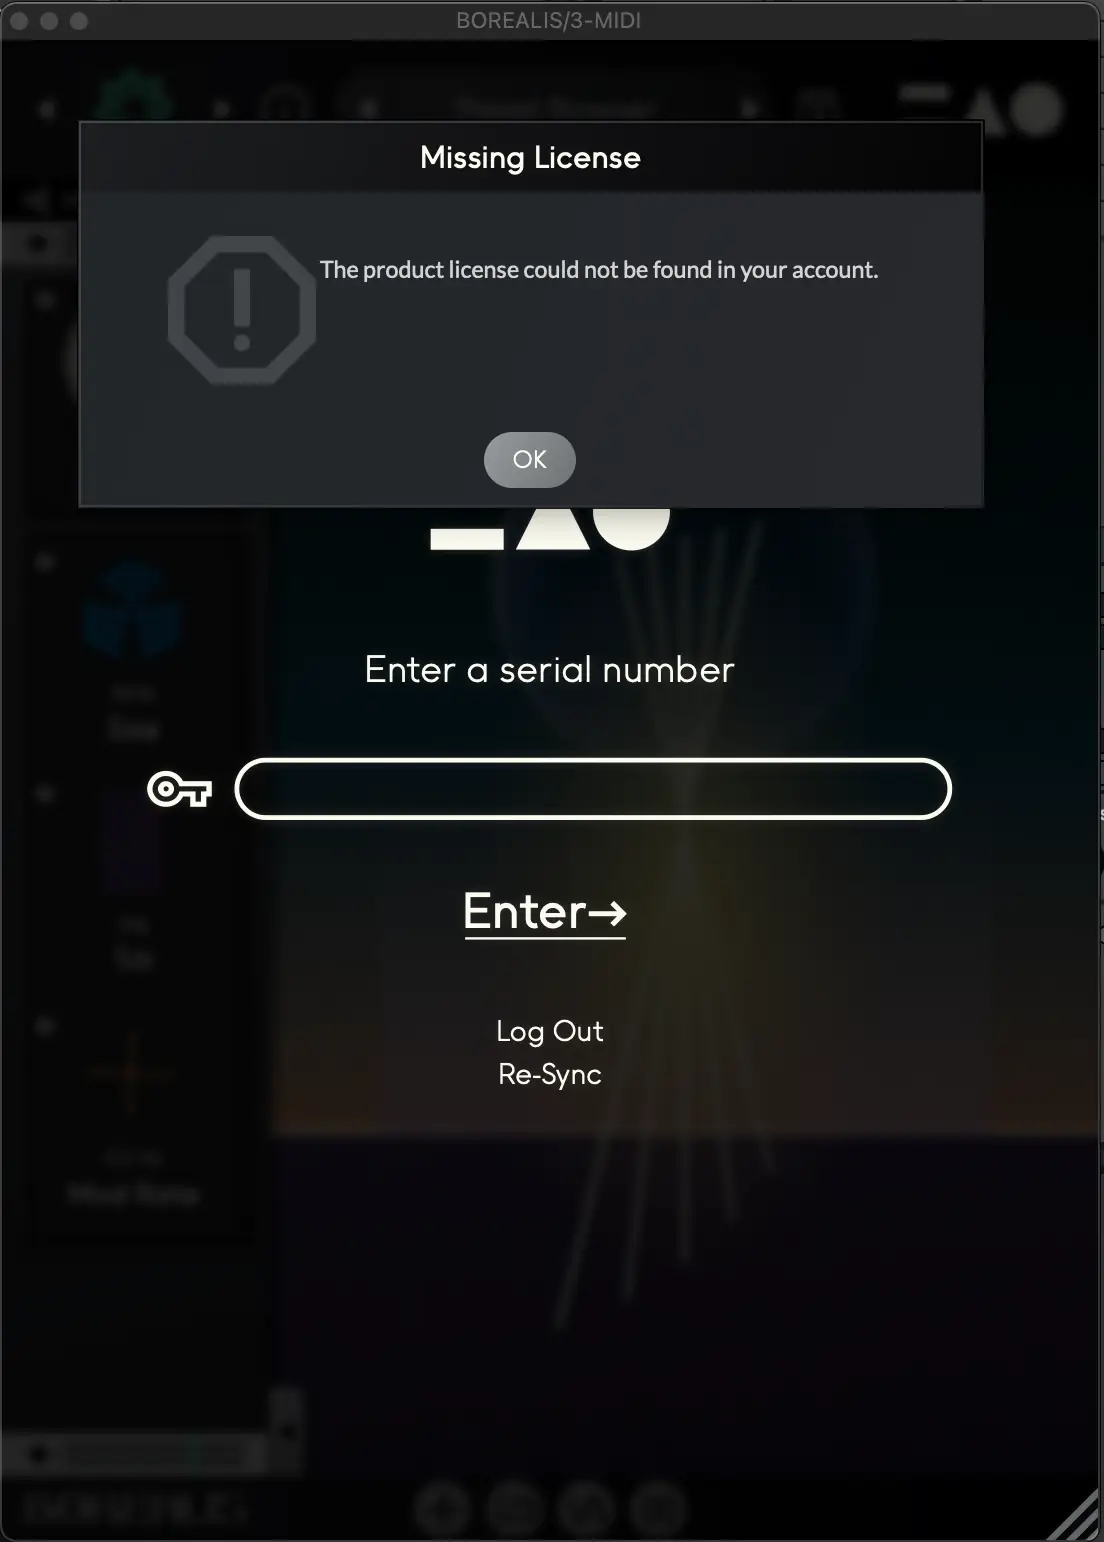
    Serial number from a distributor

    If you purchased through a distributor you will be prompted to enter a serial number after logging in.

    FX plugin serial number prompt

Tips

Pick a stable sample location

Use a dedicated samples drive or a stable root folder. Don't create a folder with the instrument name — the installer makes its own.

Easy vs Manual install

Easy install works for most people. Switch to Manual install if you hit network issues — your MNTRA account holds every download.

Refresh the Library after a purchase

If a freshly bought instrument doesn't appear in MNDALA's Library tab, hit Refresh — it'll pick up new entitlements.

Verify your email first

MNDALA 2 won't sign you in until your MNTRA account email is verified. Check your spam folder if it never arrived.

System Requirements

macOS

Operating System
macOS 10.14 or later
Processor
Intel i7 or Apple Silicon recommended
RAM
8 GB minimum, 16 GB recommended
Storage
Varies by instrument
Formats
VST3, AU, AAX, Standalone
DAW
Any DAW supporting VST3/AU/AAX

Windows

Operating System
Windows 10 or later
Processor
Intel i7 or equivalent recommended
RAM
8 GB minimum, 16 GB recommended
Storage
Varies by instrument
Formats
VST3, AAX, Standalone
DAW
Any DAW supporting VST3/AAX

Need help?

Still having trouble getting up and running? Contact support@mntra.io with your operating system, DAW, product name, and a short description of the issue.