
MNDALA 2 + instruments
Install MNDALA 2 and your instruments.
Create a MNTRA Account
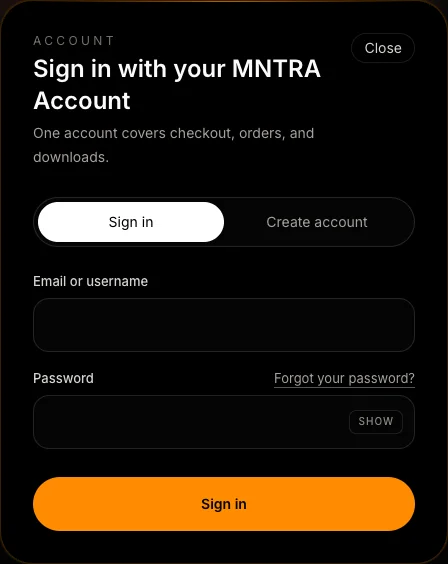
If you don't already have one, go to Account to create a new account. Make sure to verify your email to activate and be able to log into MNDALA 2.
Run the installer
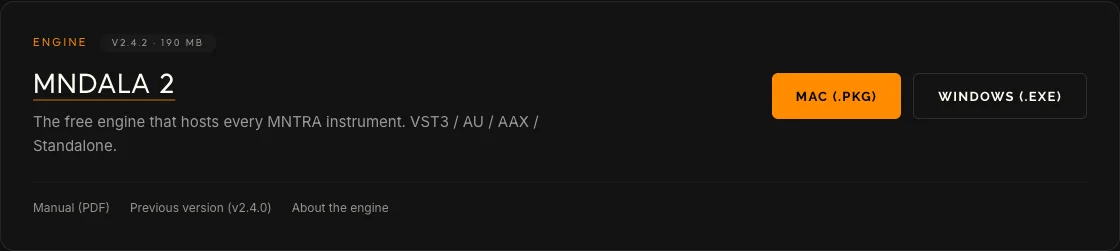
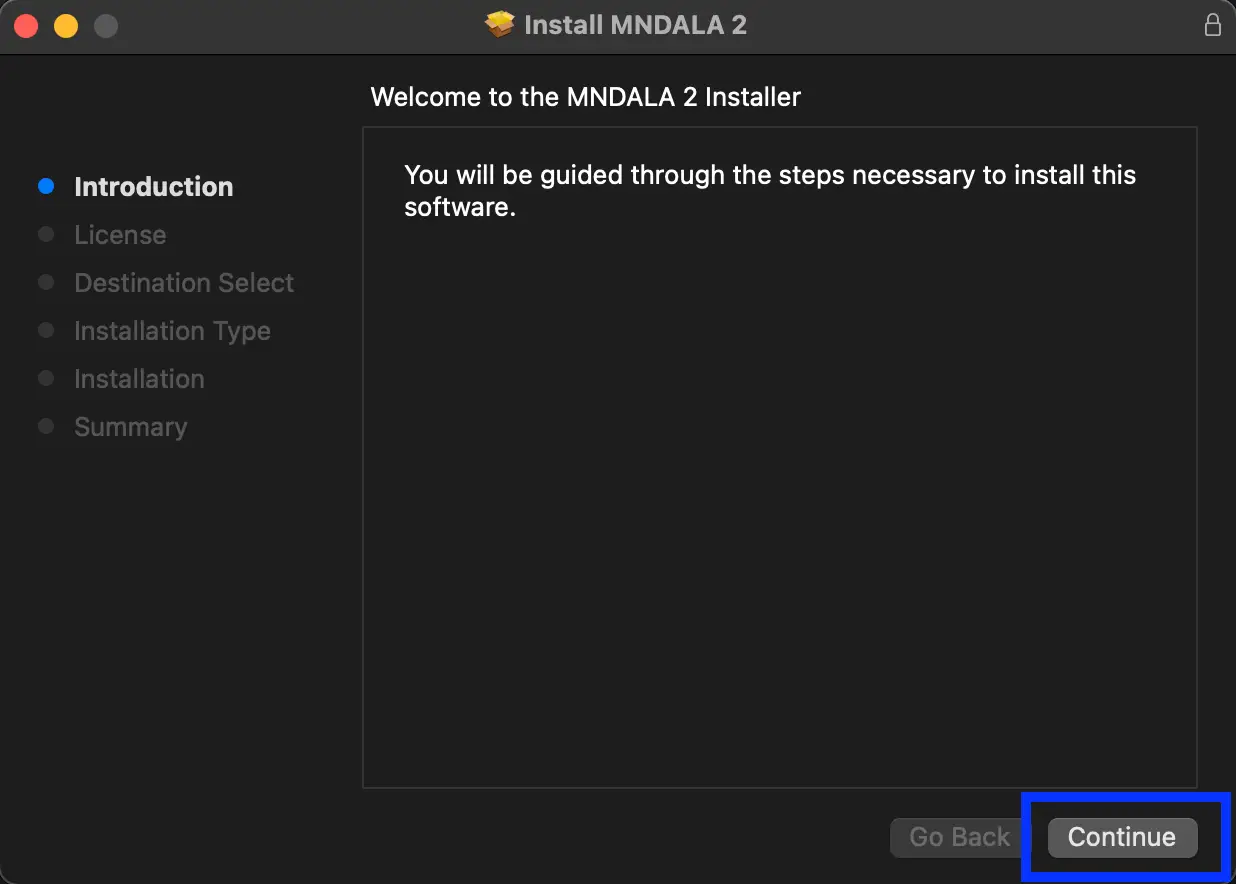
Run the MNDALA 2 installer for your operating system
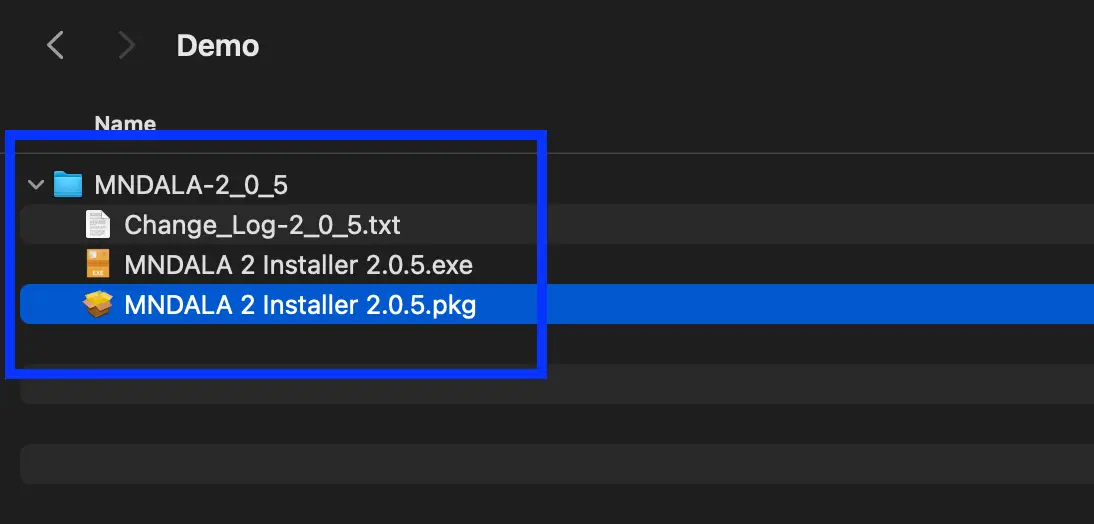
Proceed through the installer
Continue through the installer, we recommend leaving everything in its default location.
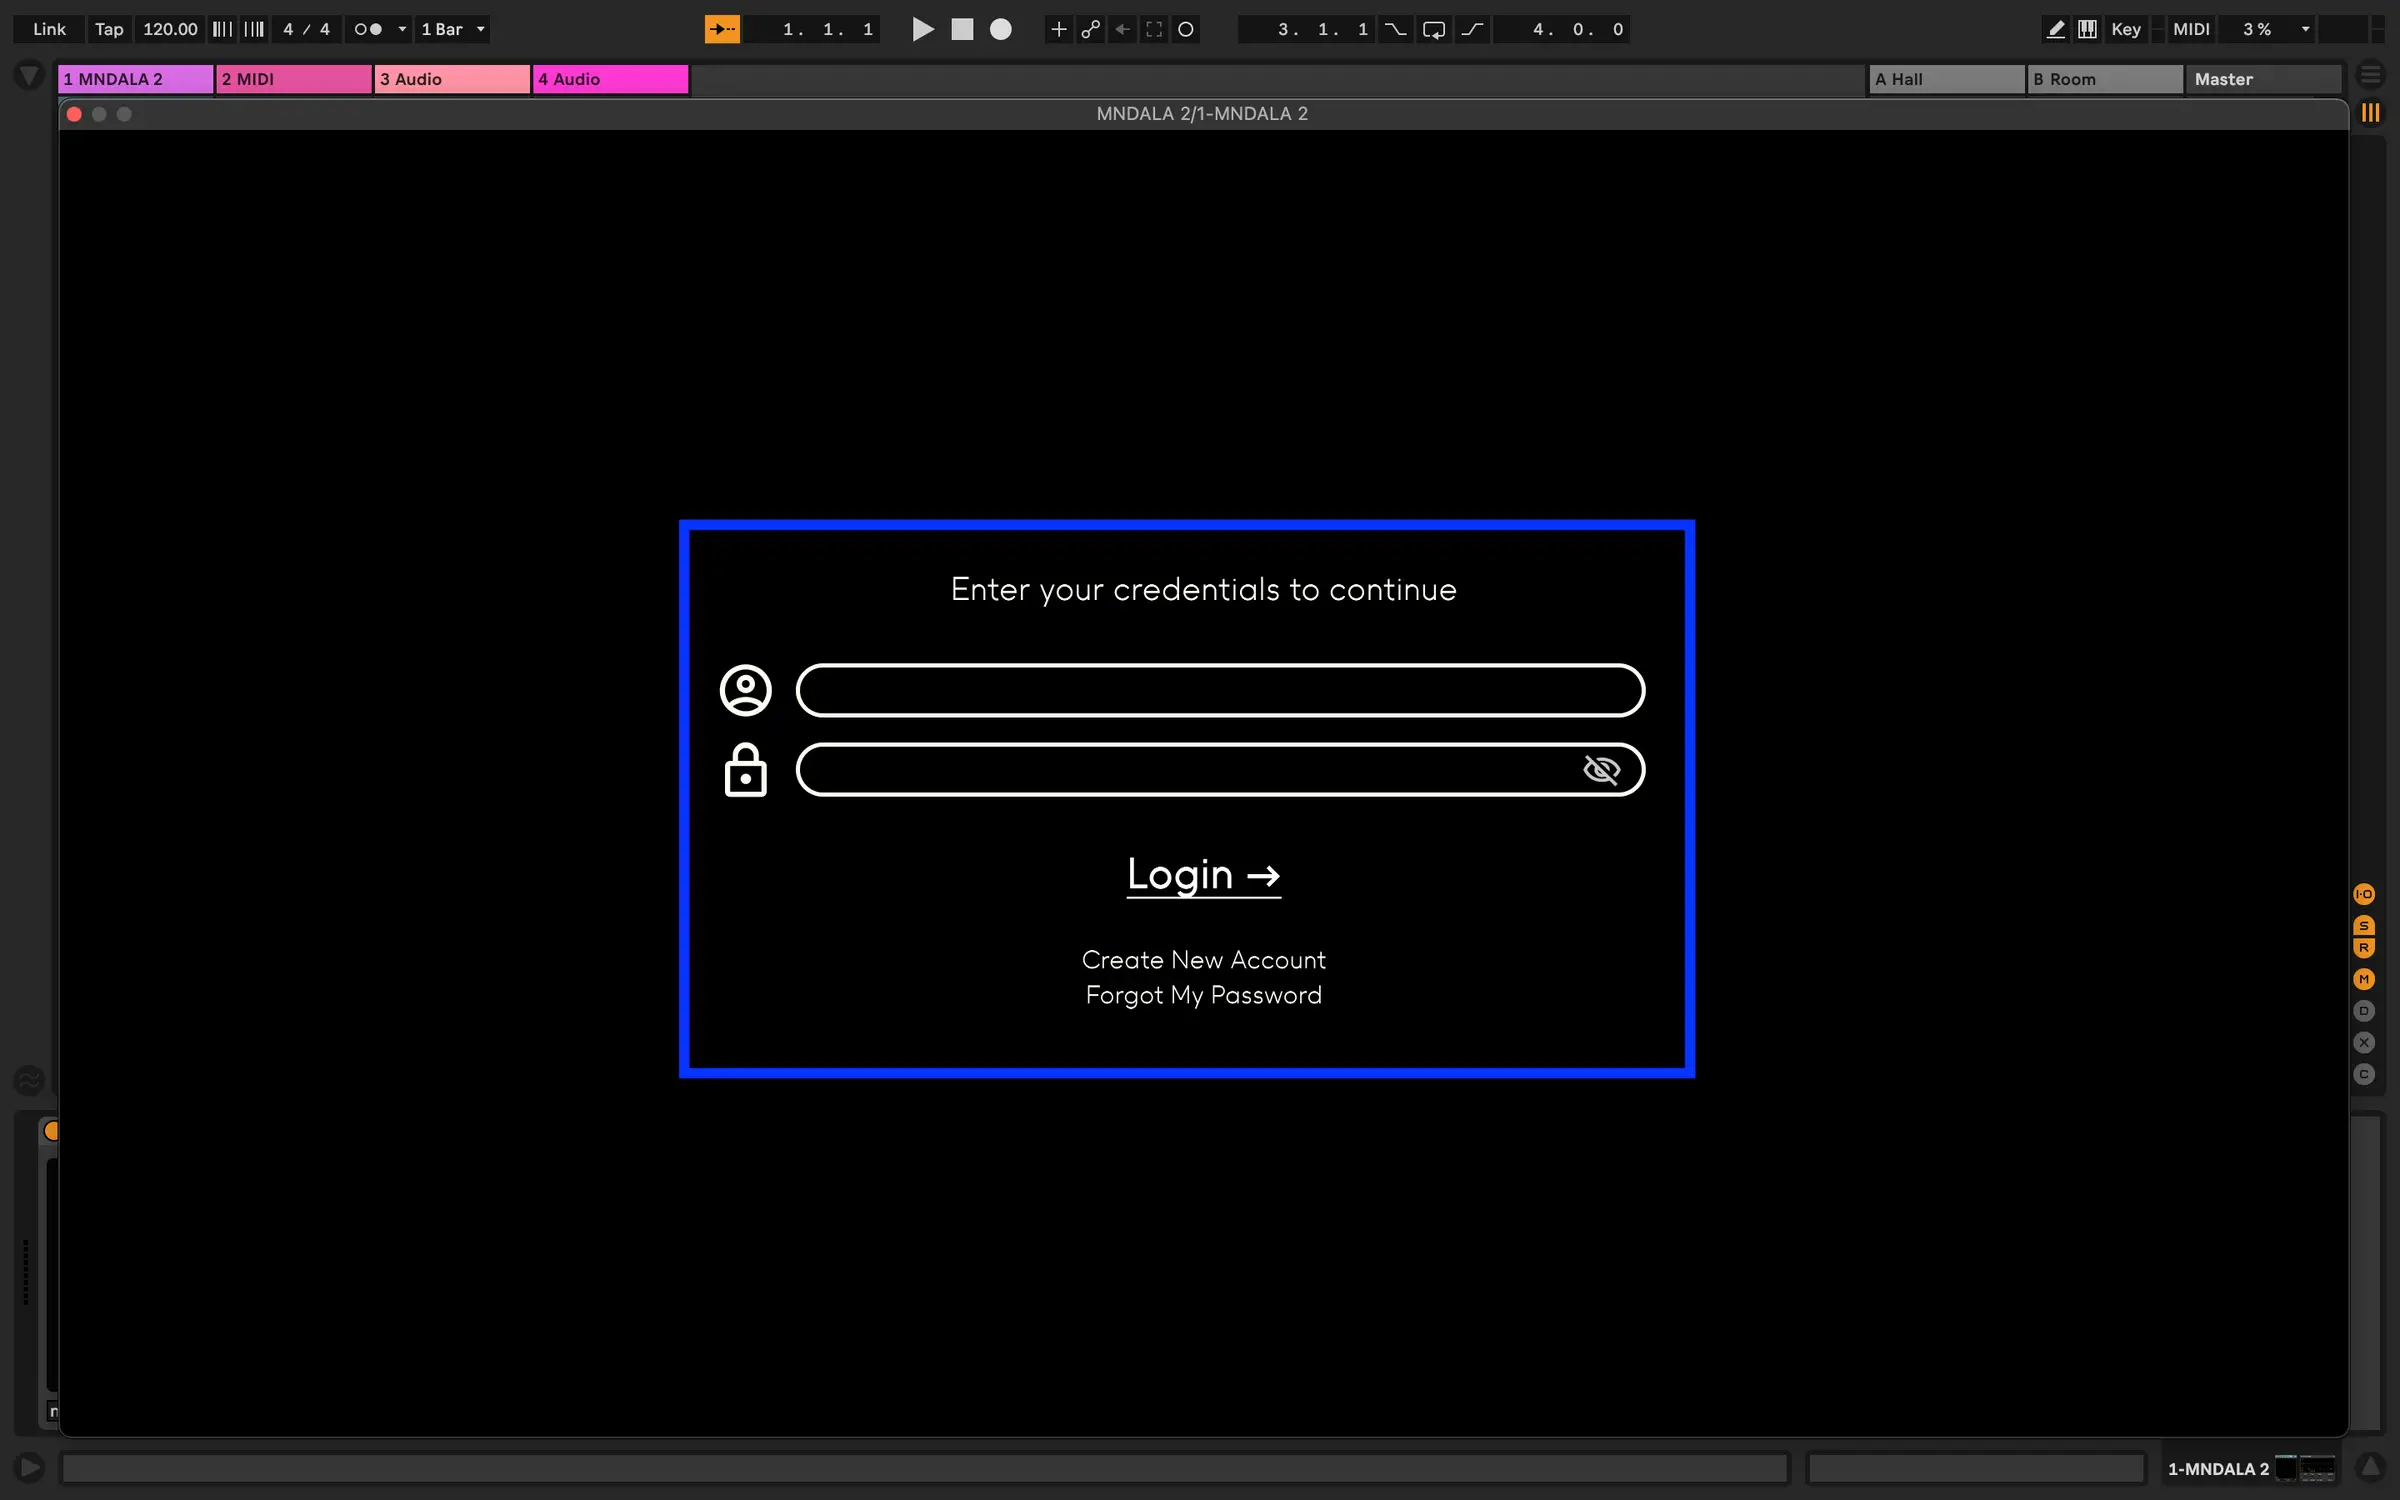
Open MNDALA 2 in your DAW of choice
Upon first opening the Plugin you will be prompted to login to your MNTRA Account, or to create a new one.
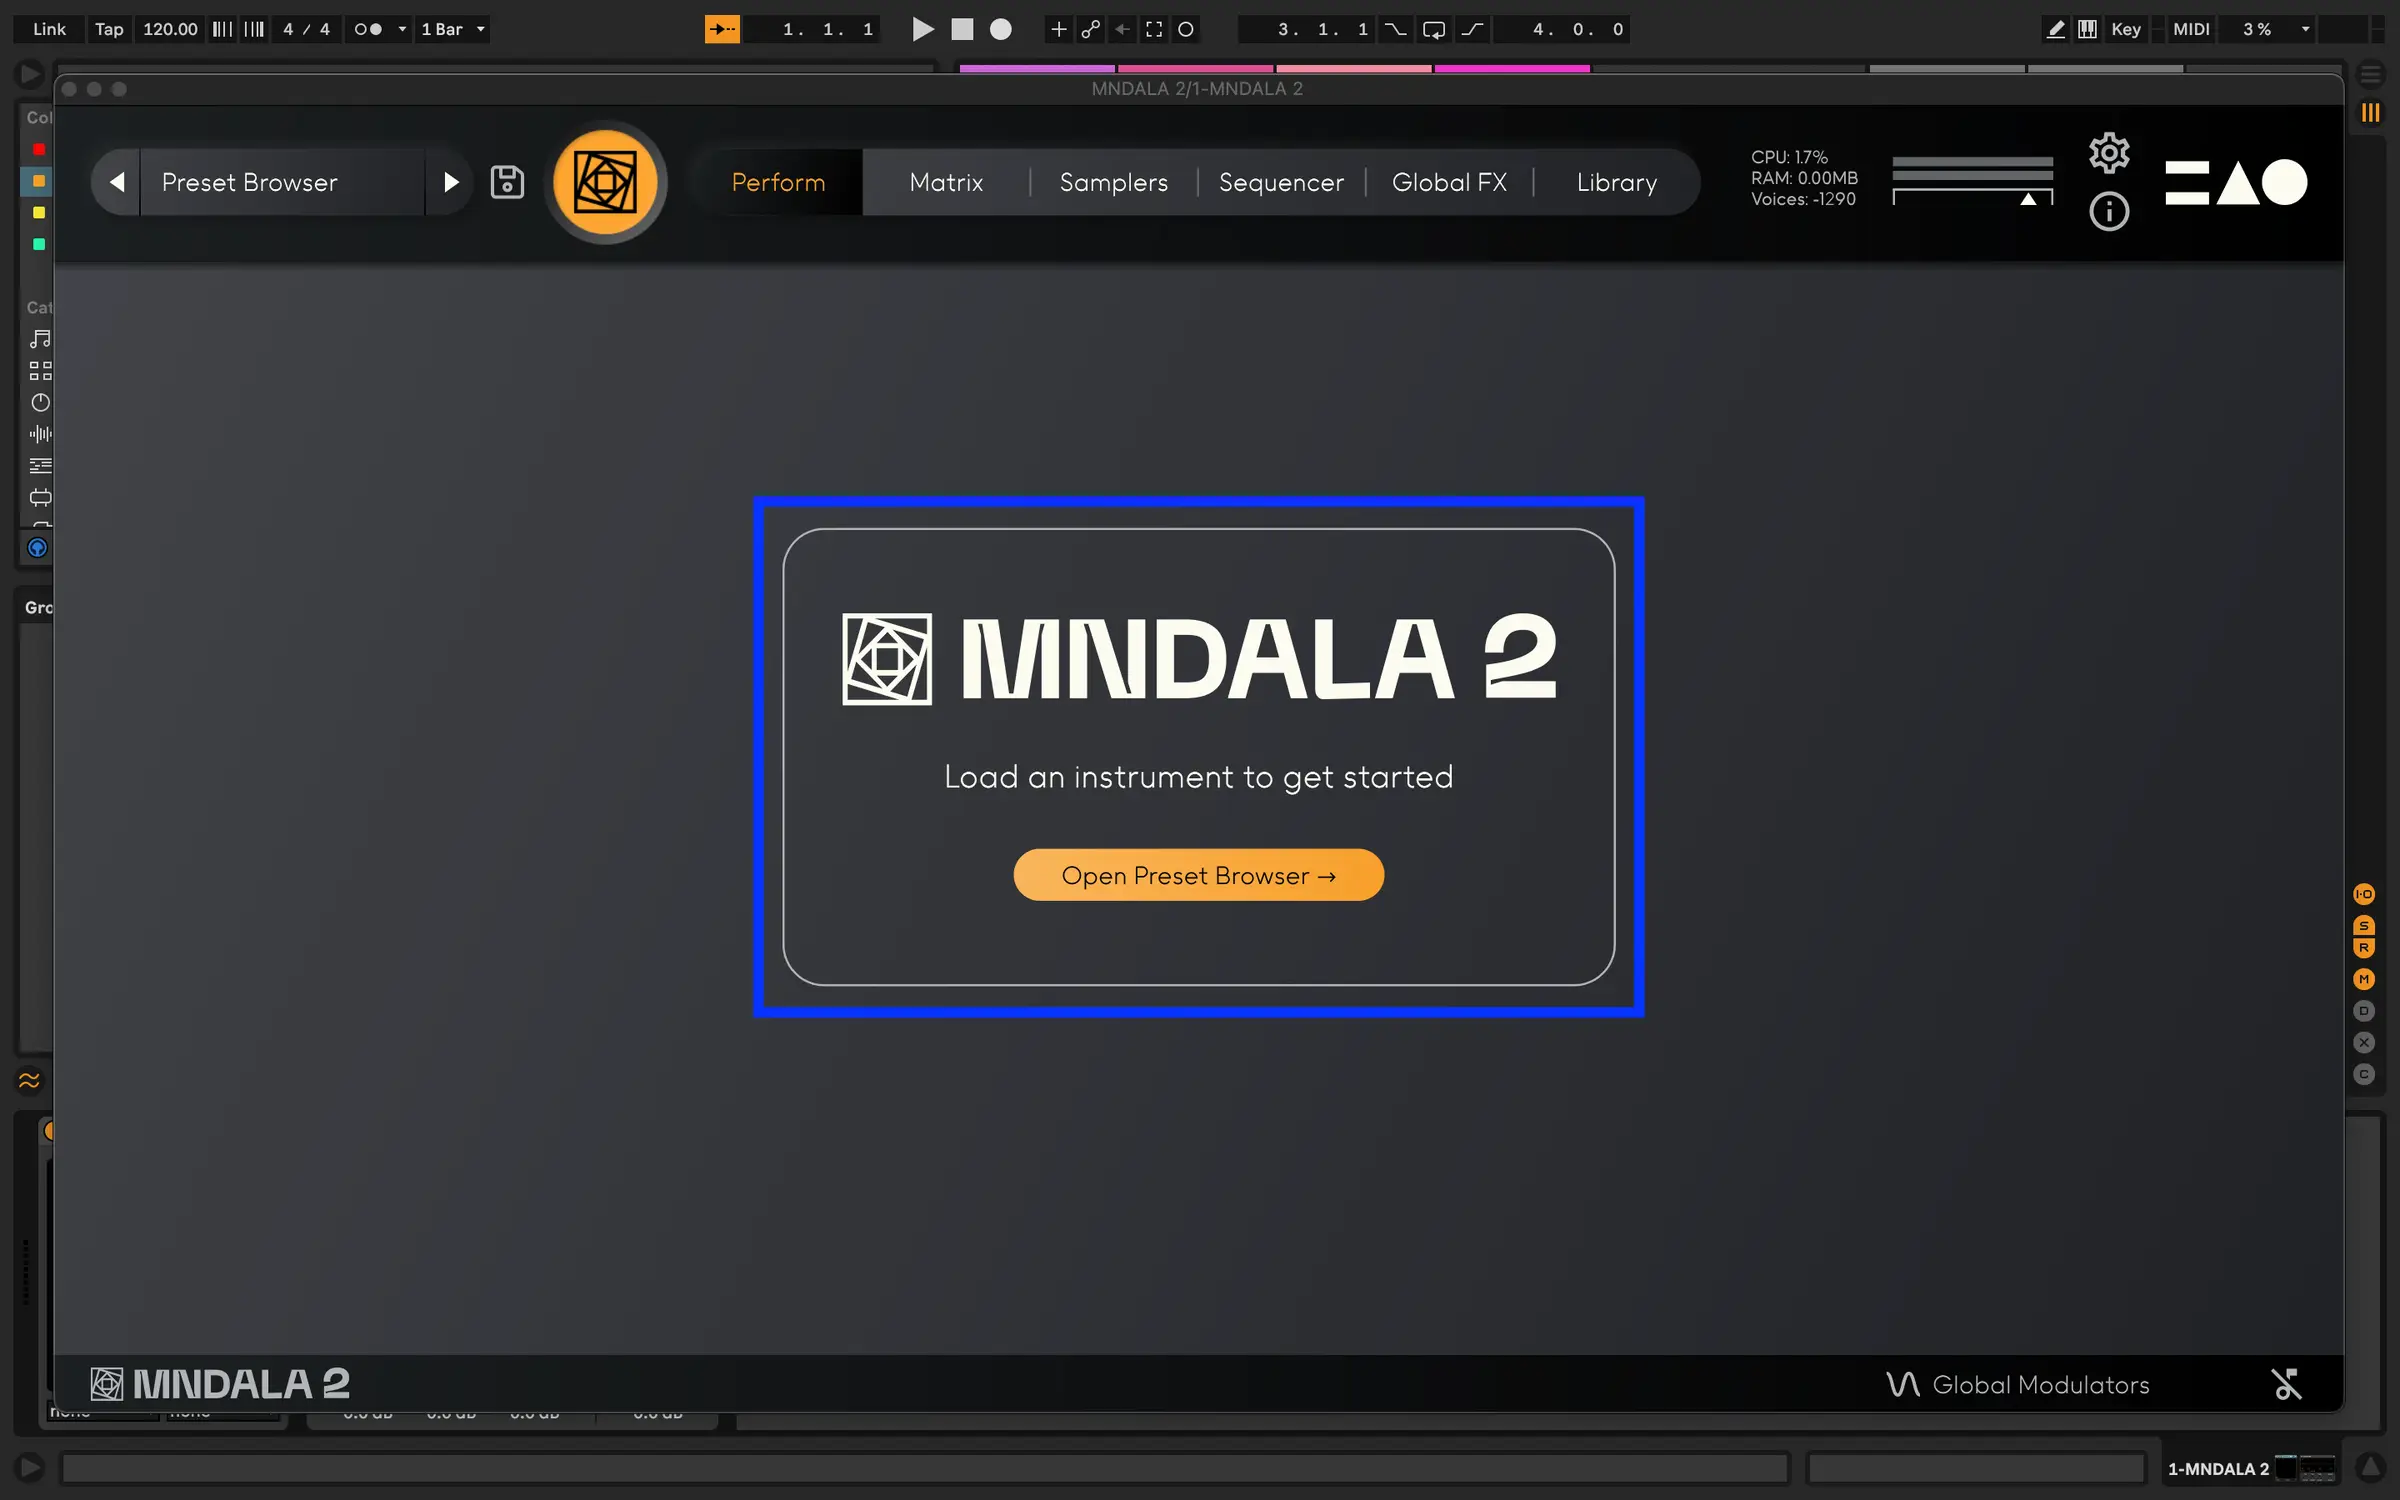
Congratulations MNDALA 2 is now ready to go
The next step is getting one of our instruments to use with the MNDALA 2 engine. Follow the next set of instructions to get started.
Our instruments
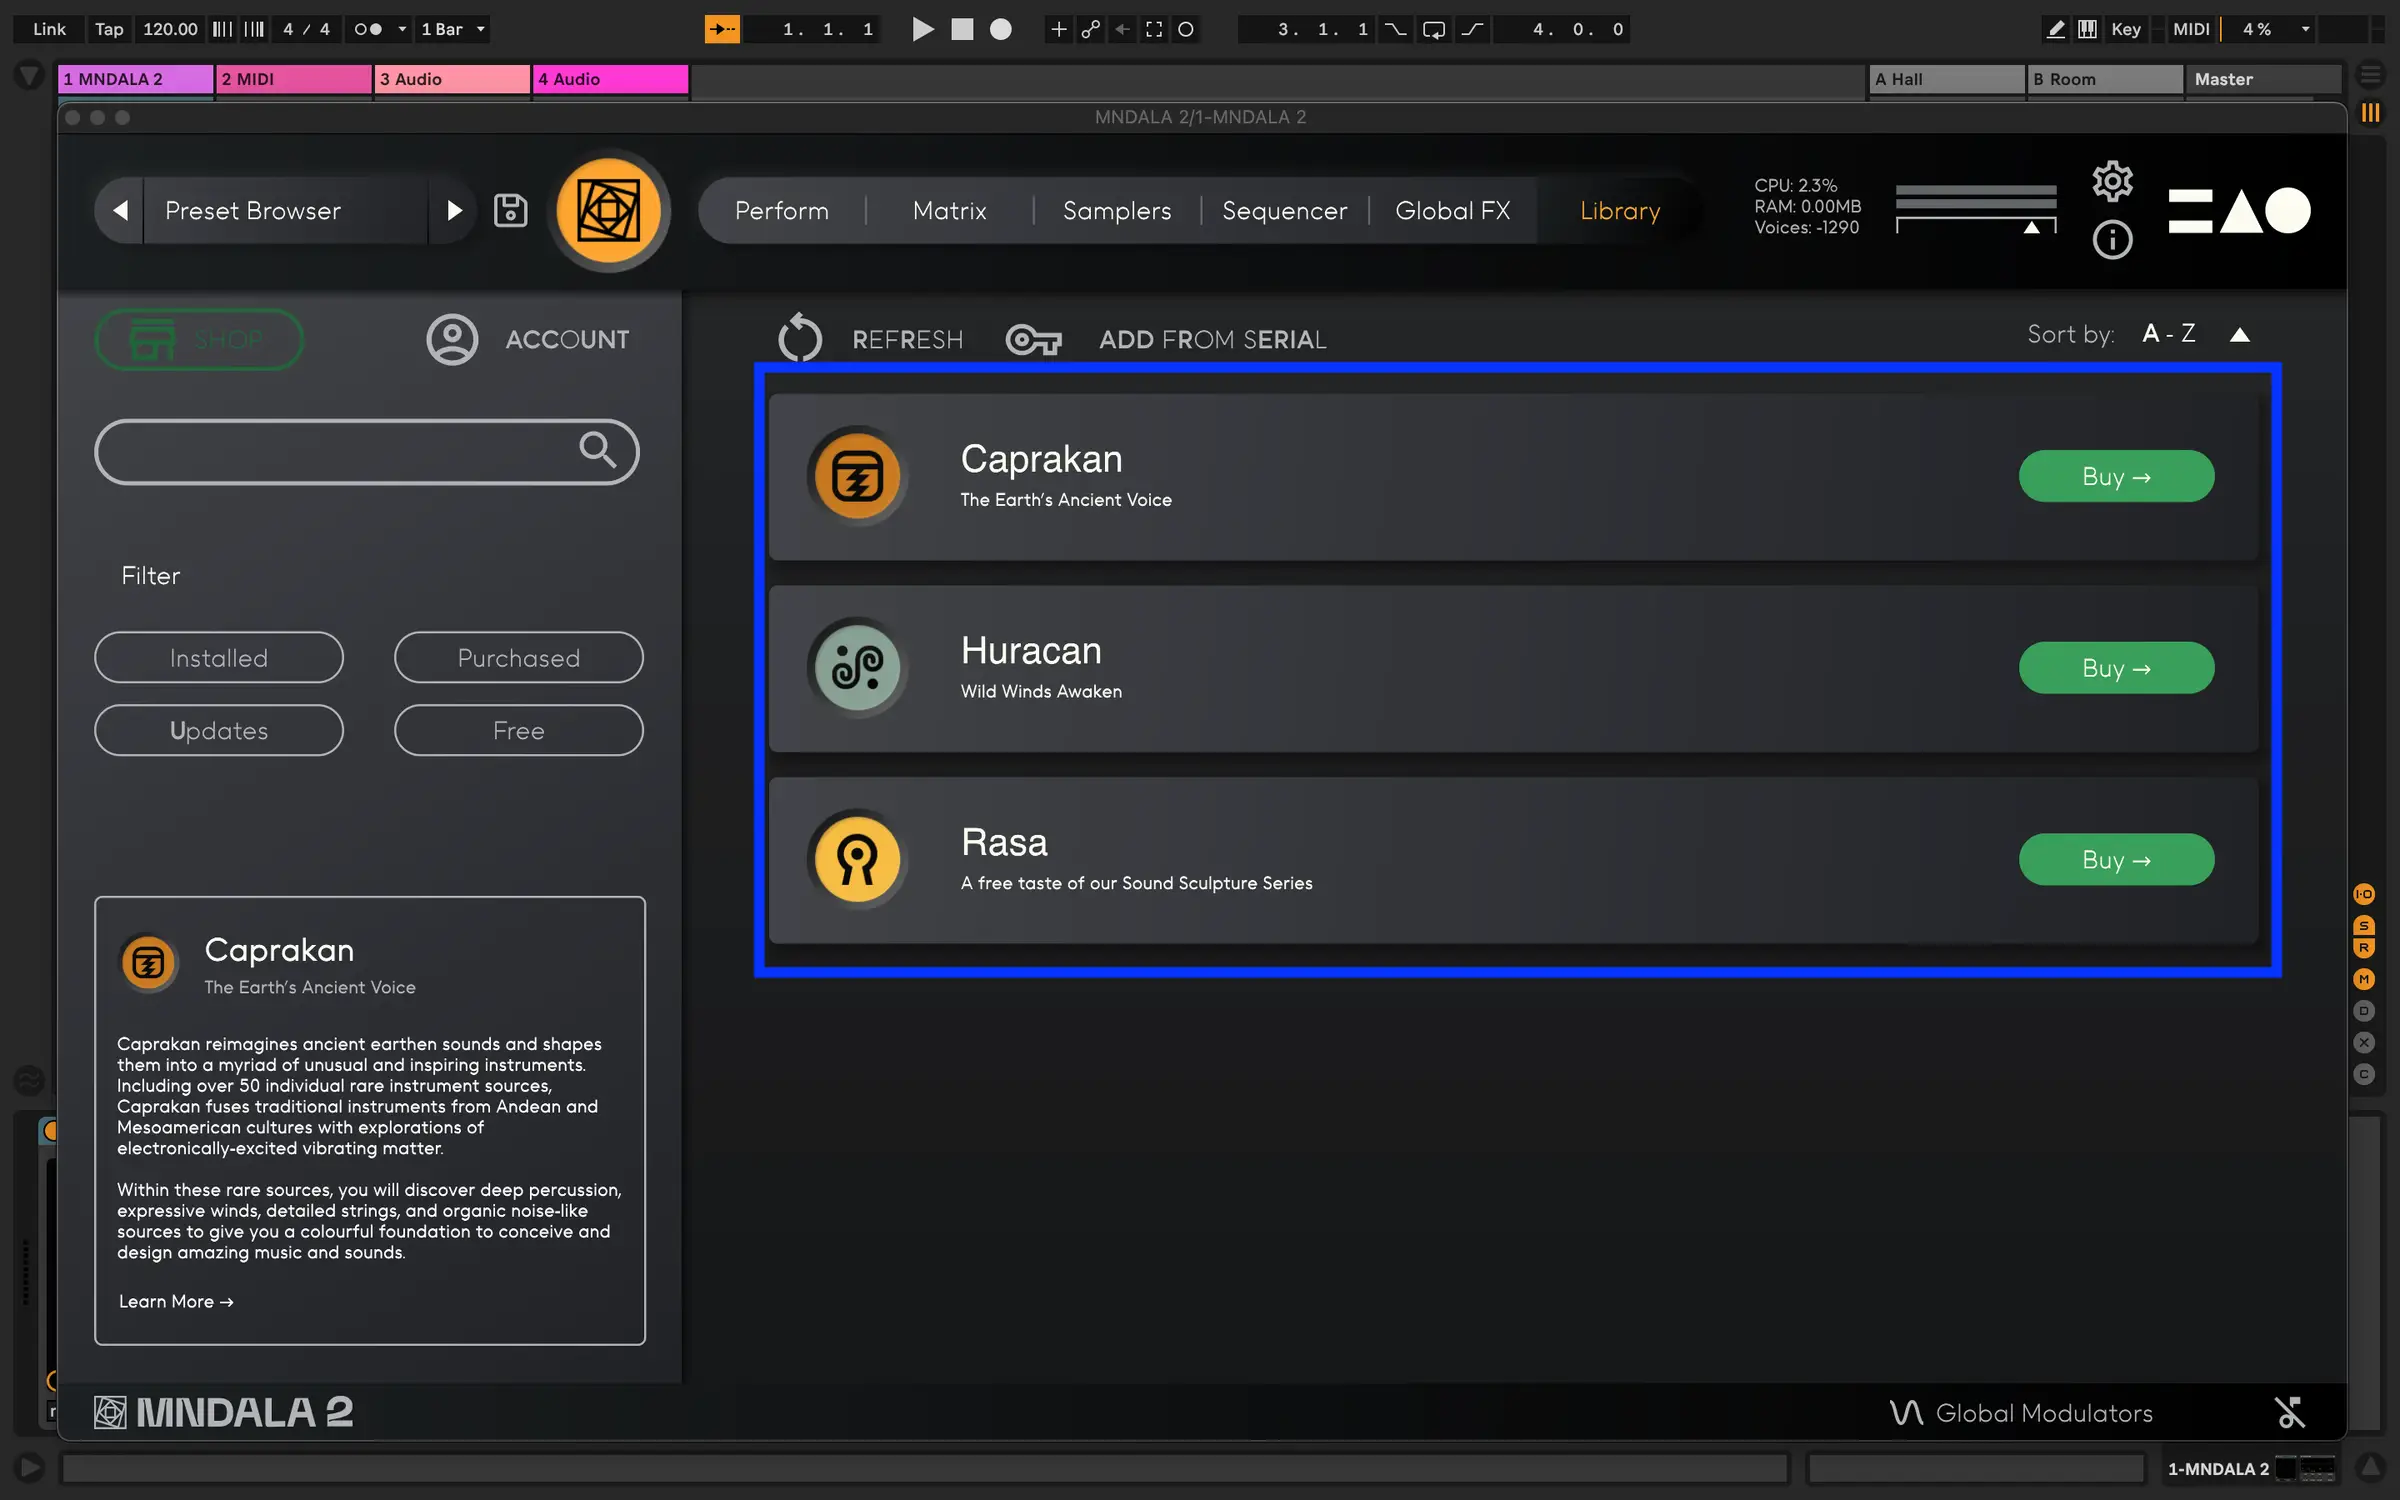
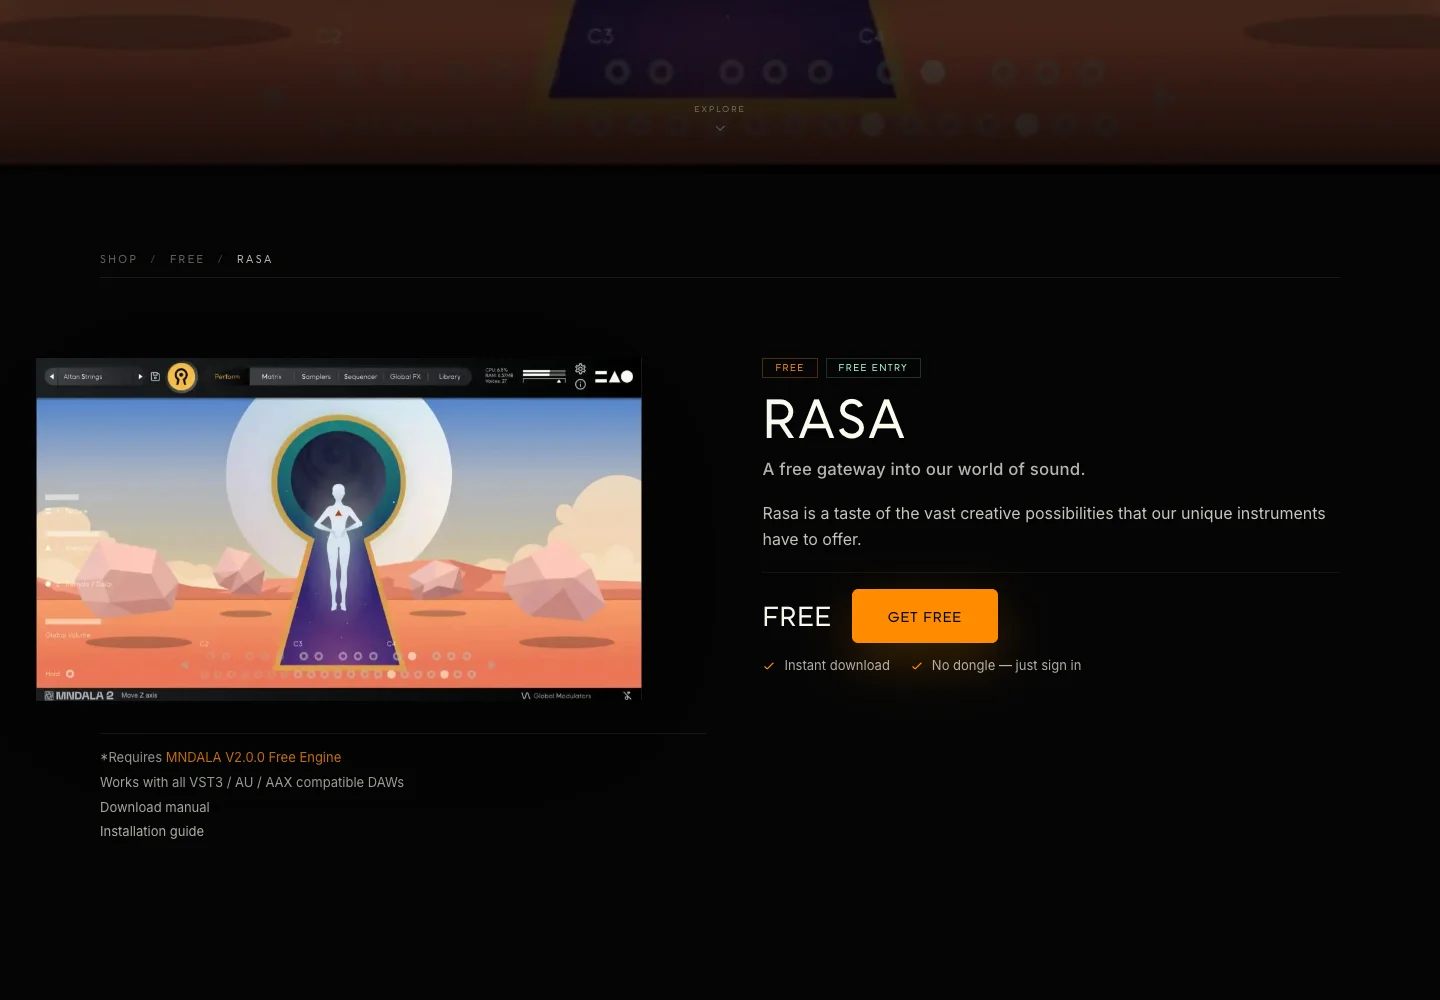
To use MNDALA 2 you will first have to buy one of our instruments (or download one of our free instruments!)
Acquiring a license
Instrument licenses can be acquired either through our website, or one of our distributors (ie. Plugin Boutique)
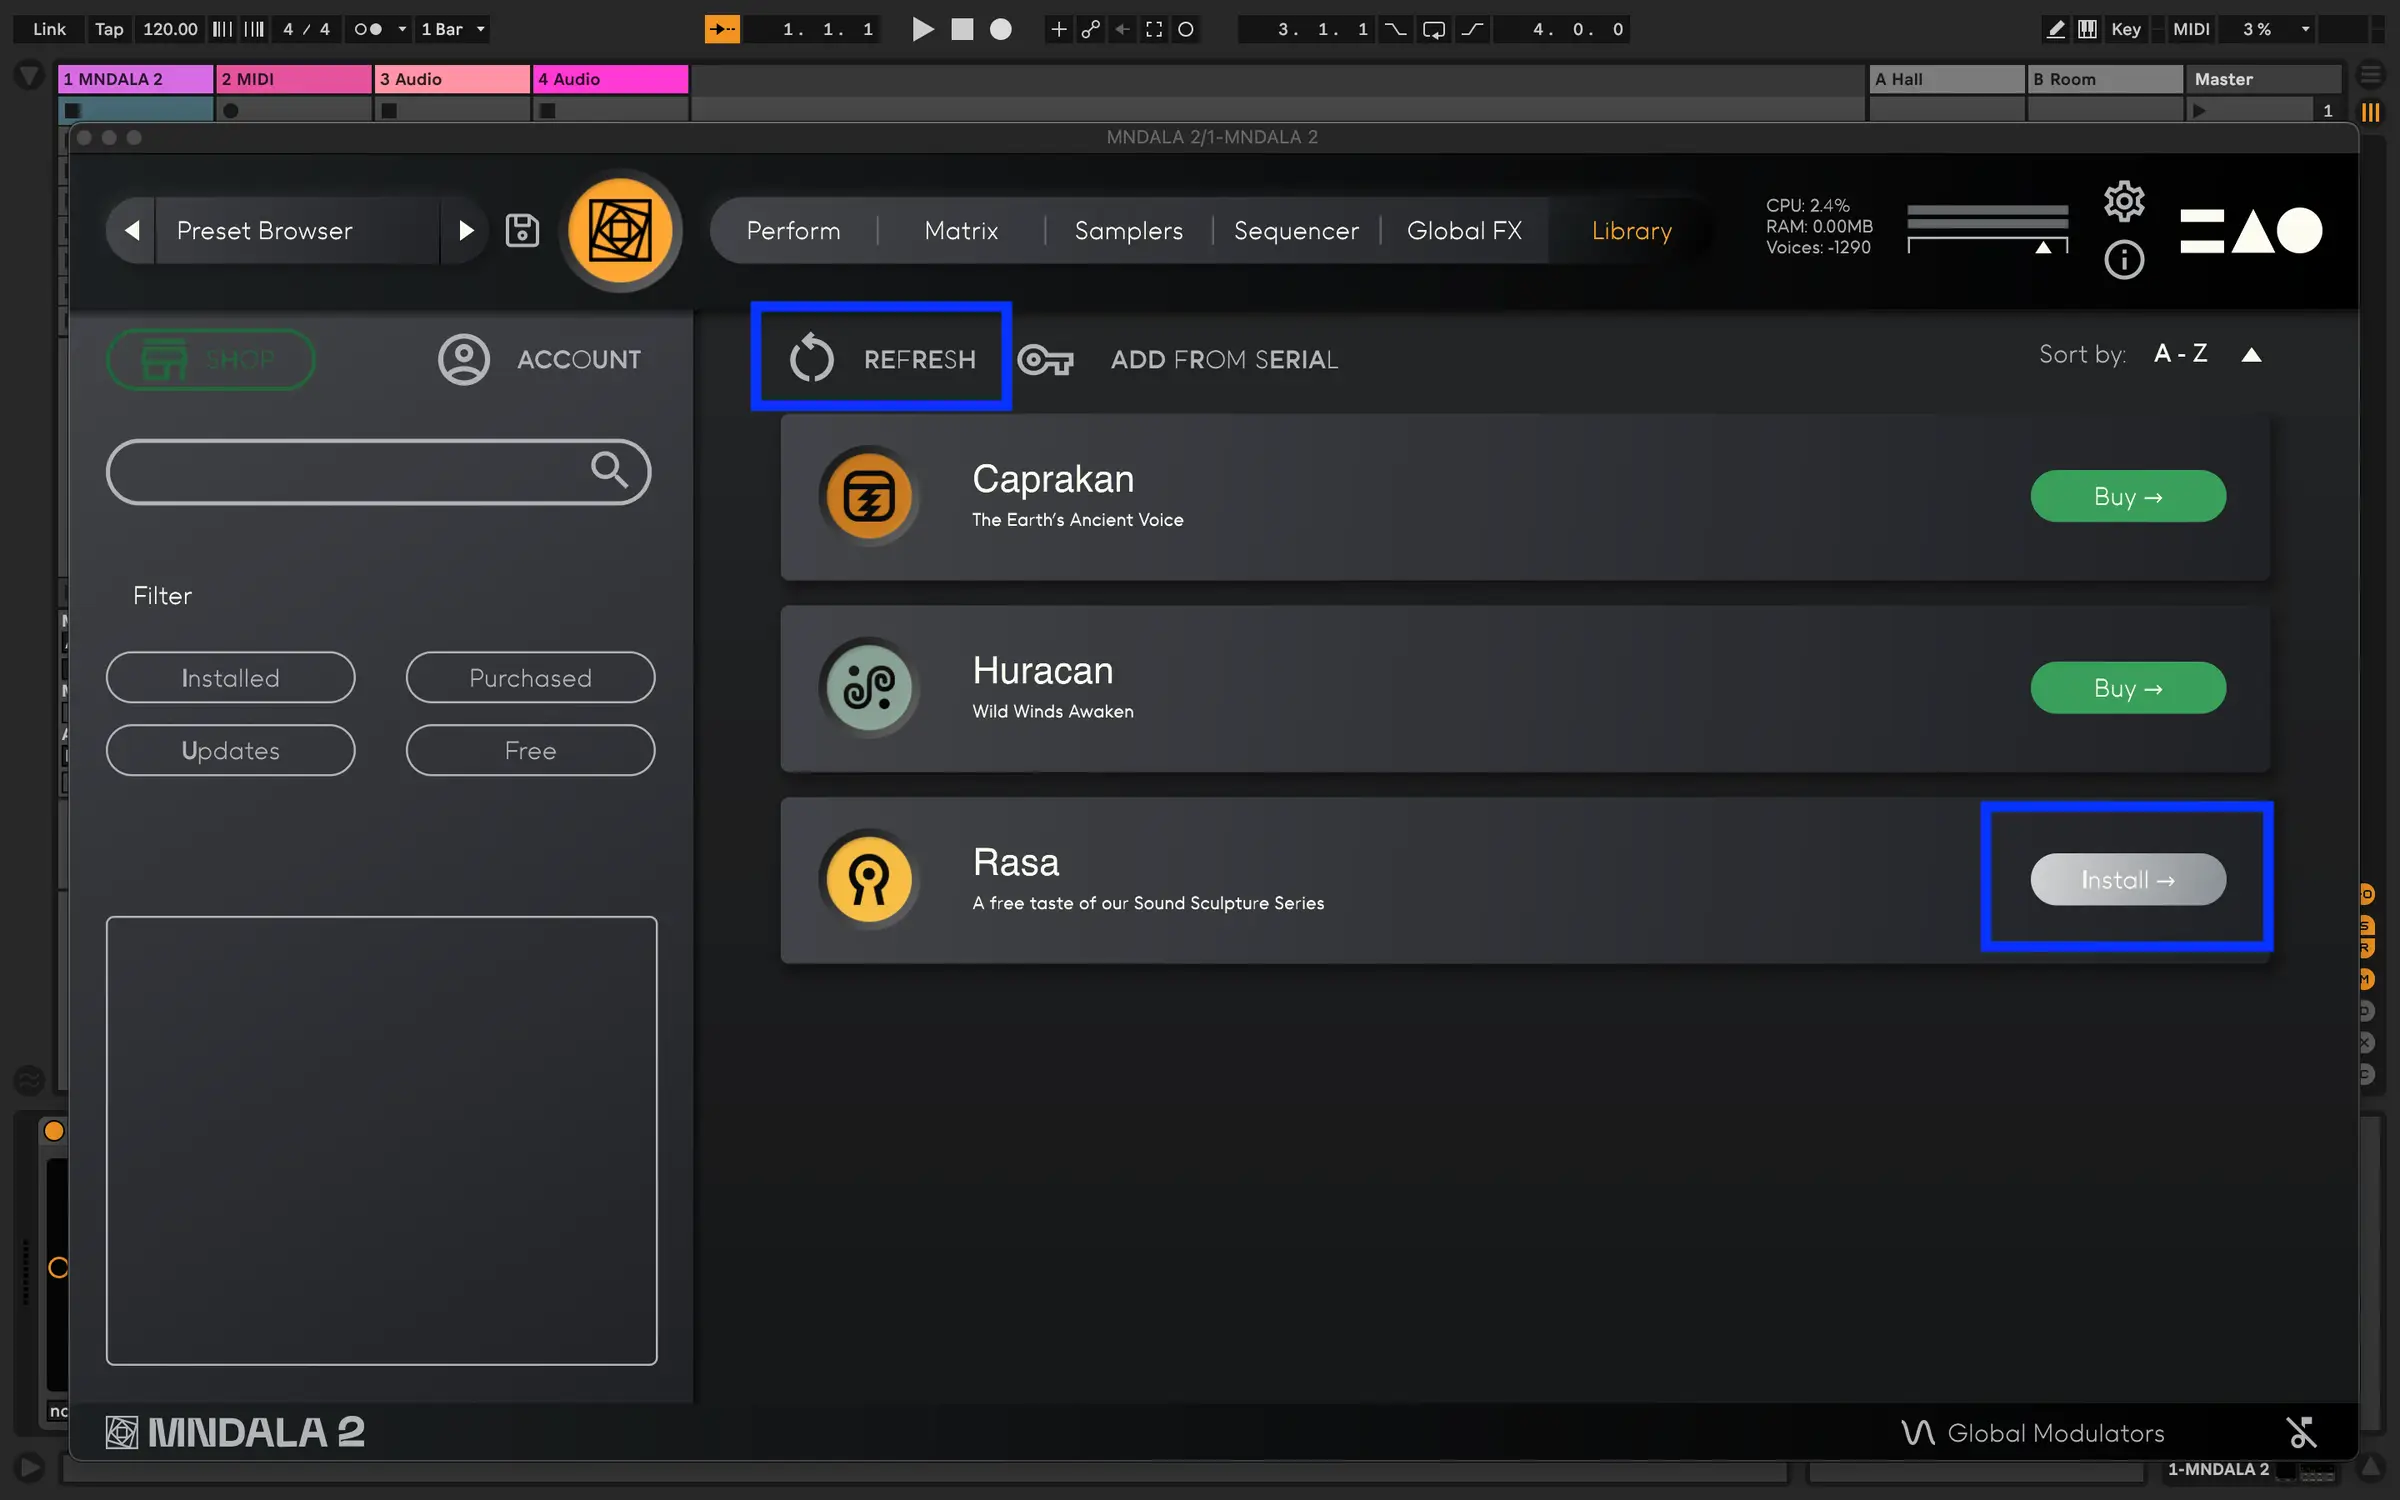
Instrument Library
After purchasing a license for one of our instruments, it will be ready to install from the Library tab in MNDALA 2. (You may have to press the Refresh button)
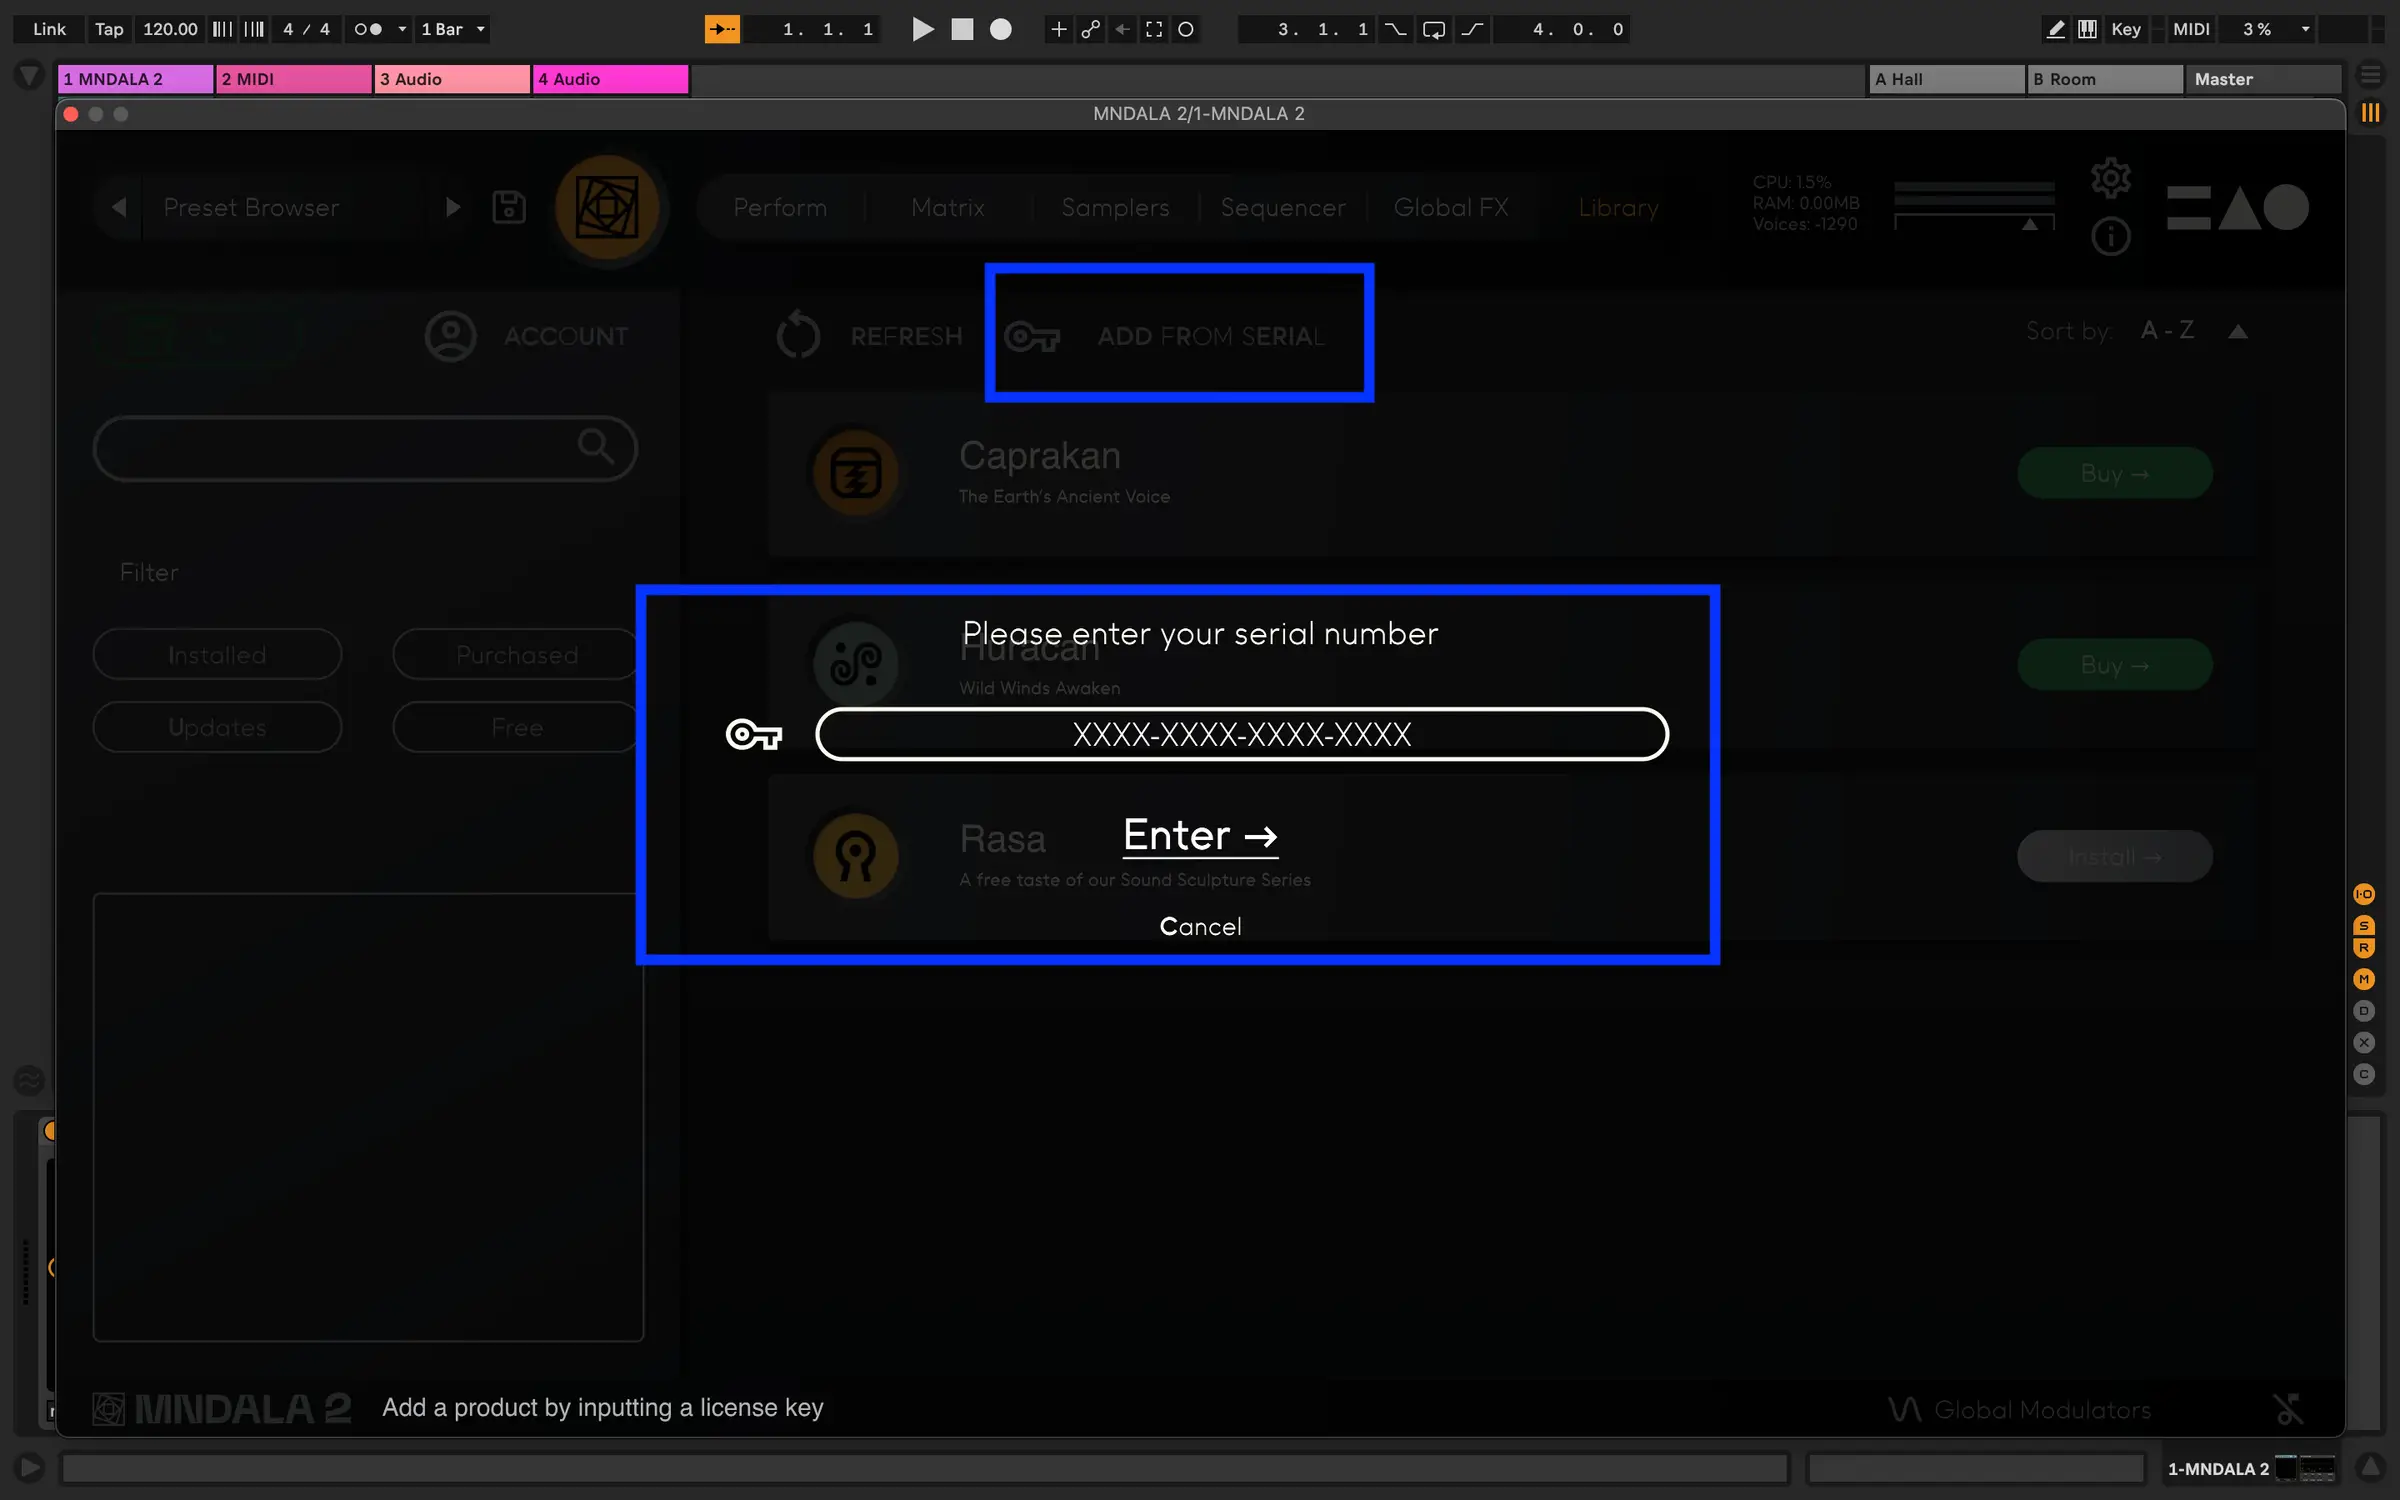
Instruments bought elsewhere
If you purchased an instrument through one of our distributors, you simply have to press the Add From Serial button on the Library page and enter your license key. This will sync the product with your MNTRA Account.
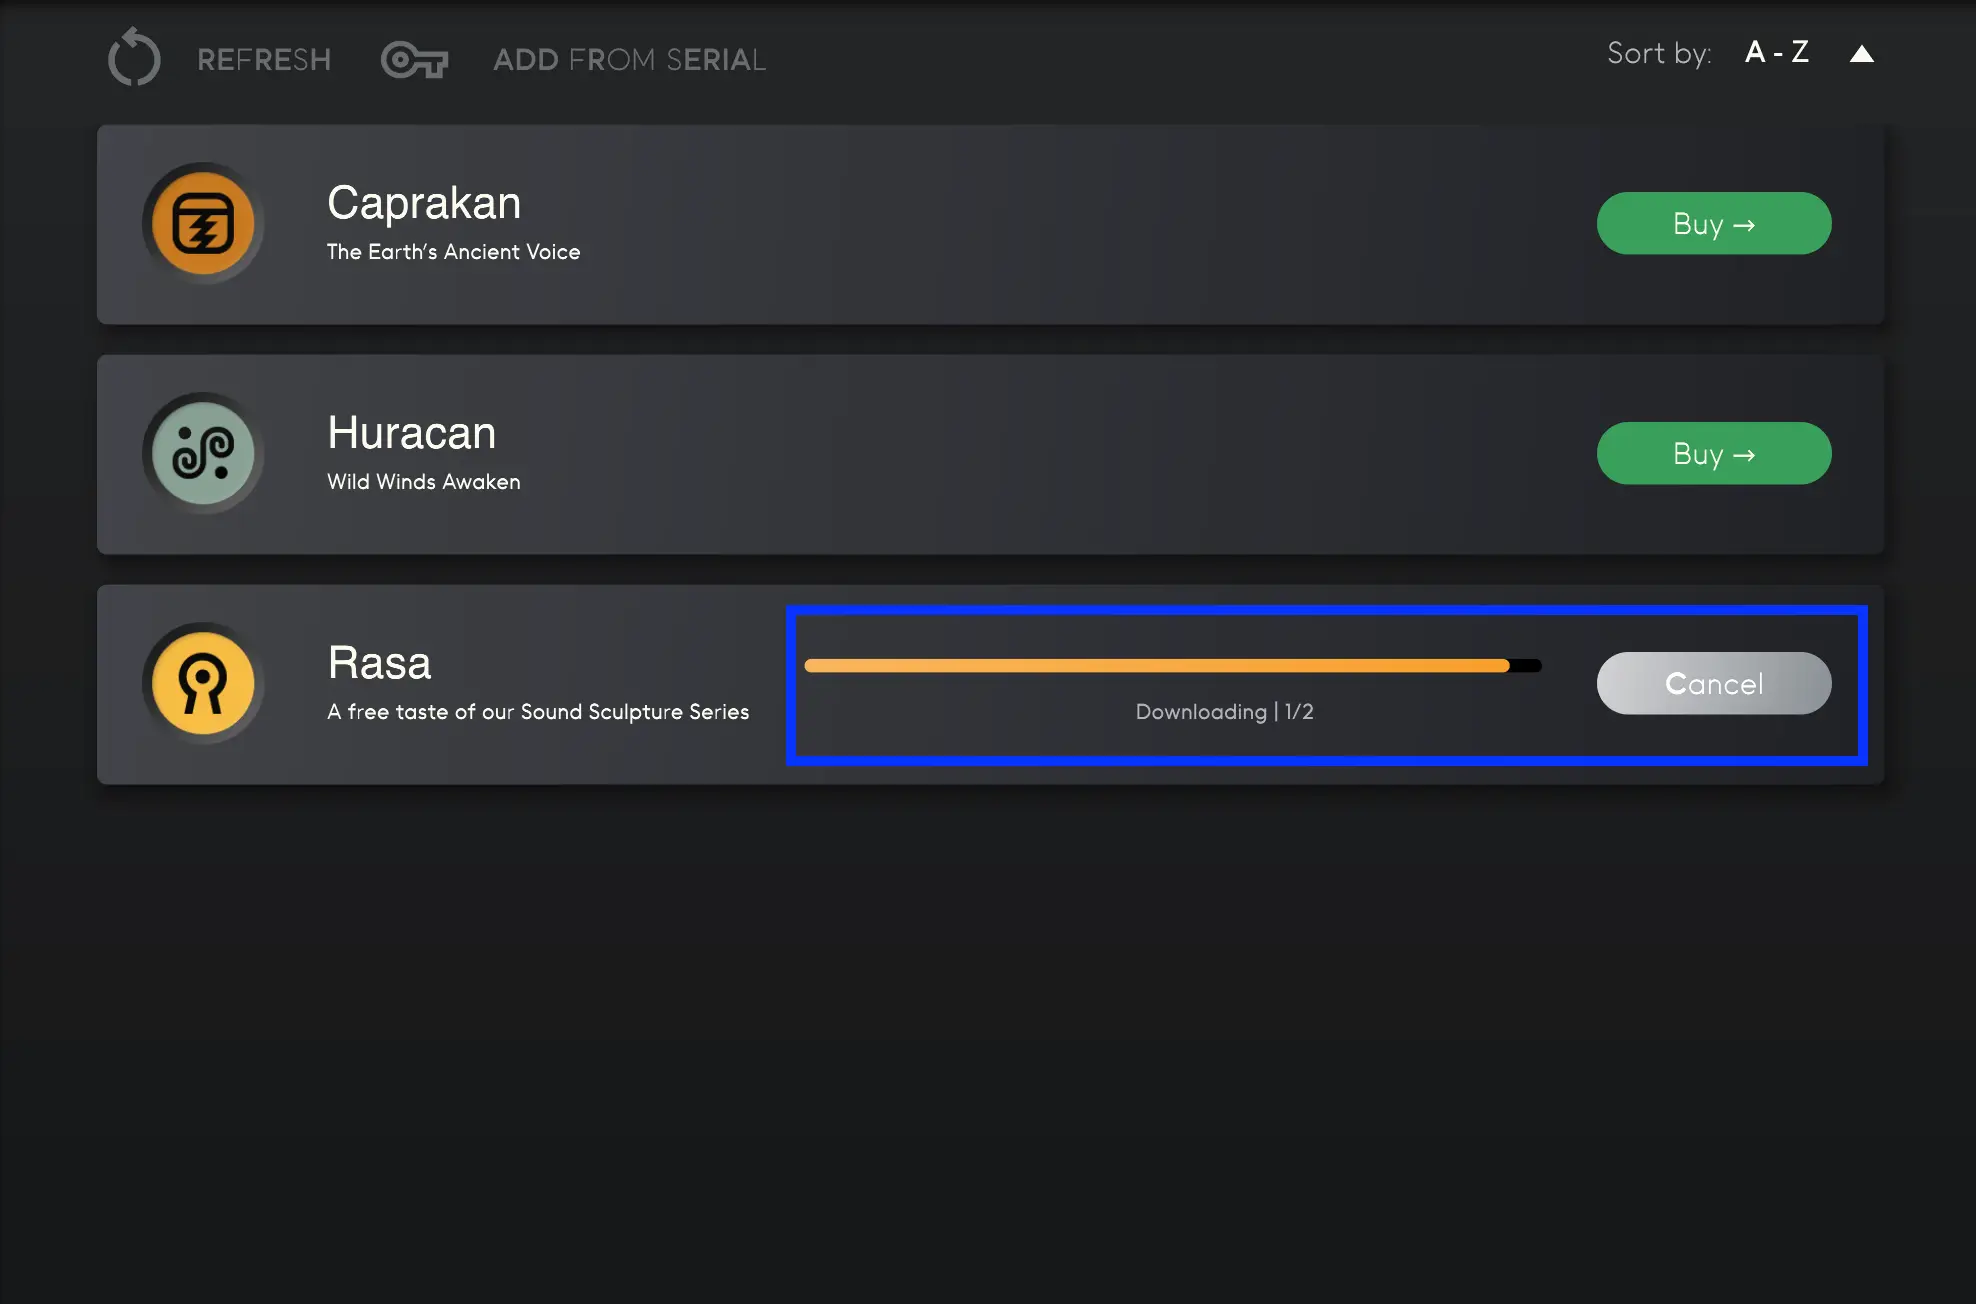
Installing an instrument
Once your license has been verified, press the Install button to begin installing your instrument.
Installation Options
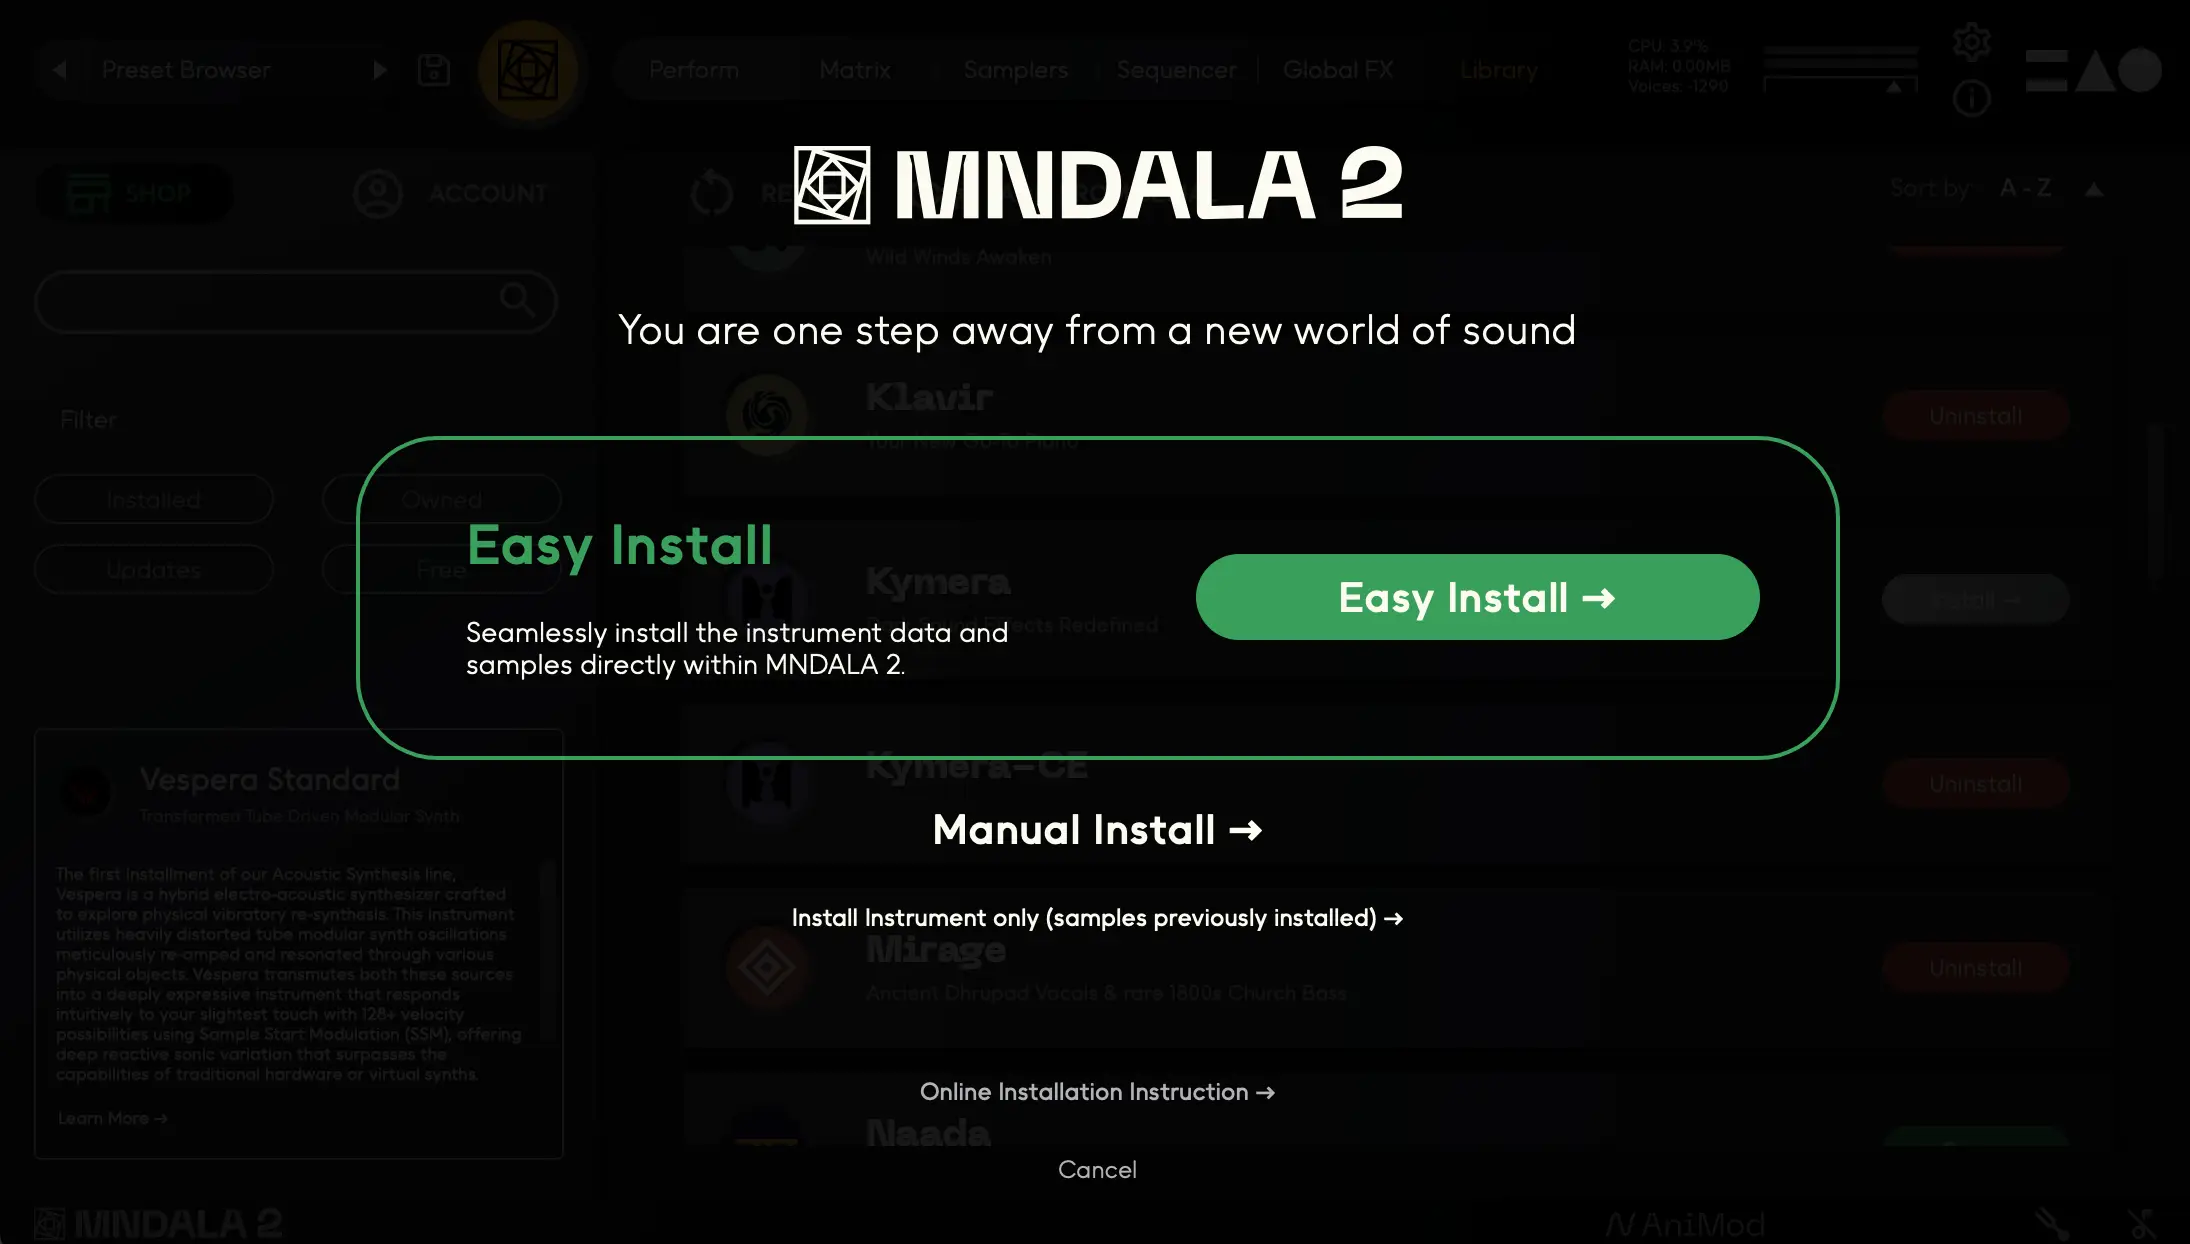
After pressing install you will see a dialogue where you can choose between 'Easy' and 'Manual' installation. In most cases, Easy install is the fastest and most convenient method, but if you encounter any network issues you can use the Manual install method.
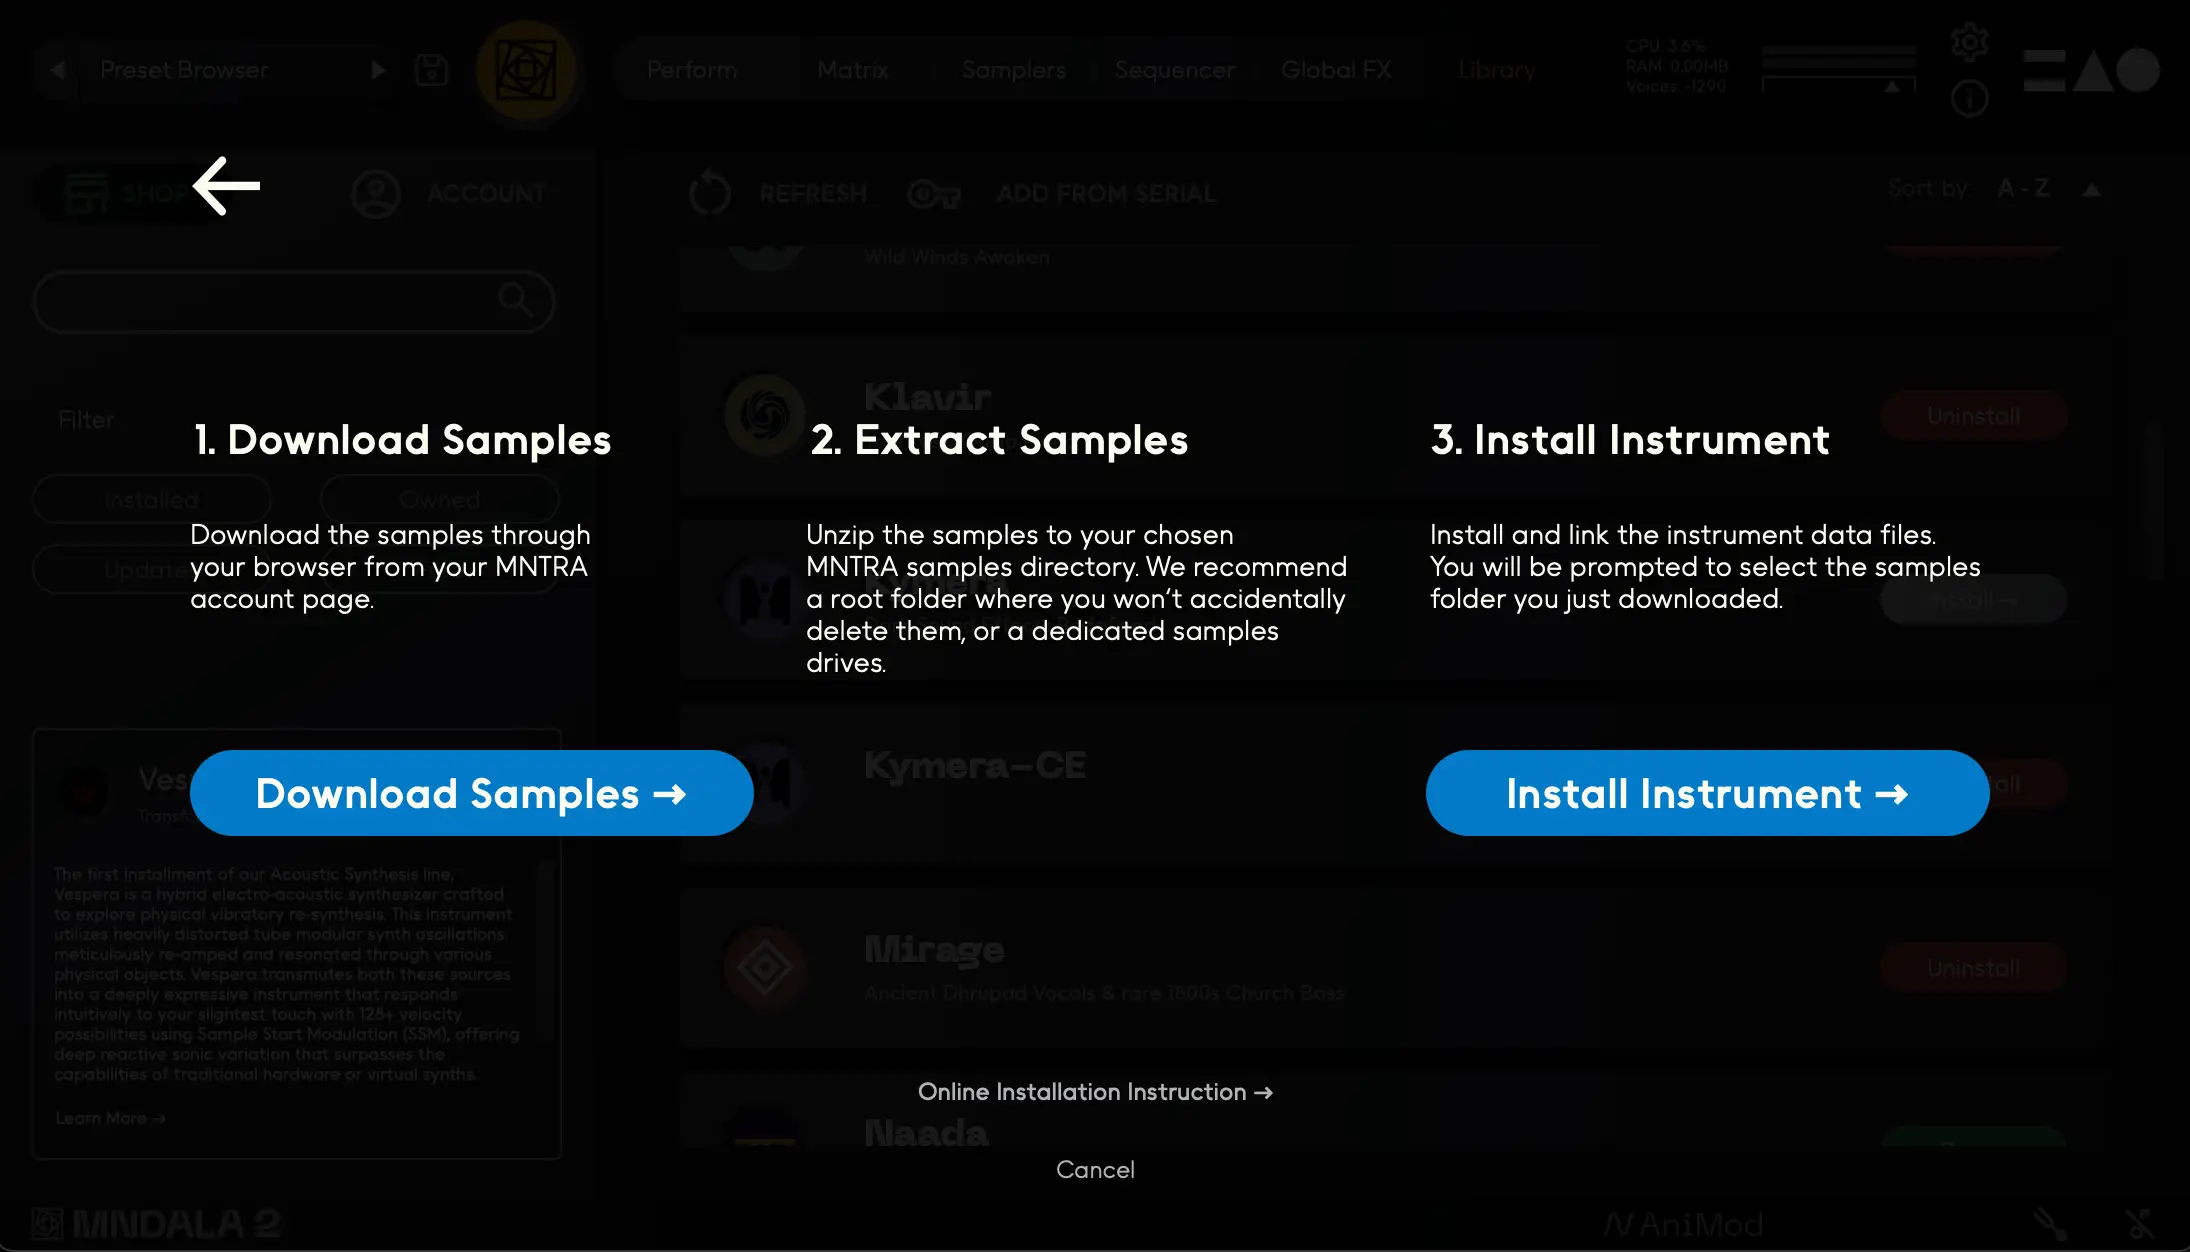
Manual Install
After pressing the Manual Install button you will be prompted with instructions to download the instrument samples from your MNTRA account page, extract them to a safe location, and install the instrument data files.
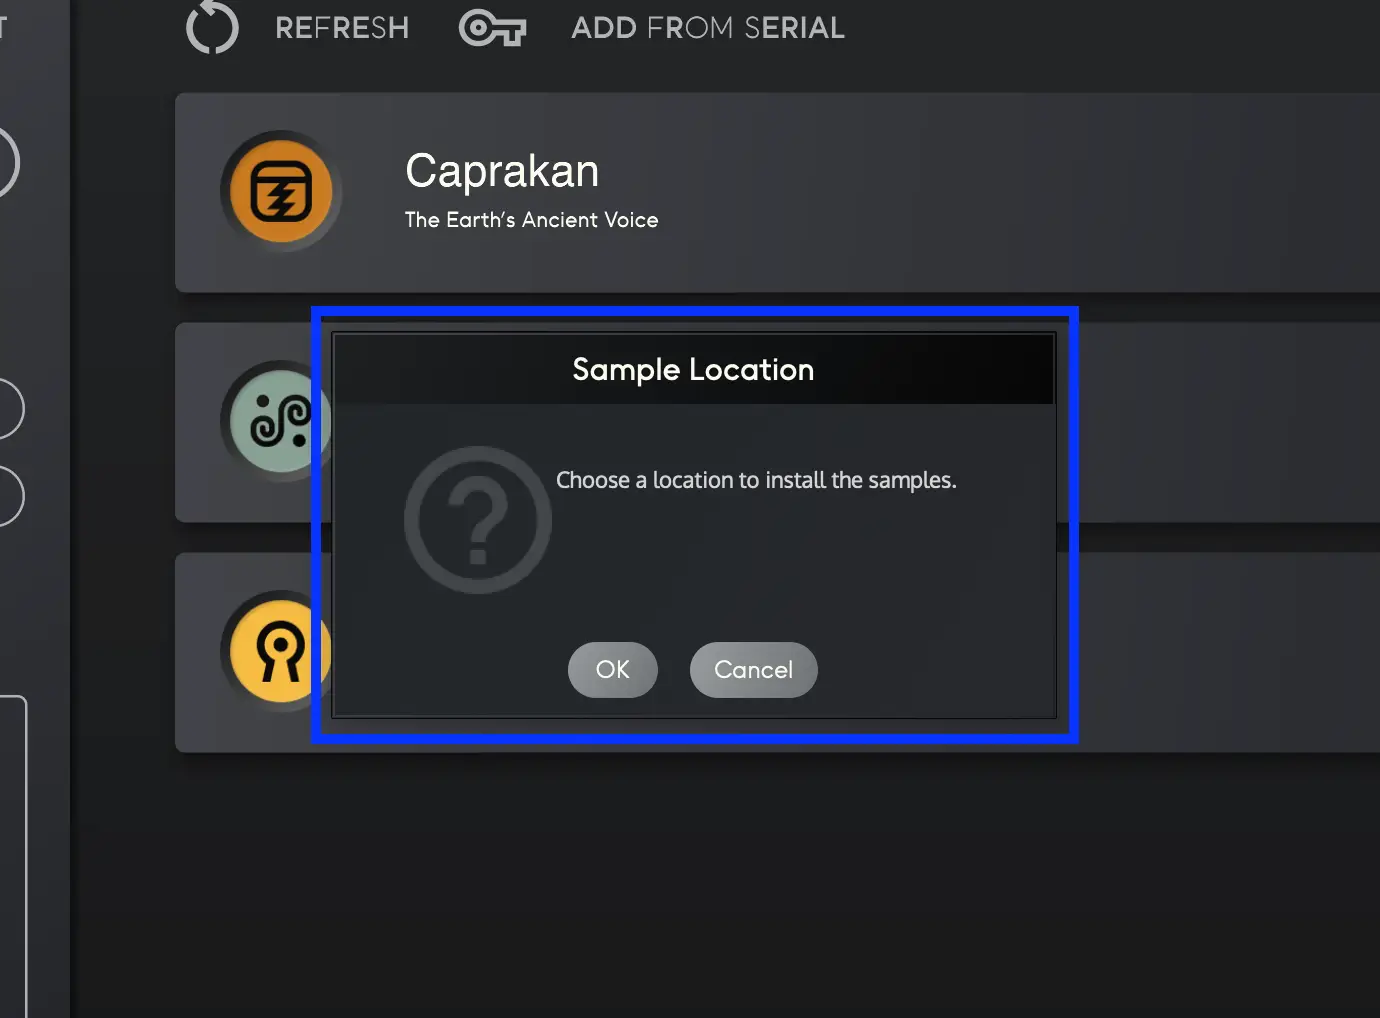
Samples location
If you use the Easy Install method, you will be asked to select a location to install the instrument's samples. We recommend a root folder where you won't accidentally delete them, or a dedicated samples hard drive. Make sure not to create a folder with the instruments name, as the installer creates its own!
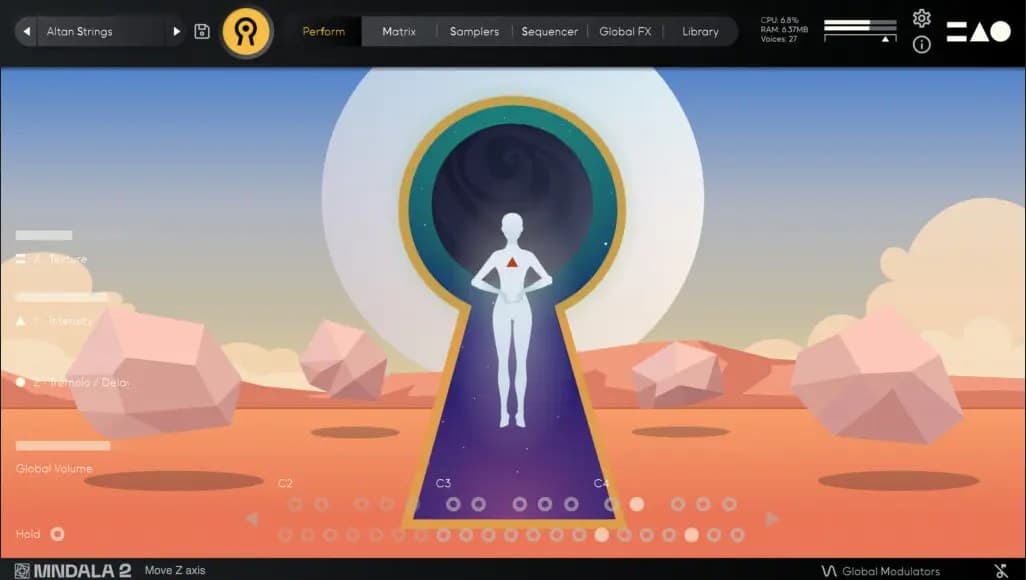
Make music!
Once your instrument finishes installing you are ready to explore our deep world of sound. We can't wait to hear what you make!
Still stuck? Contact support